
Table of Contents
Do you have such a large collection of photos filling up your iPhone that you often can’t find what you’re looking for? You’re not alone. With the recent iPhones—especially the iPhone 13, the iPhone 14, and the soon-to-be-released iPhone 15—boasting almost DSLR-level photo quality, it’s easier than ever to amass a massive collection of visual memories.
What Is the Easiest Way to Organize Photos on iPhone?
Organizing photos on an iPhone might seem a daunting task, given the thousands of memories we capture. The key to effective iPhone photo management lies in proactive and immediate action.
Ideally, you want to begin sorting your photos as you take them, categorizing them by date, location, event, or even by the people in them. This way, your future self doesn’t have to delve into a sea of unsorted photos. But let’s be honest, we often don’t start off with this level of organization.
Thankfully, the built-in features of the iPhone, combined with robust third-party software, can help you categorize and arrange your photo library with ease.
How to Organize Photos on iPhone Using Built-in Features
Your iPhone comes equipped with a handful of features that make organizing photos a piece of cake. From using the search function to creating albums and marking favorites, these options are not only effective but also easy to use. Read on to learn how to manage photos on your iPhone using its built-in features.
Method 1: Use Built-in Search
Your iPhone is more intelligent than you might think because it’s capable of recognizing the content of your photos. So, if you’re looking for a picture of your pet or perhaps a photo from your cycling tour, you can find them easily just by searching for terms like “dog” or “bike.”
Follow these steps to use the built-in search feature on your iPhone:
- Launch the Photos app.
- Tap on the Search icon in the bottom right.

- Type a keyword related to your photo in the search bar. It can be a person, animal, place, object, activity, and more. For instance, if you want to find photos of your cat, just type “cat”.
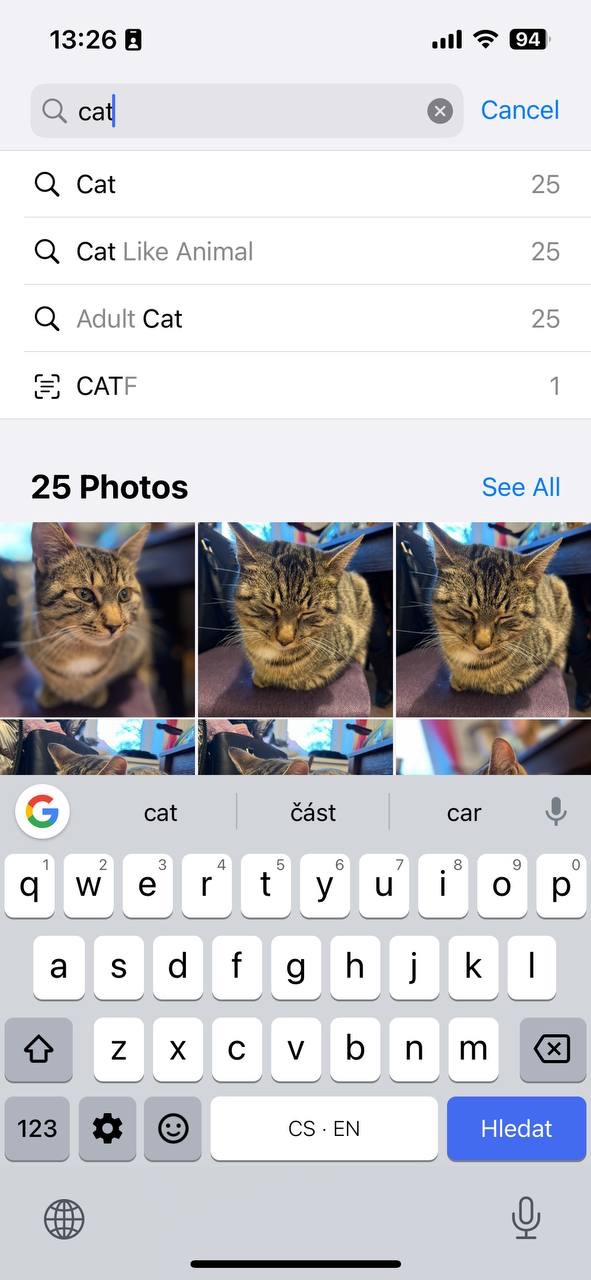
- Tap on the relevant option from the list of provided suggestions and then select the See All option.
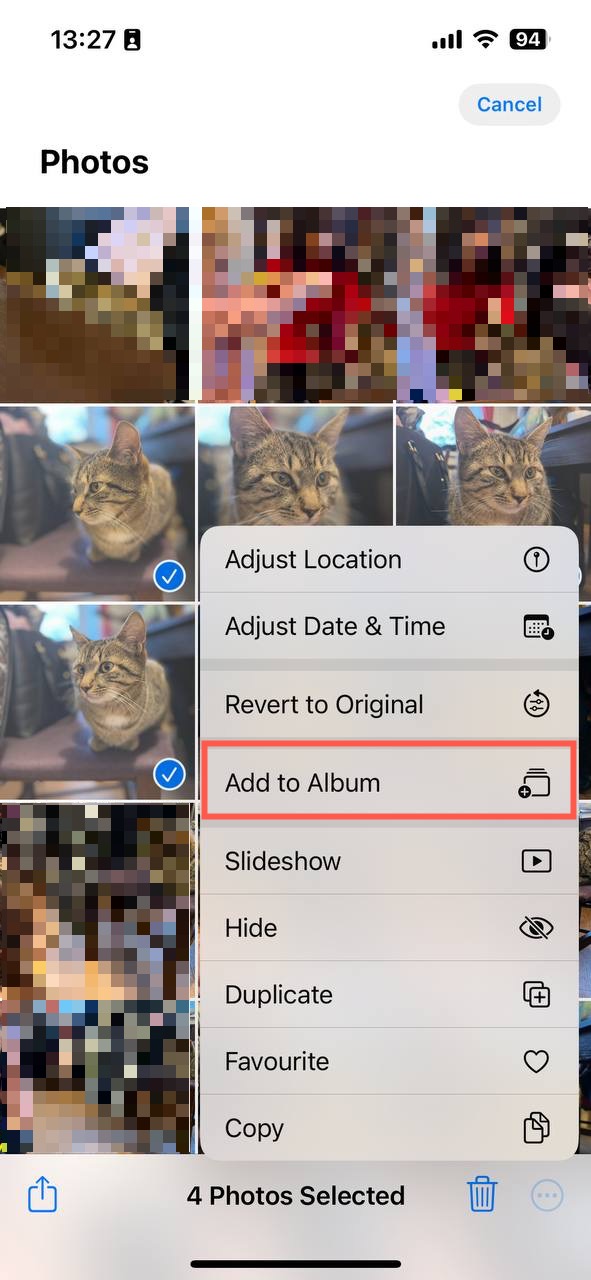
- Tap the Select button in the top-right corner and choose all matching photos.

- Tap the three horizontal dots in the bottom-right corner and, for example, select the Add to Album option.
- Create a new album or choose an existing one.


There you have it! That’s how you use the built-in search feature to organize your photos on iPhone.
Method 2: Create Dedicated Albums
If you’re a fan of good old categorization, then creating dedicated albums might be the best way to organize photos on your iPhone. By making separate albums, you can systematically group photos based on specific themes, events, people, or time periods. It’s as straightforward as it sounds, and it’s a great way to ensure each moment has its designated spot.
Here’s how you can create and manage albums on your iPhone:
- Open the Photos app.
- Select the Albums tab at the bottom of the screen.
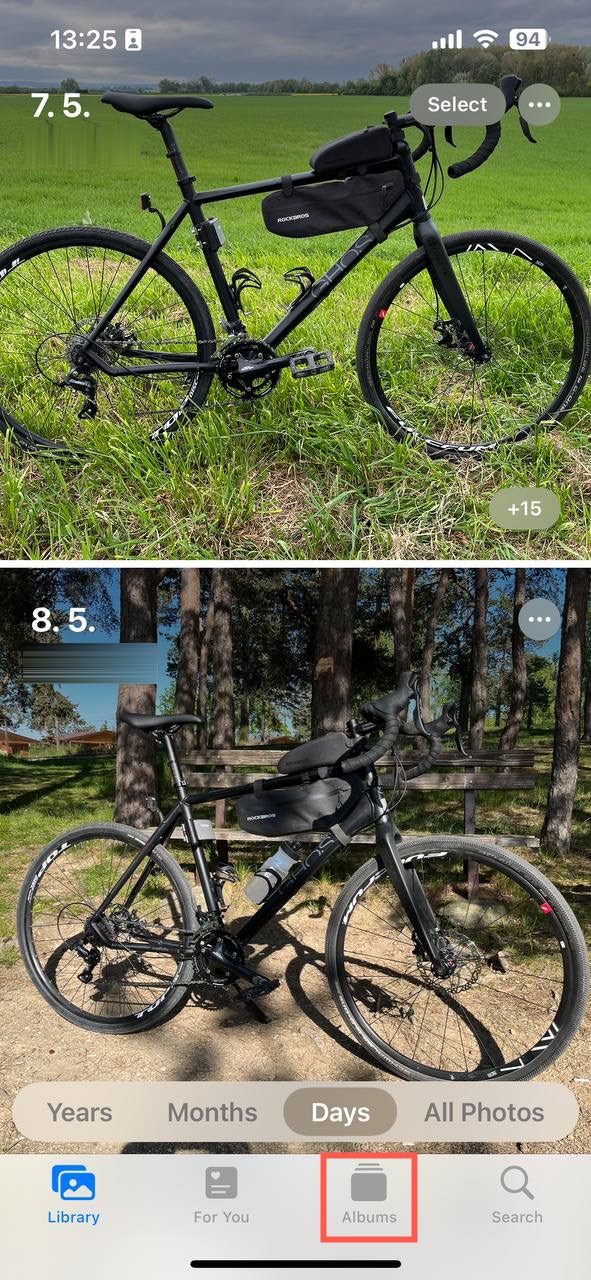
- Tap the + icon in the top-left corner and choose the New Album option to create a new album.

- Name the new album and tap Save.
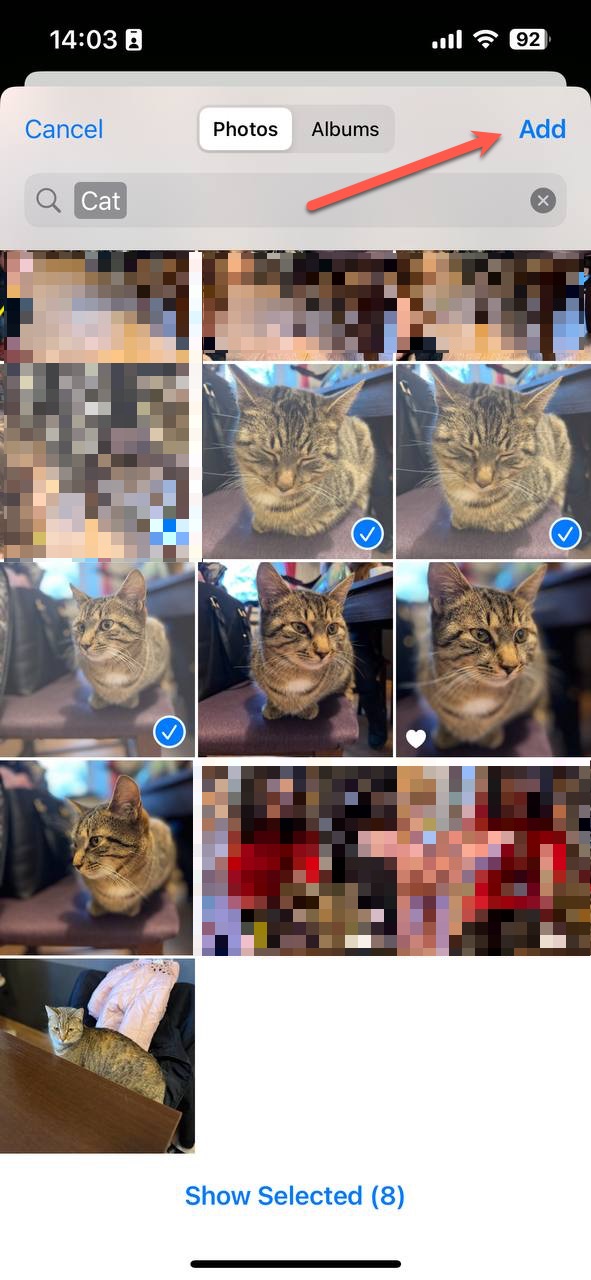
- Select the photos you want to add to the newly created album (you can always add more later) and tap Add in the top-right corner when done.


Method 3: Mark Important Pictures as Favorites
Among all the photos stored on your iPhone, there are always some that are dearer to you. Luckily, iOS provides a simple way to keep all these special photos in one place: by marking them as favorites. It’s another effective method to organize iPhone photos, and it comes in handy when you want to access these cherished pictures swiftly.
To mark important pictures as favorites on your iPhone, you need to:
- Enter the Photos app.
- Open the picture you want to mark as your favorite.
- Tap on the heart icon located at the bottom of the screen.


Your favorite photos can then be found in the Favorites album, making it a breeze to locate them when needed.
Method 4: Use iCloud Photos to Access Photos Easily
One of the most underrated, yet most powerful ways to organize pictures on iPhone is by using iCloud Photos, a cloud backup service that doubles as a highly effective iPhone photo organizer that you can access from anywhere.
iCloud Photos automatically uploads and stores all your photos and videos in iCloud so you can browse, search, and share them from any of your devices. When you edit and organize your photos on your iPhone, those changes are updated across your other devices too.
Here’s how to turn on iCloud Photos:
- Open the Settings app.
- Tap on your Apple ID at the top and navigate to the iCloud section.
- Tap Photos and tap the toggle next to the Sync this iPhone option.


Once your photos are uploaded to the cloud, you can organize them using your favorite web browser:
- Go to iCloud.com.
- Sign in with your Apple ID.
- Navigate to the Photos section and start organizing your iPhone photos directly in the web browser.


How to Organize Pictures on iPhone Using Third-party Tool
If you’re still looking for a more efficient way to manage your photos, then you should consider sorting photos on iPhone using a third-party tool like Slidebox – Photo Manager.
Described by many users as the best way to organize photos on iPhone, Slidebox revolutionizes photo management with its intuitive, gesture-based system. The app lets you trash unwanted photos with a swipe, sort images into albums with a tap, and even compare similar photos by swiping back and forth.
Just take a look at how easy it is to add photos to albums:
- Download Slidebox from the App Store.

- Launch the app by tapping its newly created icon.
- Tap the Sort to Album button to create your first album.

- Simply tap the button with the name of the album you’ve just created to add the next picture to it. Alternatively, you can create a new album for the picture, which will create another quick access album shortcut.

- Repeat this process until you sort all unsorted images.


Slidebox is free with in-app purchases. The premium version of the app includes cloud storage and additional features, making it a great choice for all iPhone users who are tired of wading through a sea of uncategorized photos.
FAQ
Conclusion
In an era where our phones serve as our primary cameras, effectively managing our photos has become a necessity. With the built-in features on iPhone, powerful third-party tools like Slidebox, and the guidance provided in this article, organizing photos doesn’t have to be a daunting task. Happy organizing!