Table of Contents
Wine is an open-source compatibility layer. It allows Microsoft Windows software, games, and apps to function on Mac systems. The name is an acronym that stands for “Wine Is Not an Emulator.” It recreates the directory structures Microsoft uses in its operating system so that Apple computers can operate .exe files.
- Navigate to the WineBottler website. You can find it at http://winebottler.kronenberg.org/. Wine and WineBottler together create a user-friendly interface that makes this method much more comfortable to learn.
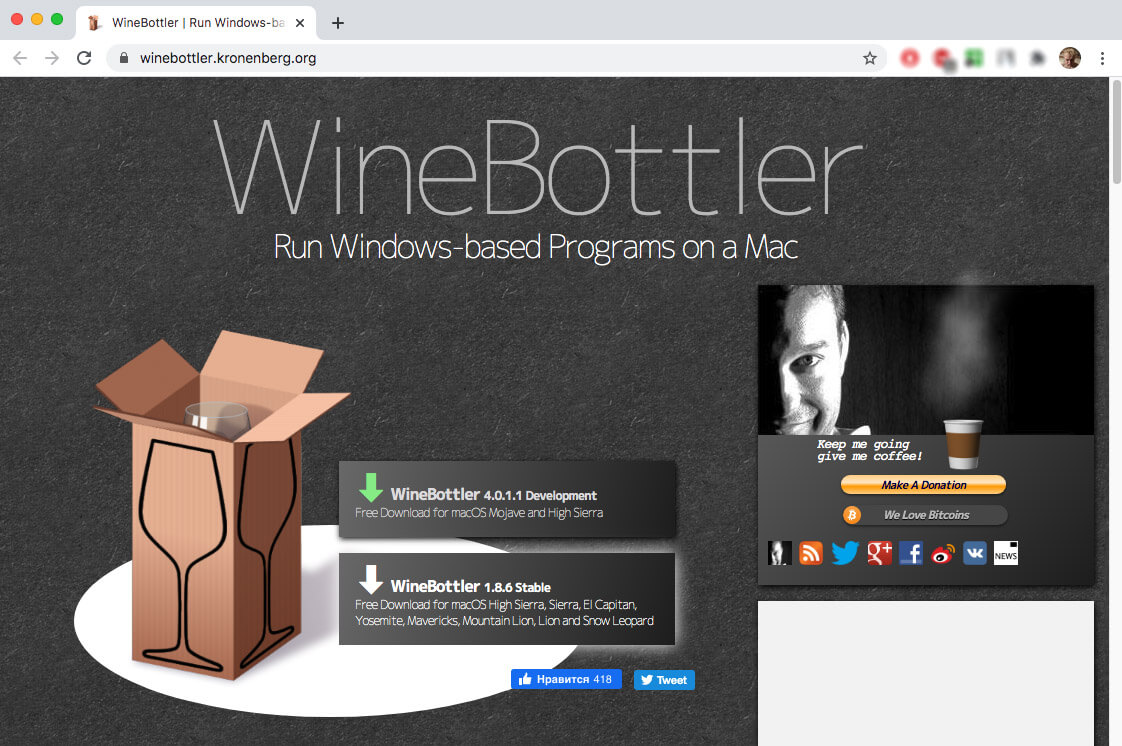
- Click on the Stable version. You’ll see various buttons for WineBottler downloads. You’ll want to select the one currently listed as being stable for your macOS version.
- Choose the Download command. It will appear as a pop-up. You might need to disable this feature in your browser to access this step.
- Click on the Skip Ad button. You can watch the advertising to support Wine and WineBottler, although that will take more time to finish this process. If you operate an ad blocker, it must be disabled.
- Finish the WineBottler download. If your Mac doesn’t start downloading the software automatically, you can force it by clicking the .dmg link for the version you selected.
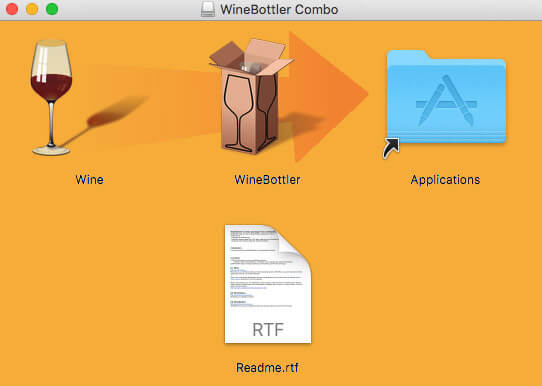
- Complete the installation. You’ll click the setup file for WineBottler on this step, dragging both icons into your Applications folder.
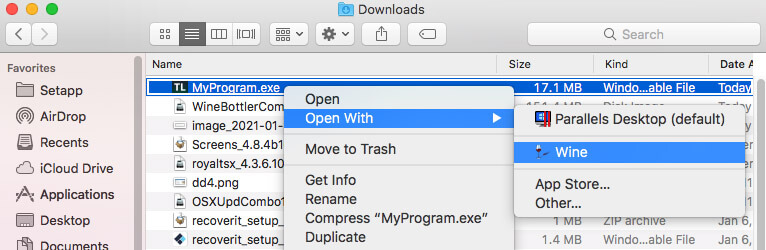
- Use a two-finger click on the EXE file. If you use your Magic Mouse with a two-finger click, it’ll give you a set of menu options. Select “Open With,” choose “Wine,” and authorize the action. You’ll want to use the “Run Directly In” choice instead of converting to a simple OS X application. Click Go to run the program.

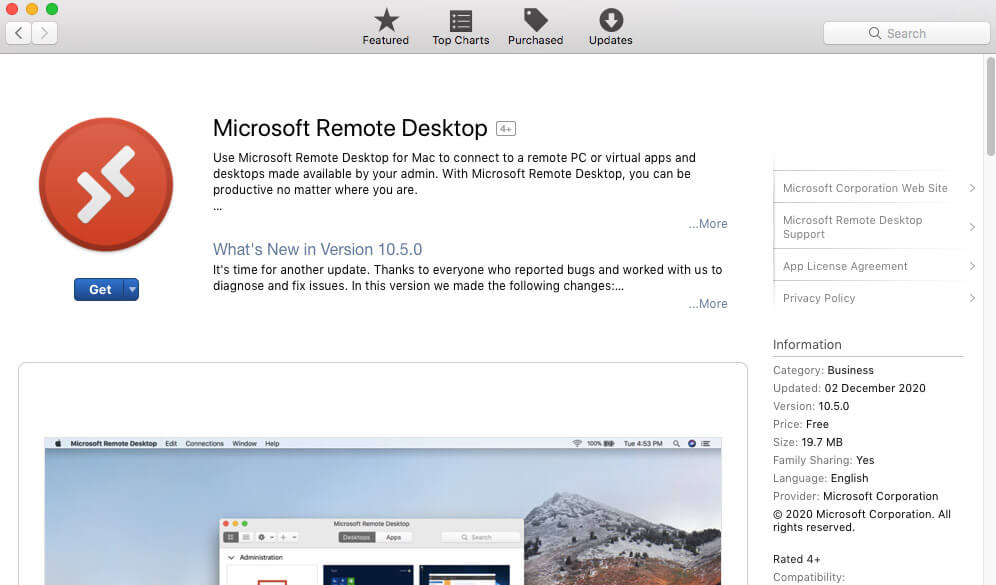
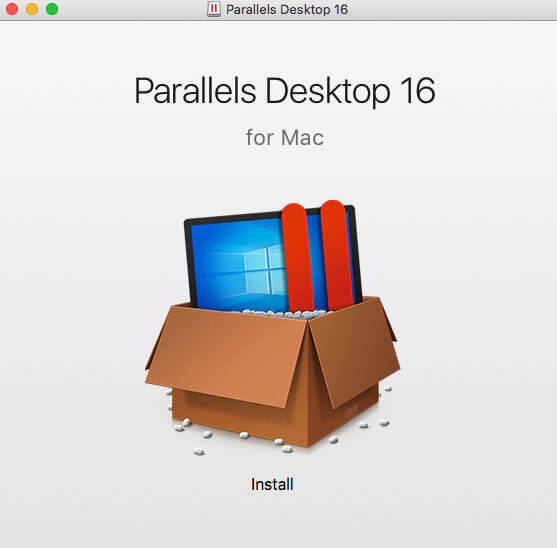
Parallels Desktop provides a virtual machine for Mac users to run .exe files on their computers. It runs Windows apps quickly without slowing down your system while providing the foundation to move files between the host desktop and your virtual one.
- Purchase the Parallels Desktop software. You’ll want the latest version of Parallels currently available at this link: https://www.parallels.com/products/desktop/. Complete your purchase by following the on-site instructions. Students, educators, and faculty qualify for discounts.
- Install the software. It’s a straightforward installation process to put Parallels on your Mac. Once you drag the icon to the Applications folder, you can open the software.
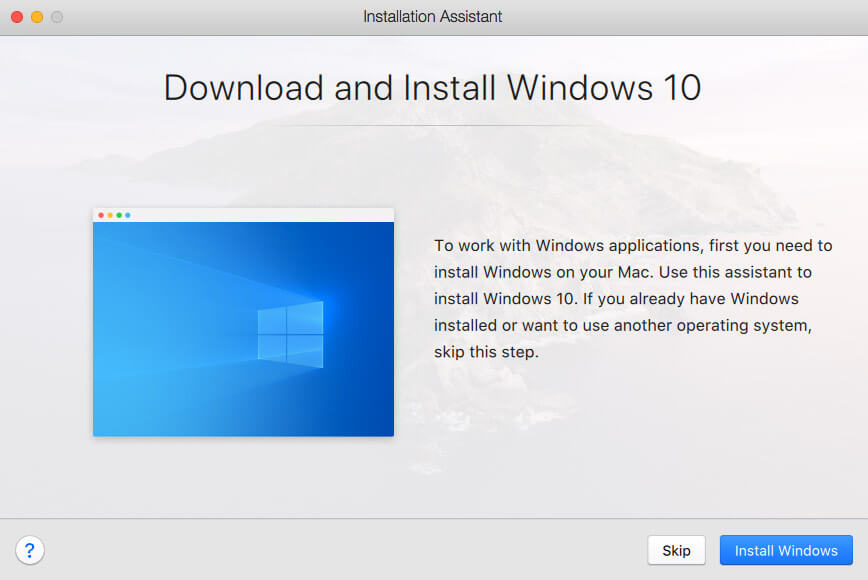
- Install Windows. Once you have Parallels open, you can install your Windows software. The version you select must be compatible with your Mac’s current specs. If the processing speed, memory, or startup disk space isn’t correct, the Microsoft operating system won’t function correctly. You can install it from a disk or the ISO file.
- Open Parallels. You’ll find it through the search bar on your Mac or by navigating through Launchpad to find the icon.
- Begin the installation. Your Mac offers to install Windows from a disk, image file, or a PC. Choose the option based on your Windows version and click Continue. You’ll need to supply the license key for the fastest installation method.
- Follow the final prompts. You’ll be asked a few questions about your plans with .exe files on Mac. After you provide those answers, it takes about 20 minutes for Parallels to complete its work.
Boot Camp is an official Apple utility that allows Mac users to switch from macOS to Windows on their computer. It comes with an assistant that guides you through the installation steps if you have an Intel-based iMac, MacBook, or Mac Mini. Before starting the installation process, it is recommended to download the latest operating system for your computer.
- Obtain your authorized Windows installation. The current macOS Boot Camp structure supports Windows 10, 8.1, or 8, and more recently, Windows 11. You can download the latest ISO version directly from Microsoft’s website.
- Open your Utilities folder. You can use Spotlight to find this folder or access it through Launchpad.

- Double-click the Boot Camp Assistant. The icon representing this method to open .exe files on Mac looks like an internal hard drive.
- Follow the on-screen prompts. You’ll need to acknowledge what Boot Camp offers and the possible issues you might face. It might be helpful to print the installation and setup guide before continuing to the next step. If you’re using a USB drive, you’ll be prompted to insert it here.
- Create a partition for Windows. Boot Camp needs you to drag the divider to set the partition size for each operating system. Once you edit the settings, your computer will need to restart. After it completes this process, you should see the Windows installation screen.

- Select the Boot Camp partition. Some macOS users might not need to take this step. If you’re installing Windows from a USB drive, you’ll need to choose the appropriate partition to continue. When you install from an ISO file directly, your computer will do the work for you.
- Follow the on-screen prompts to install Windows. The instructions differ based on your Windows version, but you’ll eventually need to restart your Mac again.
- Hold the Option key during the restart. This step takes you to the Startup Manager window. Release the button when it appears, and you’ll see all of the available drives for starting your computer.
- Click the Boot Camp option. At this step, your Mac will load into Windows.
- Locate the .exe file on your Mac. Double-click the EXE file icon to load your software, game, or app.