

Table of Contents
Did you accidentally delete your PowerPoint Presentation or close the program without saving your file? You don’t have to show up to work (or class) empty-handed – at least not yet. As long as you act quickly, there are different methods you can try to recover your lost PowerPoint on Mac… and most of them are free!
Options to Restore Unsaved or Deleted PowerPoint Files on a Mac
There are 4 different methods to restore a deleted or unsaved PowerPoint presentation on your Mac: (1) using data recovery software, (2) using PowerPoint’s autosave feature, (3) pulling your data from the temp folder, and (4) restoring a Time Machine backup.
Regardless of which method you choose to restore your PowerPoint file, make sure that you don’t save ANYTHING new to your Mac. Doing so may overwrite your PowerPoint data.
Option 1: Recover Deleted PowerPoint with Data Recovery Software
If you accidentally deleted your PowerPoint file, its data isn’t actually “erased” yet. The data still exists on your computer’s hard drive, but it’s inaccessible and marked to be overwritten.
You can use data recovery software to restore a deleted PowerPoint on your Mac. Even if you can’t access your files through macOS, data recovery software can retrieve (and rebuild, if necessary) your lost PowerPoint directly from the file system.
We’ll demonstrate the recovery process using a tool called Disk Drill. Disk Drill is popular data recovery software that works on all Mac file systems (HFS+, APFS) and supports pretty much all common Microsoft Office file types – including PowerPoint presentations.
To recover a deleted PowerPoint on Mac using Disk Drill:
- Download and install Disk Drill.
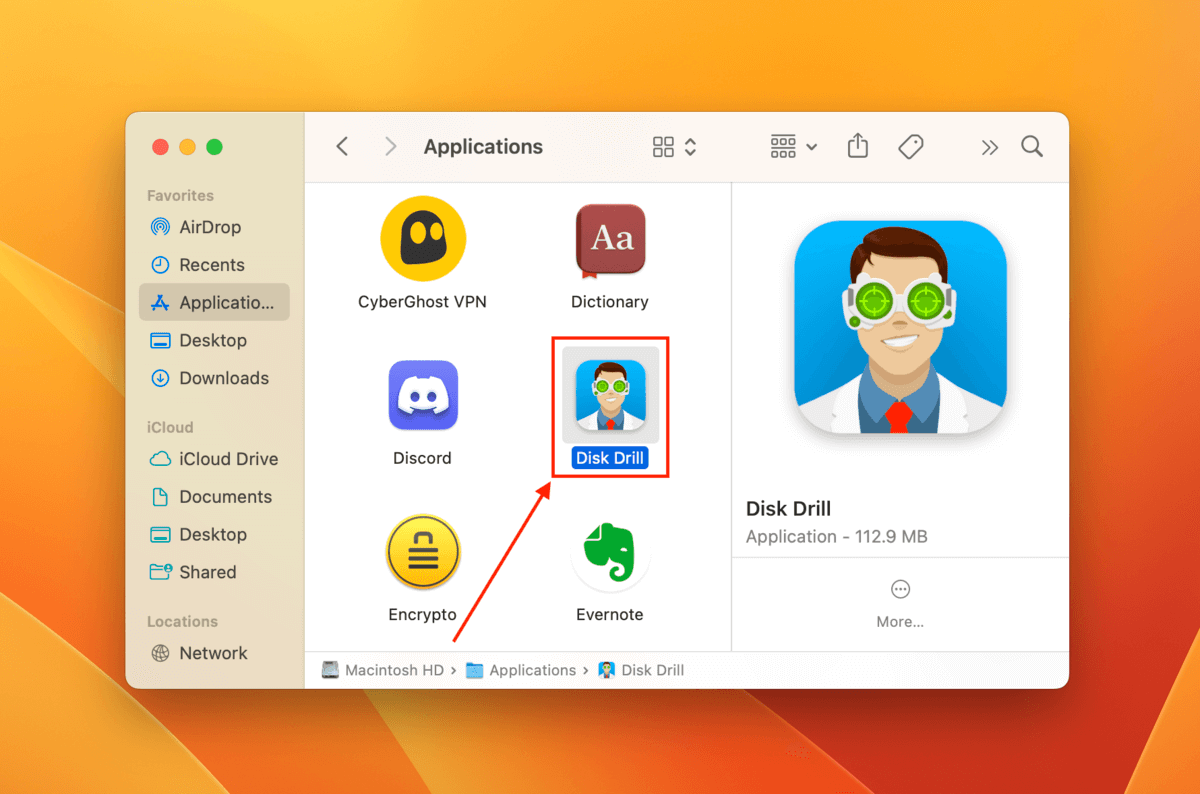
- Launch Disk Drill (Finder > Applications).
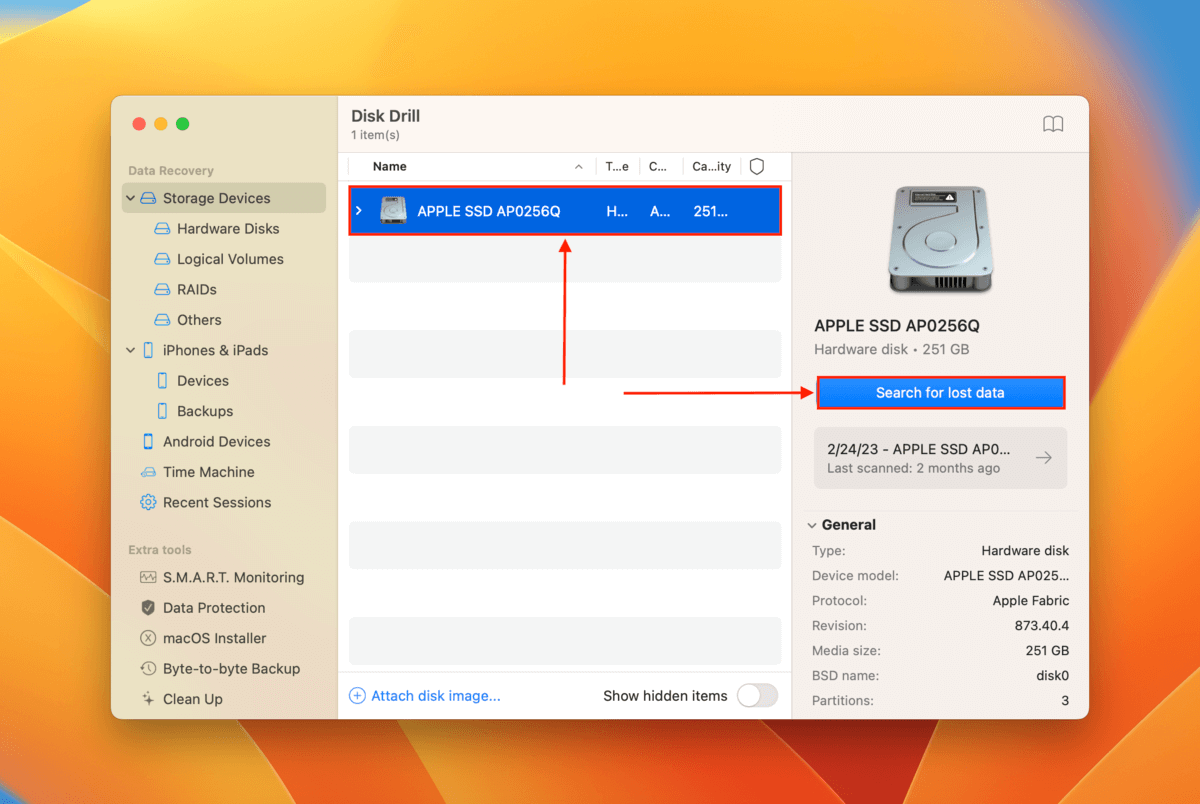
- Select the drive that you used to save the PowerPoint file before you deleted it. Presentations are saved to your system drive by default. Then, click Search for lost data.
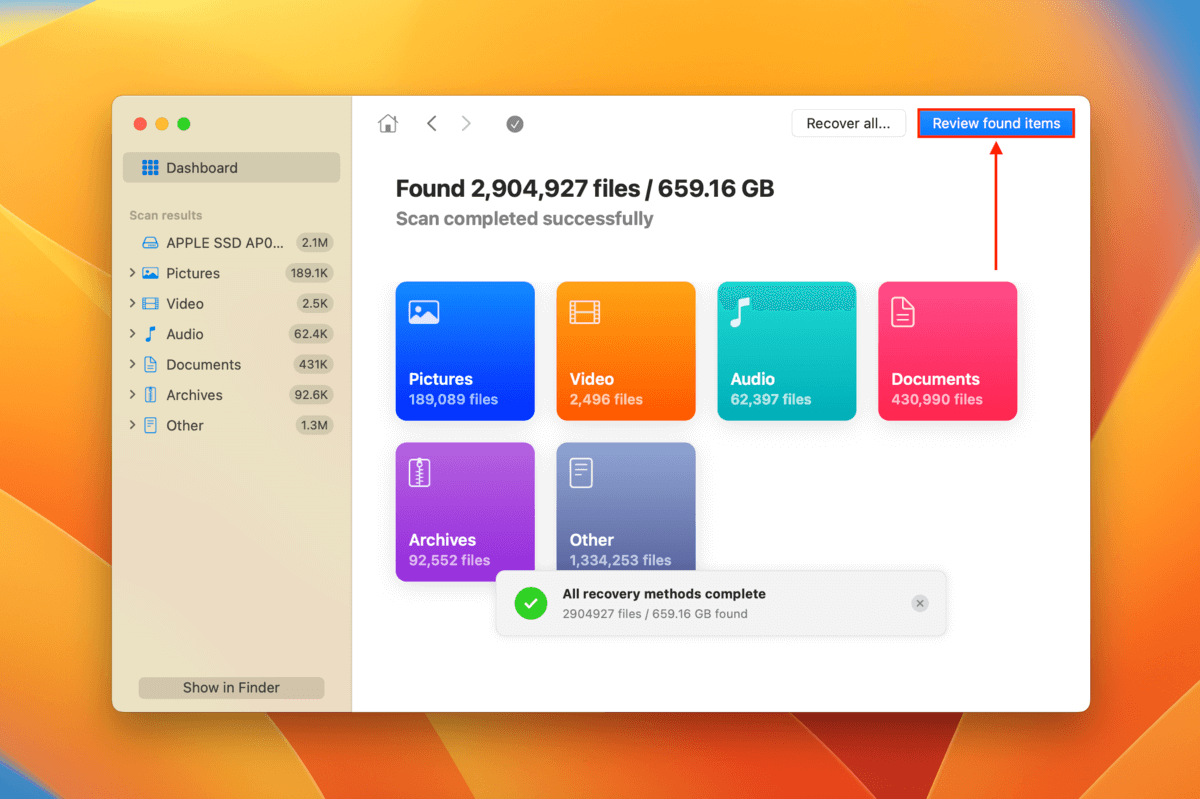
- Wait for Disk Drill to complete the scan. Then, click Review found items.
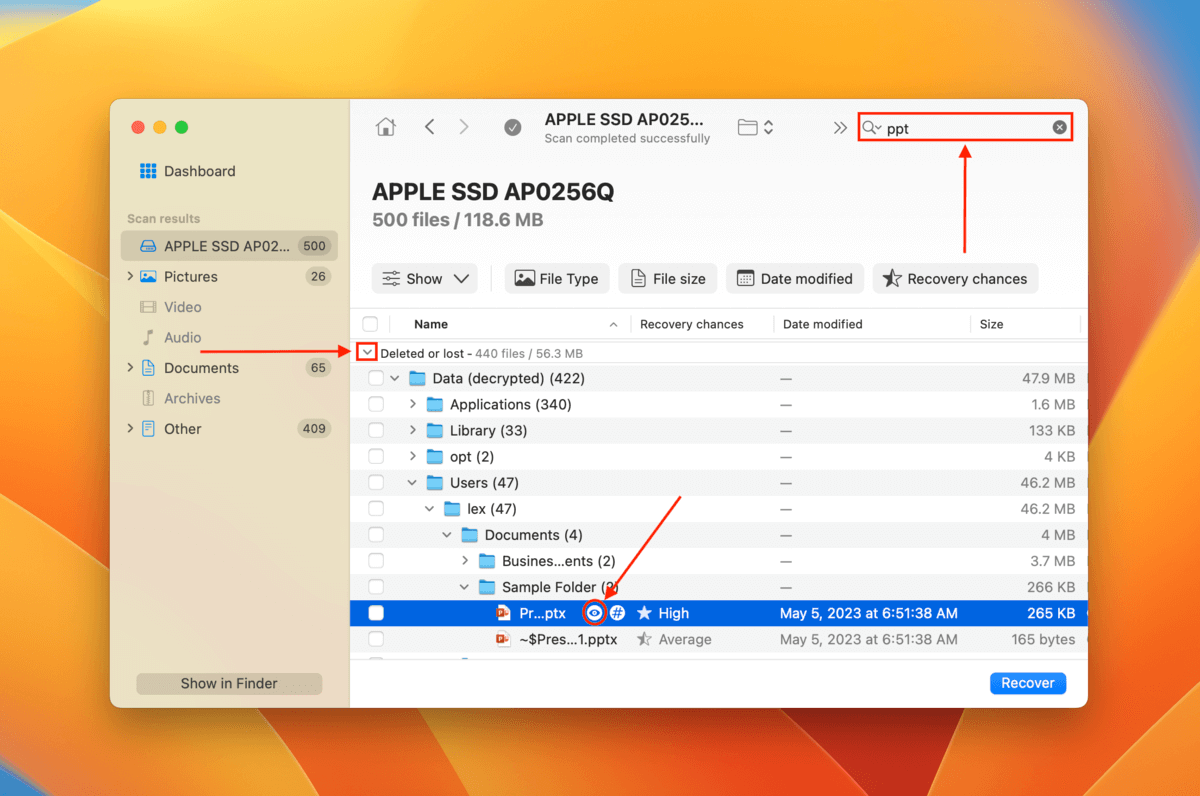
- Filter the results further by typing its file name or simply “ppt”/”pptx” in the search bar. Then, expand the Deleted or lost tab. Once you locate your PowerPoint file, hover your mouse beside it and click the eye button that appears to display its preview in a new window.
- Select your PowerPoint file by ticking the box next to it. Then, click Recover.
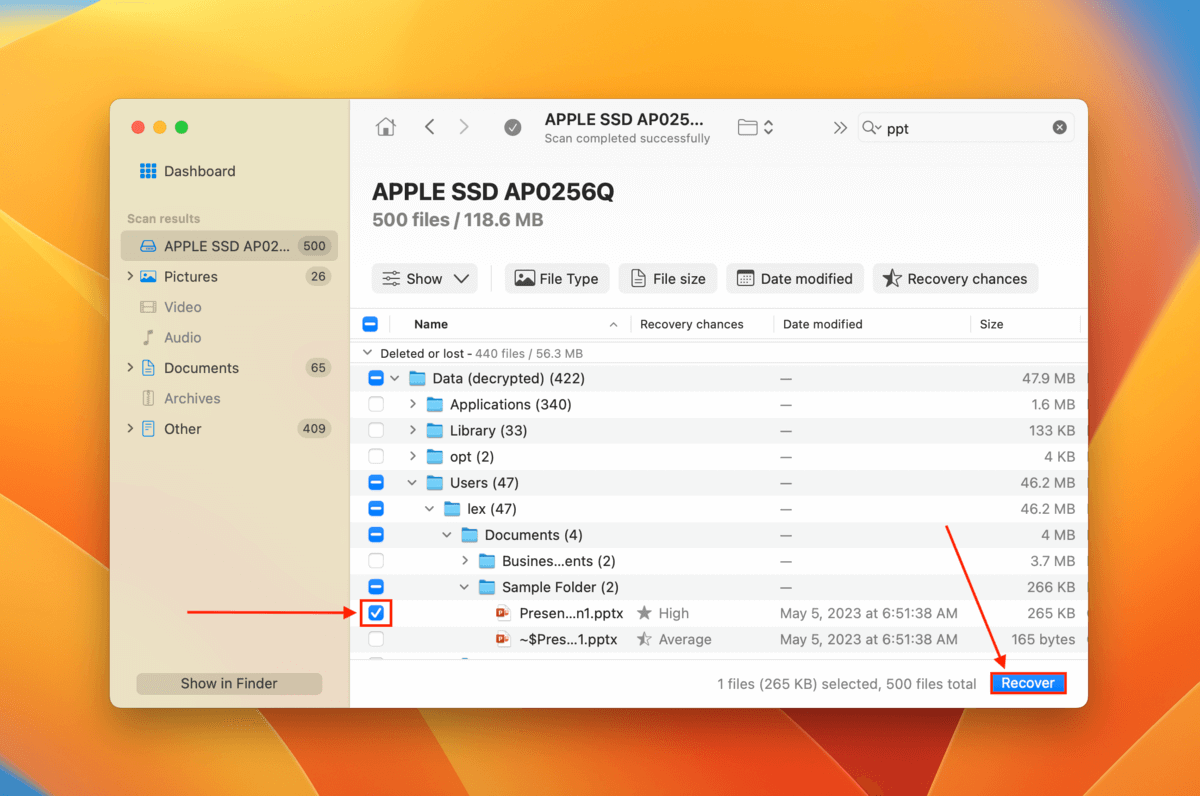
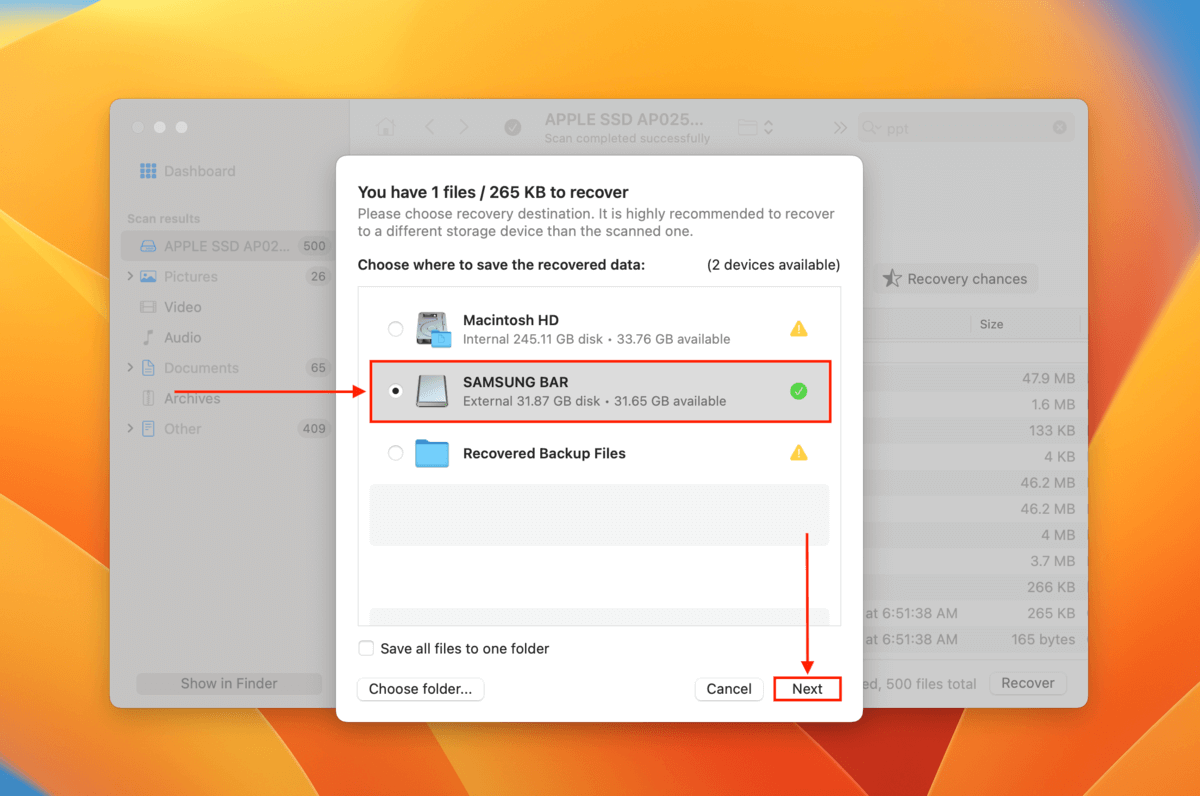
- Choose a location where Disk Drill will save the recovered data. We suggest saving it to a different drive to avoid overwriting anything – you can connect a USB stick at this point. Then, click Next to restore your deleted PowerPoint on Mac.
Recover Unsaved PowerPoint Using PowerPoint Autosave Feature
The autosave feature in Microsoft PowerPoint is a super useful tool that saves a temporary copy of your file at regular intervals. It contains all the changes that were made since the last autosave.
And because the copy uses a different file extension from the original, it won’t overwrite the previous version of the original file’s history. You can use it in case you prematurely closed your file or to recover overwritten files.
To recover your unsaved or overwritten PowerPoint using the autosave feature:
- Open the PowerPoint app on your Mac (Finder > Applications).

- Click File > Open Recent > (your presentation) in the menu bar.

- Save your file.
Option 3: Restore Unsaved PowerPoint Files with Temp Folder
Let’s say you didn’t enable the autosave feature and you’re in a situation where you couldn’t have saved your file. For example, your computer suddenly shut down or you encountered a critical system error.
In such cases, the process of unsaved PowerPoint recovery (on Mac) entails locating the file in the temporary or “Temp” folder. This folder stores temporary data for various applications to improve performance and efficiency.
To recover your unsaved PowerPoint on Mac using the Temp folder:
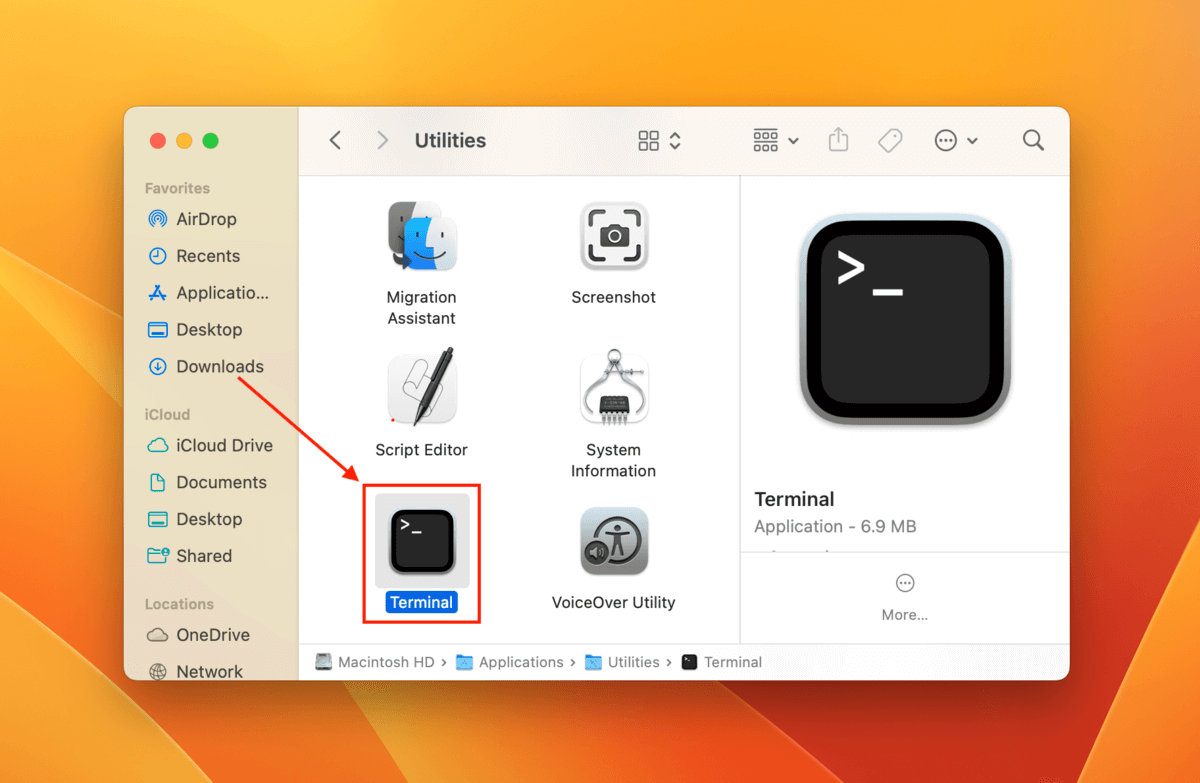
- Open the Terminal app (Finder > Applications > Utilities).
- Type the following command and hit Return:
open $TMPDIR
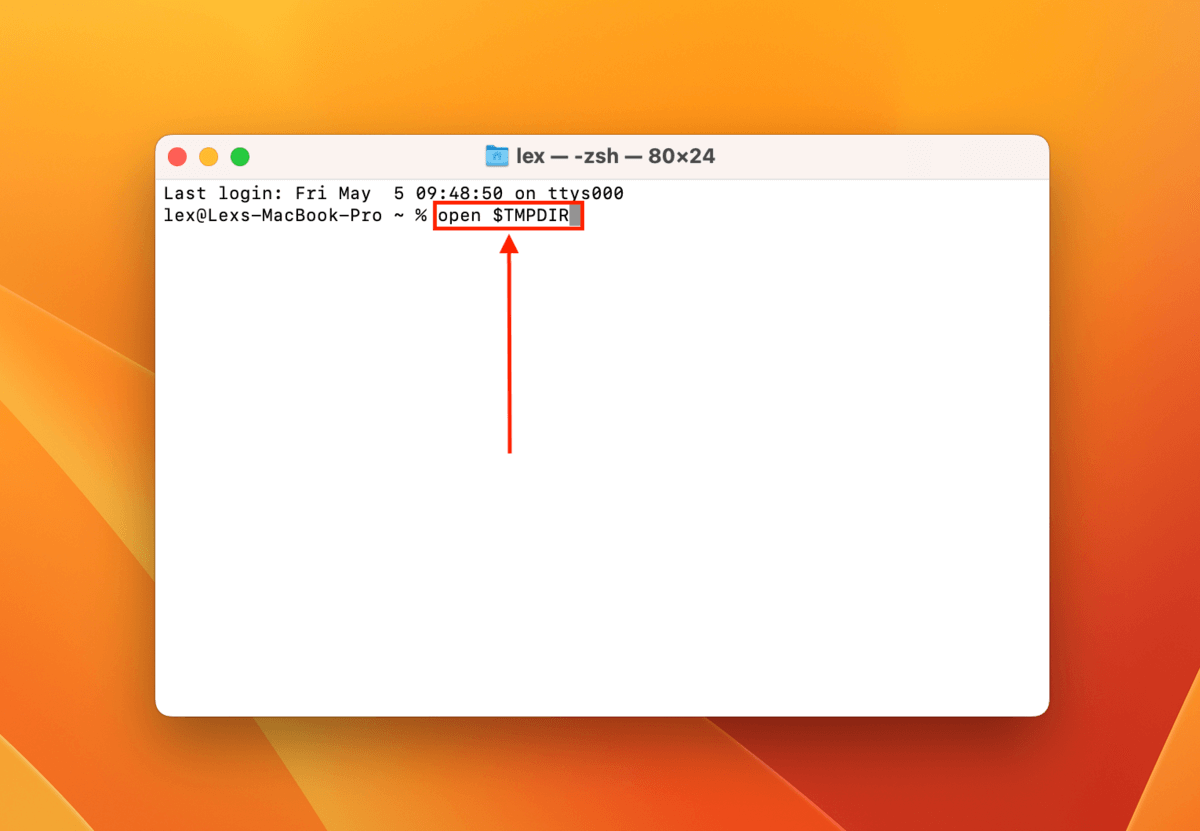
This command will open the Temp folder in Finder. You can check the TemporaryItems and com.microsoft.PowerPoint subfolders for your unsaved presentation. If you find it, double-click your file to open it in PowerPoint and save it (File > Save/Save As).
Option 4: Recover .PPT Files with Time Machine Backup
In other words, it may have saved a previous version of the folder that once stored your PowerPoint. By restoring this version of that folder, you will also restore its contents at the time of the backup.
To recover your PowerPoint presentation from a Time Machine backup:
- Connect your Time Machine drive to your Mac.
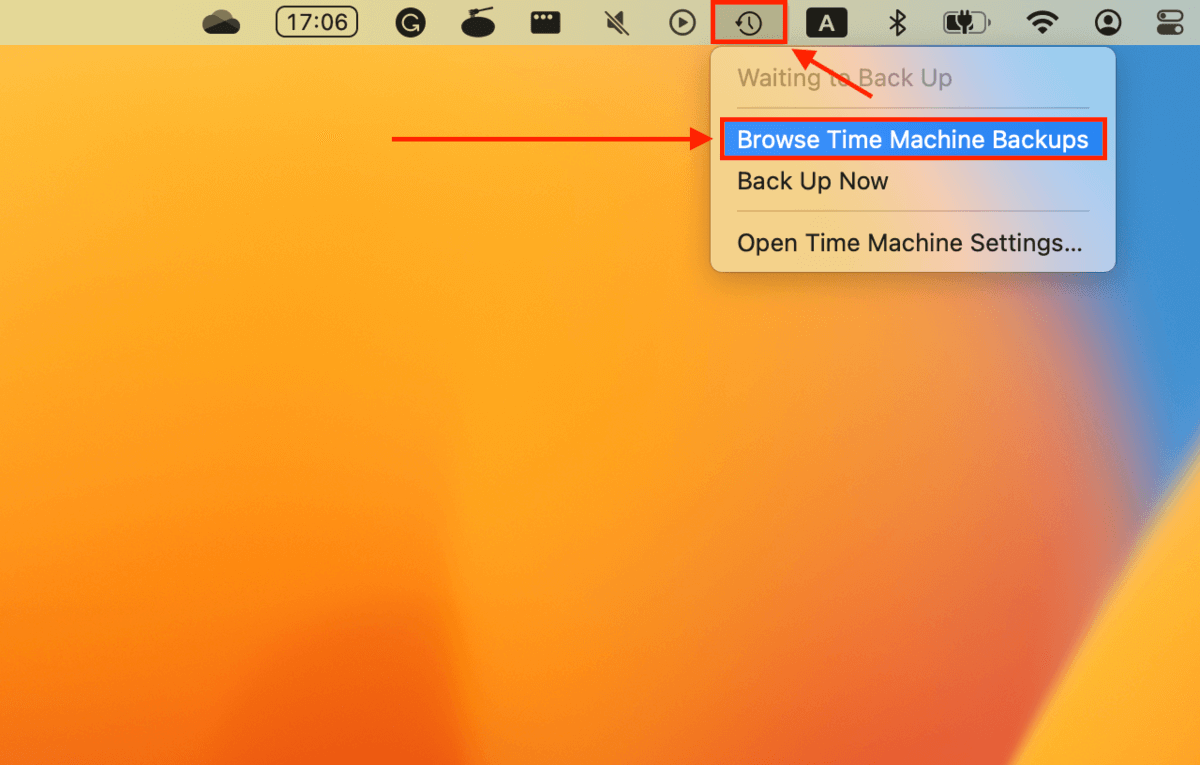
- On the Apple menu bar, click the Time Machine Button > Browse Time Machine Backups.
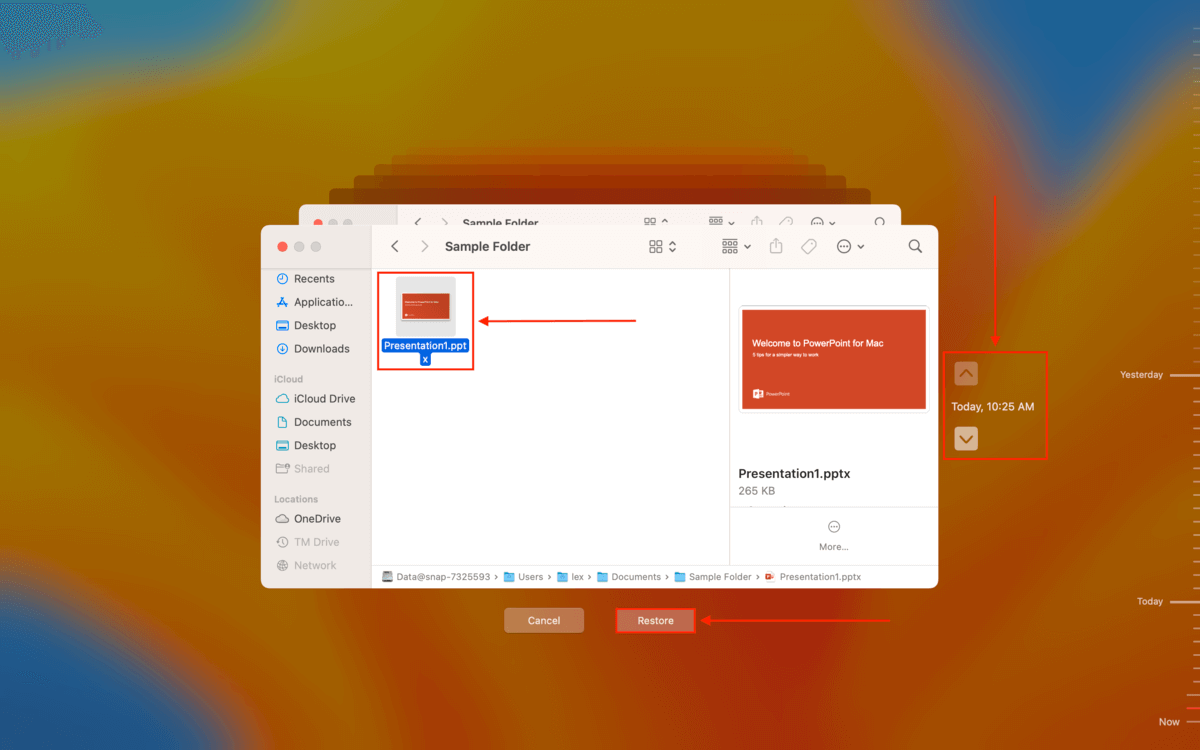
- Navigate to the folder that stored your PowerPoint presentation before it was deleted. Then, use the arrows on the right to browse through the previous versions of that folder. Once you locate the latest version of the folder that still contains your presentation, click on the file and click Restore.

You should find your missing PowerPoint in its original location.
Conclusion
We understand that PowerPoint presentations require a lot of effort to put together, which is why we prepared this guide. But while there are multiple ways to restore an unsaved PowerPoint on Mac (or a deleted one), they aren’t always guaranteed to work – data can easily be overwritten even by innocuous operating system processes.
To avoid losing your presentations in the future (and prolong your lifespan), we suggest the following: (1) enable the autosave feature in Microsoft PowerPoint (top left corner of the window), (2) enable Time Machine, and (3) manually back up your data to a separate drive or to a cloud storage service like iCloud or Google Drive.
FAQ
To recover a PowerPoint file not saved on your Mac:
- If you didn’t save your presentation at all, check your Mac’s Temp folder for a copy of the file. To go to the Temp folder, use the open TMPDIR$ command in Terminal.
- If autosave was enabled and you saved your presentation at least once, you might be able to access the most recent version. With PowerPoint open, click File > Open Recent > Recover Unsaved Presentations.
PowerPoint’s auto-recovery files are saved in the autorecovery folder, which is a good place to look if your PowerPoint disappeared. It has different locations depending on your version of Microsoft Office. For Office 2009 and 2011: /Users/username/Library/Application Support/ Microsoft/Office/Office (version) AutoRecovery
For Office 2016 and 2018: /Users/Library/Containers/com.Microsoft.Powerpoint/Data/Library/Preferences/AutoRecovery
To restore a previous PowerPoint file, you have 2 options:
- Restore a previous version from the Version History menu. With PowerPoint open, click File > Open and right-click your presentation and select Version History. Click the version you want to restore and click Restore.
- Restore a Time Machine backup containing the version you want.