

Table of Contents
Apple released macOS 12 Monterey in October 2021. The new version brought many upgrades like universal control, new Facetime capabilities, SharePlay, privacy updates, a new Focus feature, Notes upgrades, and many more. Since then, Apple has released two more macOS versions: Ventura in 2022 and Sonoma in 2023.
Many people are used to macOS 12 Monterey and want to install this version on their Macs, at least until support ends on the 30th of November, 2024.
What is a Clean Install and Why We Recommend It?
Mac clean install simply means installing the OS on a newly formatted or erased drive. The common way of installing a new OS is to install it on top of the current macOS. However, this can lead to residual files from the old OS that are no longer being used.
When you do a clean install, it’s like having a fresh and clean start with your Mac. All unnecessary system files and unused applications are deleted, speeding up your computer as if it was brand new. Unfortunately, all the apps and files you use are also erased, so properly backing up your files is crucial.
Is macOS Monterey compatible with your Mac?

First off, not all Macs are compatible with macOS Monterey. If your Mac is one of the older generations, you might not be able to update to Monterey at all. It’s also worth noting that some features are only available on newer Macs with the M1 and M2 processors.
Here’s a list of Macs compatible with Monterey:
- MacBook Air – 2015 – Mid 2022
- MacBook Pro – 2015 – Mid 2022
- MacBook – 2016 and later
- Mac mini – Late 2014 – Late 2020
- iMac – Late 2015 – 2021
- iMac Pro – 2017 and later
- Mac Pro – Late 2013 – Late 2019
- Mac Studio – 2022
On the contrary, here are the other Macs that can’t run Monterey:
- MacBook – 2015
- iMac – 2014 and early 2015
- MacBook Air – 2013 and 2014
- MacBook Pro – 2013 and 2014
- All new Macs released in 2023
If your Mac is compatible with macOS Monterey, then buckle up! This entire process will take 30 minutes to more than an hour depending on your Mac and internet speed.
6 Steps to Clean Install macOS 12 Monterey
Step 1: Clean Up Your System
As we prepare to clean install macOS Monterey, we recommend that you clean up your system first. This will make the backup lighter, which in return will help you save time. You will also be able to free up more space and get rid of unnecessary data stored in your Mac.
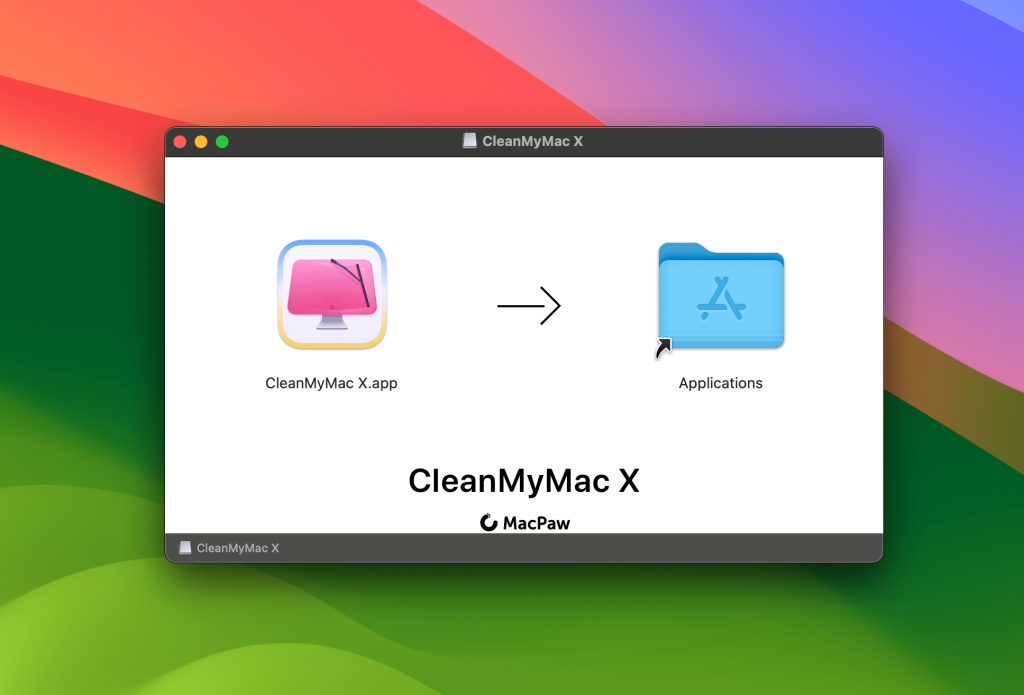
CleanMyMac X is an app that can help you clean up your drive. It is authorized by Apple and can clear up to 10GB worth of junk.
Here are the steps on how to clean up your system using CleanMyMac X:
- Download the CleanMyMacX app here. This app is available to download for free.
- Once the installation is done, open CleanMyMacX on your Mac.
- Select the Smart Scan on the upper left of the screen, and click the Scan button. Wait for the scan to finish.

- Click Review details to review the junk files you want deleted.

- Go back to summary and click Run to clean all the junk.


Now we’re all set for the next step, which is backing up your Mac.
Step 2: Backup Your Mac
This method is where you will need the external hard drive. It is crucial to backup your data because, as we mentioned earlier, a clean install is like having a fresh and new Mac.
For this step, you can either backup using Apple’s Time Machine or use Disk Drill to backup your Mac. We recommend Disk Drill because it has a byte-to-byte backup feature that allows you to make a complete backup copy of your drive. If ever some files will be lost while doing the clean install of macOS, Disk Drill also has the capacity to restore and recover lost data on macOS.
Follow the below process to back up your Mac via Time Machine.
- Connect an external hard drive to your Mac.
- When connected, a popup appears, asking if you want to use the drive as a Time Machine backup. Click Use As Backup Disk.
- If the popup doesn’t appear, select System Settings from the Apple menu in your screen’s top-left corner.

- Click General on the sidebar, then Time Machine on the right.

- Click the Add Backup Disk (+) button and choose the external hard drive.

- You can also choose whether to encrypt the backup disk with a password or not.

- APFS and HFS+ are the preferred formats/file systems for a Time Machine backup disk. If your chosen hard disk doesn’t have this format, Time Machine will show you a prompt to erase and reformat it.

- Once you select the backup disk and its encryption settings, Time Machine will start backing up your Mac automatically. You just need to connect the selected drive regularly, and Time Machine will create automatic backups on it.


These Mac models are suitable for using Disk Drill:
- MacBook Pro (13-inch, 2017)
- MacBook Air (13-inch, 2017)
- iMac (21,5-inch, 2017)
- iMac Pro (2017)
- Mac mini (2018)
In order to back up your files using Disk Drill, you have to install the app first. To do that, follow the steps below:
- Go to www.cleverfiles.com/download.html to download and install the Disk Drill. After downloading, just drag the Disk Drill’s icon to the Applications folder.
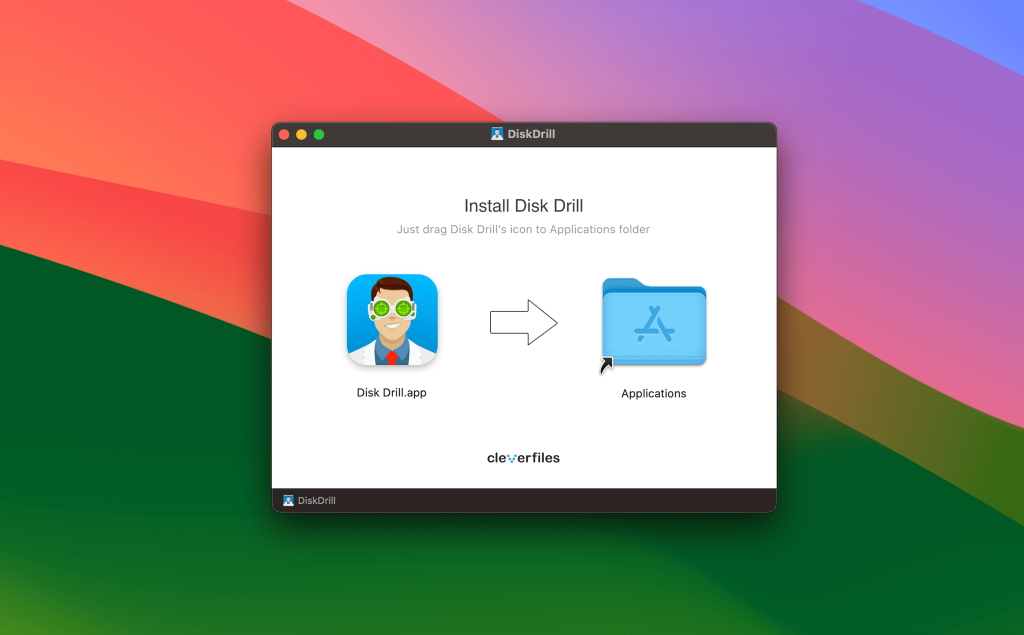
- Once the installation is done, launch the Disk Drill app on your Mac via the Spotlight Search.


Next, we’ll proceed to the steps on how to back up your Mac via Disk Drill.
- On the homepage of Disk Drill, select the option Byte-to-Byte backup located on the left sidebar under the Extra Tools.
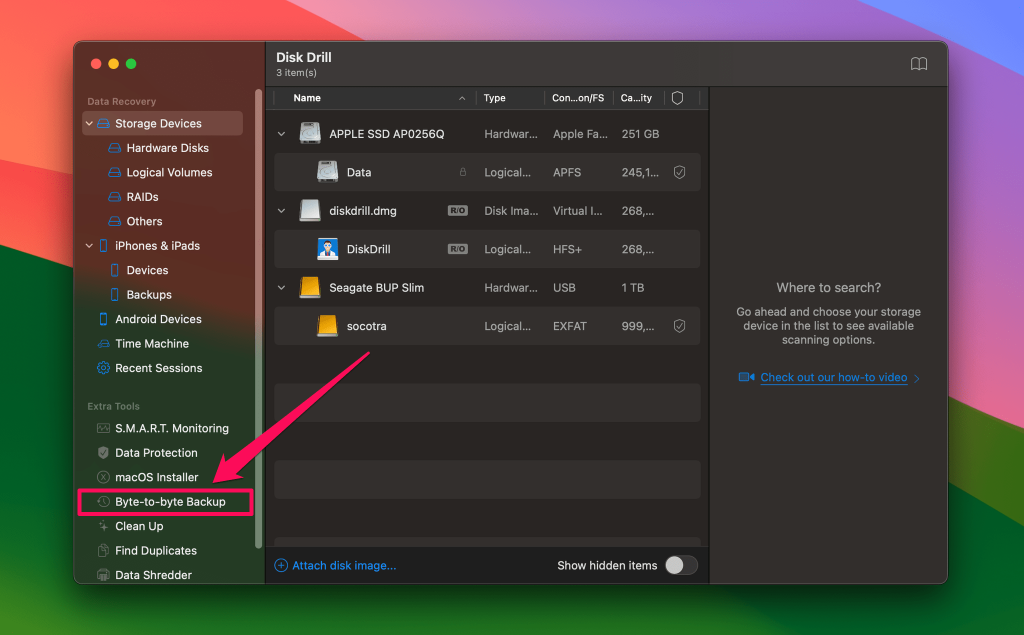 Disk Drill will show a list of drives available for backup into a disk image. Select the system drive, then click the Create Backup button. We recommend that you backup the whole drive so nothing will get lost.
- Choose a location where you want the DMG file to be saved. You can use your external hard drive here. Just make sure that it has enough storage space for your backup.
- Click Save, and your backup will begin. This will take a few minutes, depending on the size of the backup.

- You will see this on the screen once the backup is completed. Click the Home button to return to the homepage of Disk Drill.

 Disk Drill will show a list of drives available for backup into a disk image. Select the system drive, then click the Create Backup button. We recommend that you backup the whole drive so nothing will get lost.


Step 3: Get macOS Monterey
Now that you’re done cleaning up your system and backing up your Mac, you are all set to download and install the new macOS Monterey.
Download macOS Monterey Official Version
Keep in mind that downloading and installing a new version of macOS into your system can take hours depending on the speed of your internet and your Mac. You’ll also need to have enough space for the download to complete and install. After the update is complete, your Mac will restart during the final steps so make sure that all your files are saved.
The full version of macOS Monterey is already available for download and the steps for it is straightforward. Follow the steps below:
- Open up the App Store on your Mac.
- Look for and open macOS Monterey.

- On the new page, click on Get to begin downloading the macOS Monterey installer.

- Click Download.

- Simply wait for the download to complete.


Step 4: Create a Bootable Drive via Disk Drill
Now that the installer is saved on your Applications folder, it’s time to create a bootable drive.
But first, you need to prepare your other external hard drive where you will keep the macOS Monterey installer. The external drive should have at least 16GB worth of storage, and it should be formatted.
Here’s how to format an external drive with your Mac’s Disk utility tool:
- Launch the Disk Utility app.
- Choose the storage drive you want to format from the sidebar.

- Tap the Erase button, and a menu will appear on your screen.
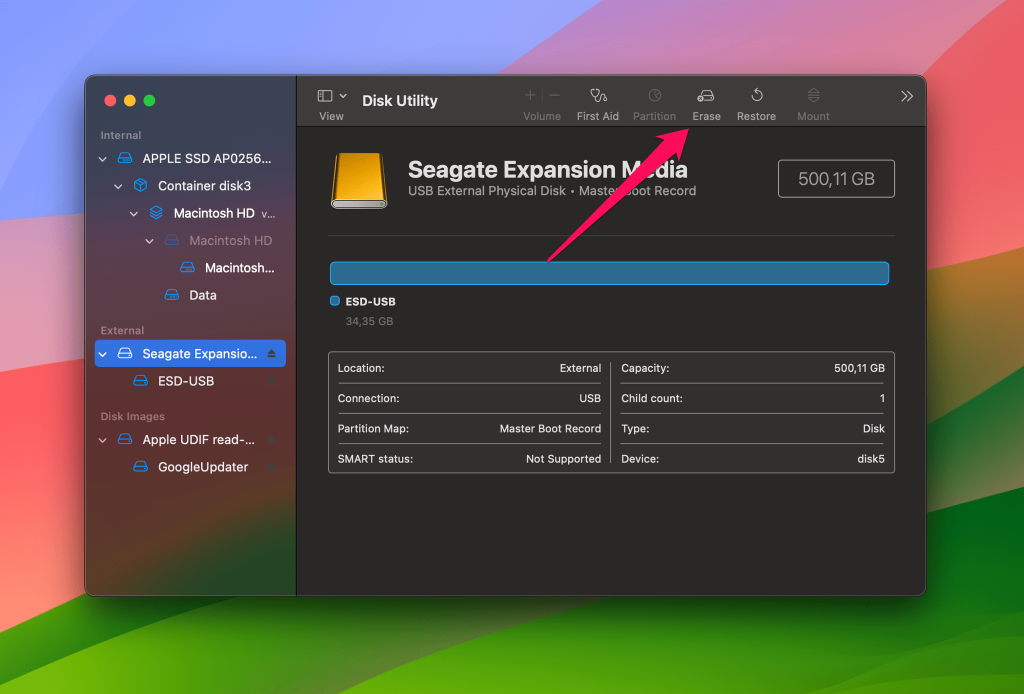
- Select Mac OS X Extended (Journaled) and GUID Partition Map.

- Click Erase, and wait for the formatting to complete.

- Click Done to exit the menu.


Below are the steps on how to create a bootable drive via Disk Drill:
- Launch the Disk Drill app on your Mac.
- Select the macOS installer on the options located on the left panel. Make sure you insert your flash drive. It is best to name this flash drive as “macOS installer drive” or something similar so you can easily identify it.

- Then, choose the macOS Monterey installer, select the destination of the flash drive. Keep note that you will have to choose the version of macOS Monterey installed here.
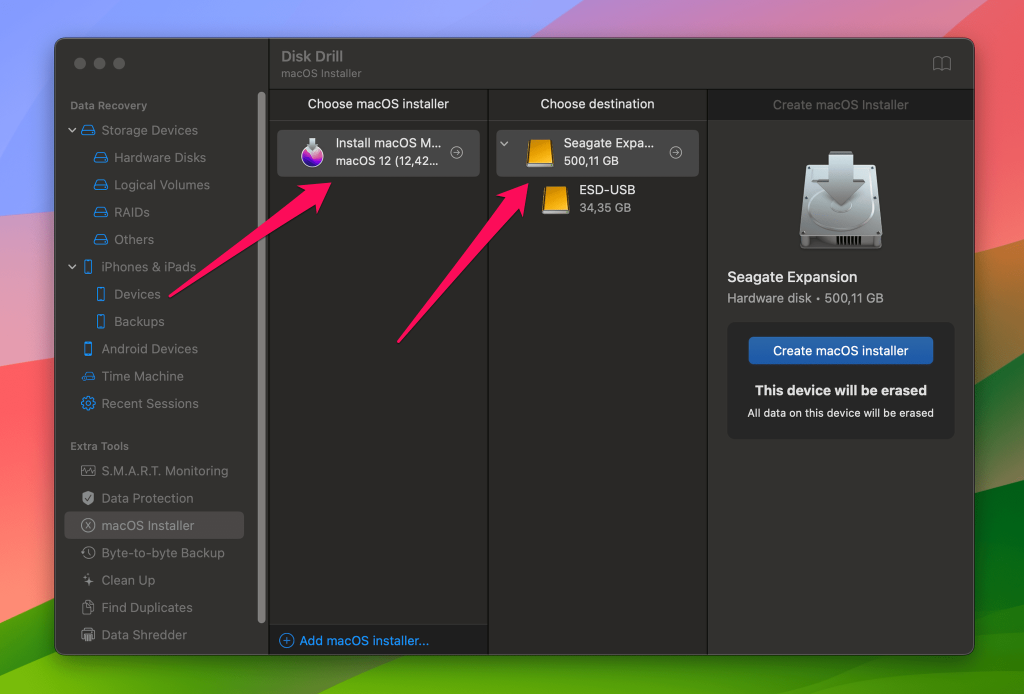
⛔ Warning: All data on destination will be erased! - Finally, click the Create macOS installer button.

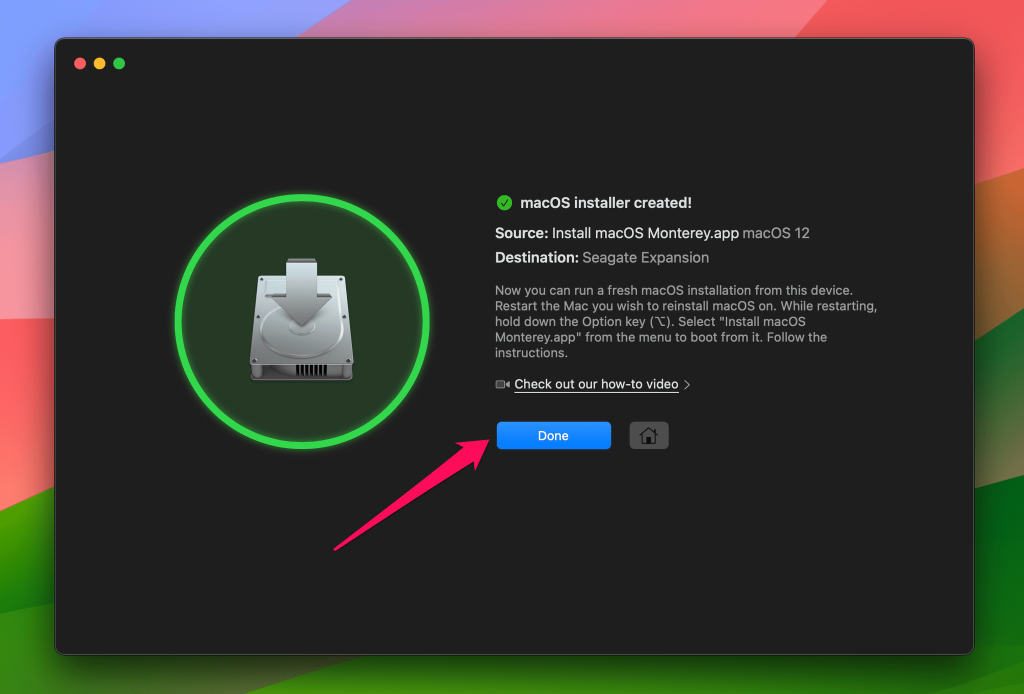
- Disk Drill will now create a macOS Installer Boot Drive. Click Done once the process is finished.


It’s also possible to create a bootable macOS Monterey installer from the Terminal app. To do this, you need a USB flash drive or any other secondary storage device with at least 15 GB of free storage, formatted as Mac OS Extended. Follow these steps:
- Plug in the USB drive or any other secondary storage device you’re using for the bootable installer.
- Open the Terminal app in your Utilities folder.
- Type or paste this command: sudo /Applications/Install\ macOS\ Monterey.app/Contents/Resources/createinstallmedia –volume /Volumes/MyVolume. Replace “MyVolume” with the name of the storage device you’re using and press Return.

- Type your administrator password when prompted and press Return.
- Press Y and then Return to confirm you want to erase the storage device and replace its contents with the macOS Monterey installer.

- After erasing the storage device, you may get a notification that Terminal wants to access files on the removable storage device. Click OK to permit it.
- When Terminal notifies you that it’s done, the storage device will have the same name as the installer you downloaded on it, in this case, Install macOS Monterey.

- Quit the Terminal and eject the storage device. It now functions as a bootable macOS Monterey installer.


Step 5: Update Your Startup Security Settings
To make things clearer, we will divide this section depending on the security chip installed on your Mac.
Update The Startup Security Settings For Old Macs
The set of instructions below are applicable to Macs that do not have a security chip installed. If you are not using this type of Mac, you may skip this part.
- Shut down your Mac.
- Then, press the Power button and hold Command + R. Hold for five seconds or until the Apple logo shows up on the screen.
- Your Mac will be in Recovery Mode. Enter your password to proceed.
- Then, the macOS Utilities window will appear. Click Utilities and select Startup Security Utility located at the top bar menu.
- Check if the option “Firmware Password Protection” is in off state. If it is on, turn off password protection.


Update The Startup Security Settings for Macs with T2-powered Chips.
If your Mac is T2-powered, this section is for you. Before erasing your current macOS, you have to activate booting the Mac from USB. Do this by updating the startup security settings.
- Shut down your Mac.
- Then, press the Power button and hold Command + R. Hold for five seconds or until the Apple logo shows up on the screen.
- Your Mac will be in Recovery Mode. Enter your password to proceed.
- Then, the macOS Utilities window will appear. Click Utilities and select Startup Security Utility.

- Press the button Enter macOS password, and enter your password again when the StartUp Security Utility window appears.
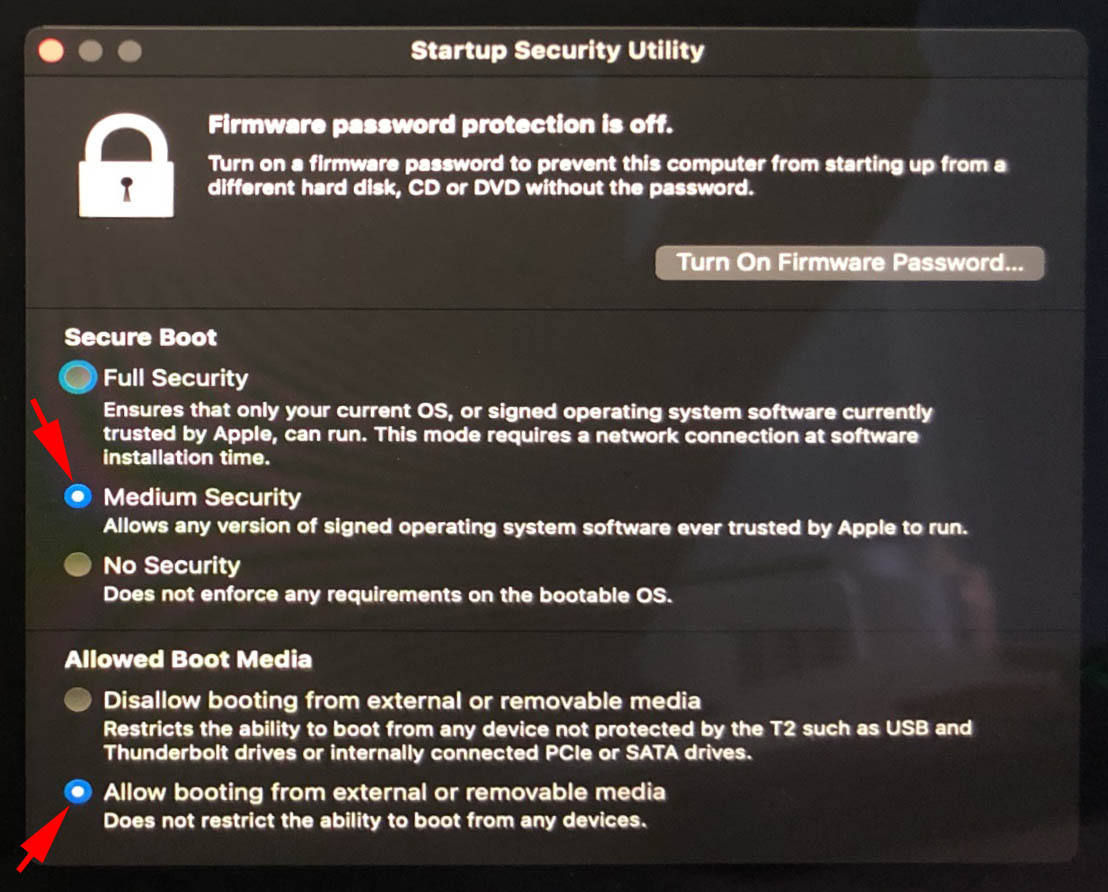
- Under Secure boot, select Medium security.
- Select Allow booting external media under the Allowed boot media. Then, close the window by clicking the red X icon. Settings will now be applied.
- Finally, shut down your Mac.


Update The Startup Security Settings For Macs With M1 Chips
For Macs powered by M1, M2, or M3 chips, these are the steps that you need to take:
- Shut down your Mac.
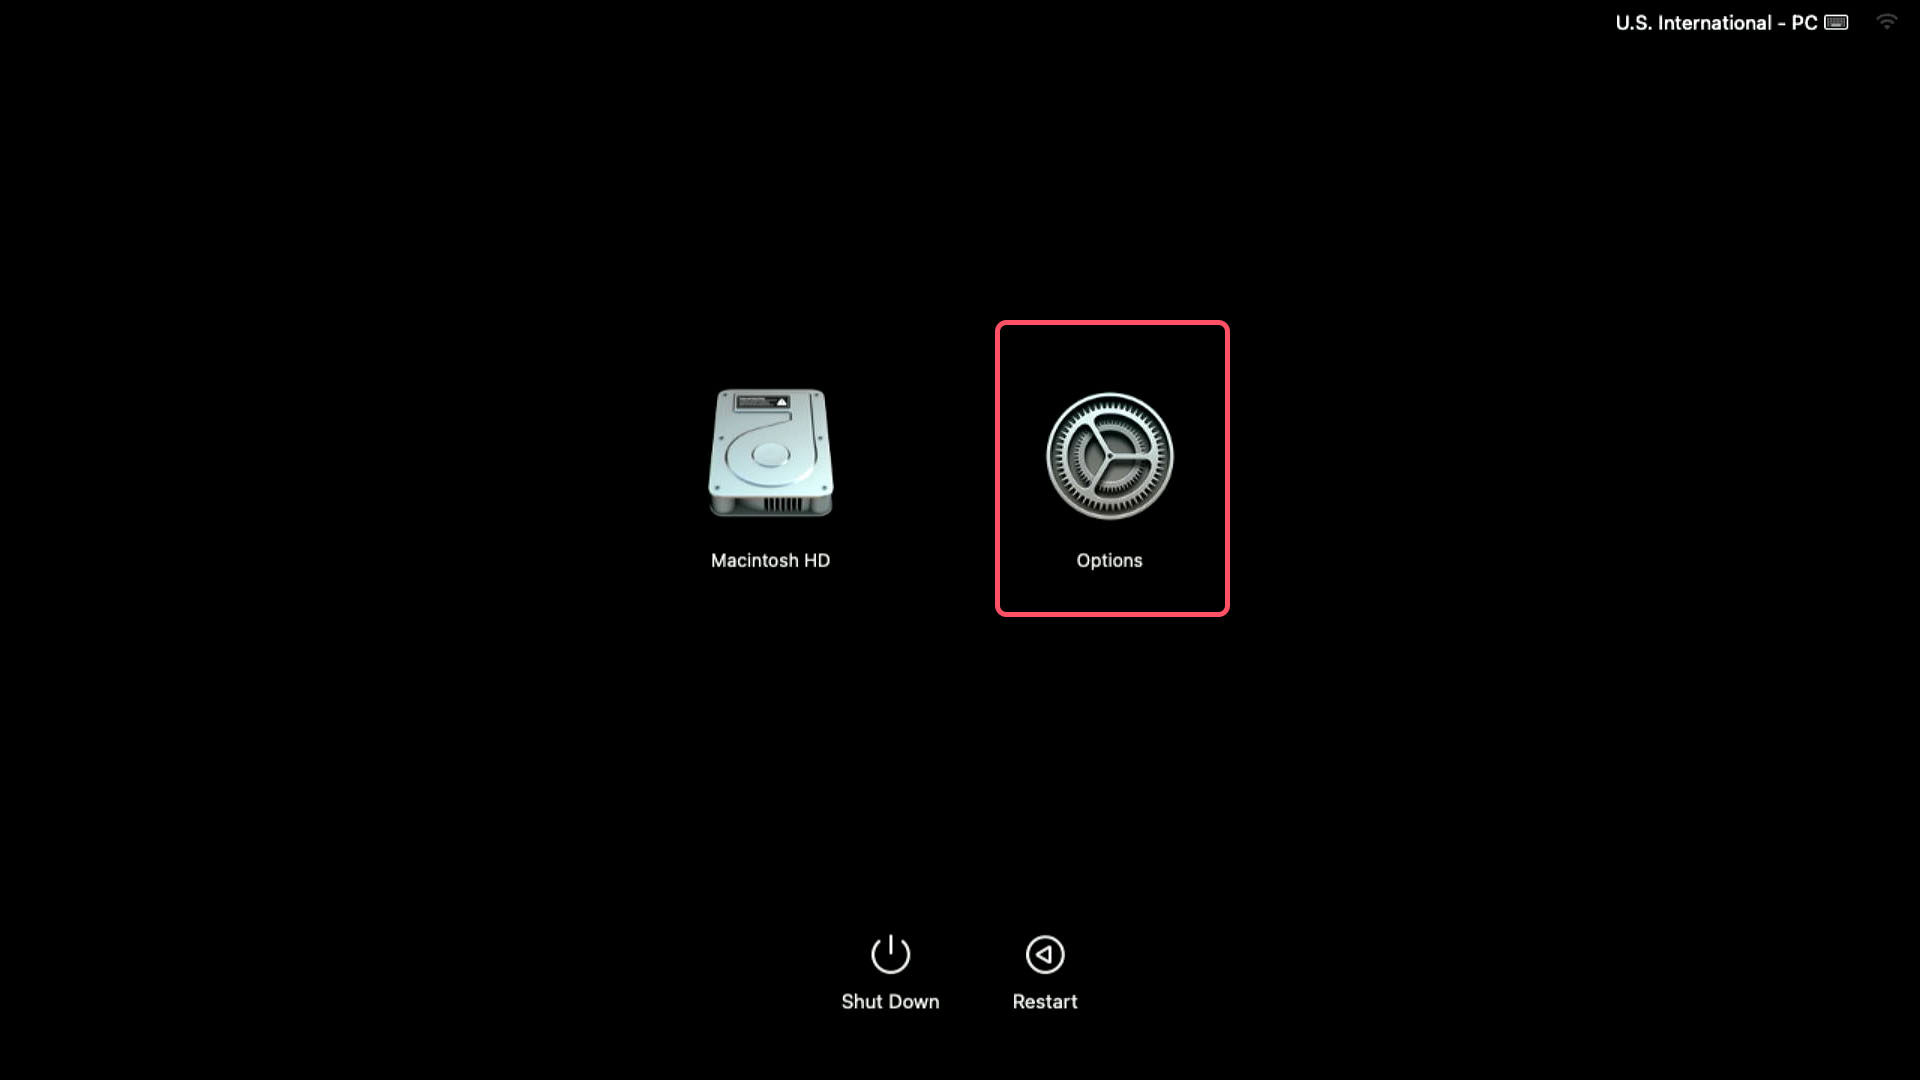
- Turn it back on and don’t let go of the power button. Keep holding the power button until you see the Startup Options window.

- Click Options or the gear icon, and then click Continue.
- You might be asked for your administrator password at this stage or a couple of steps later. Enter the password to proceed.
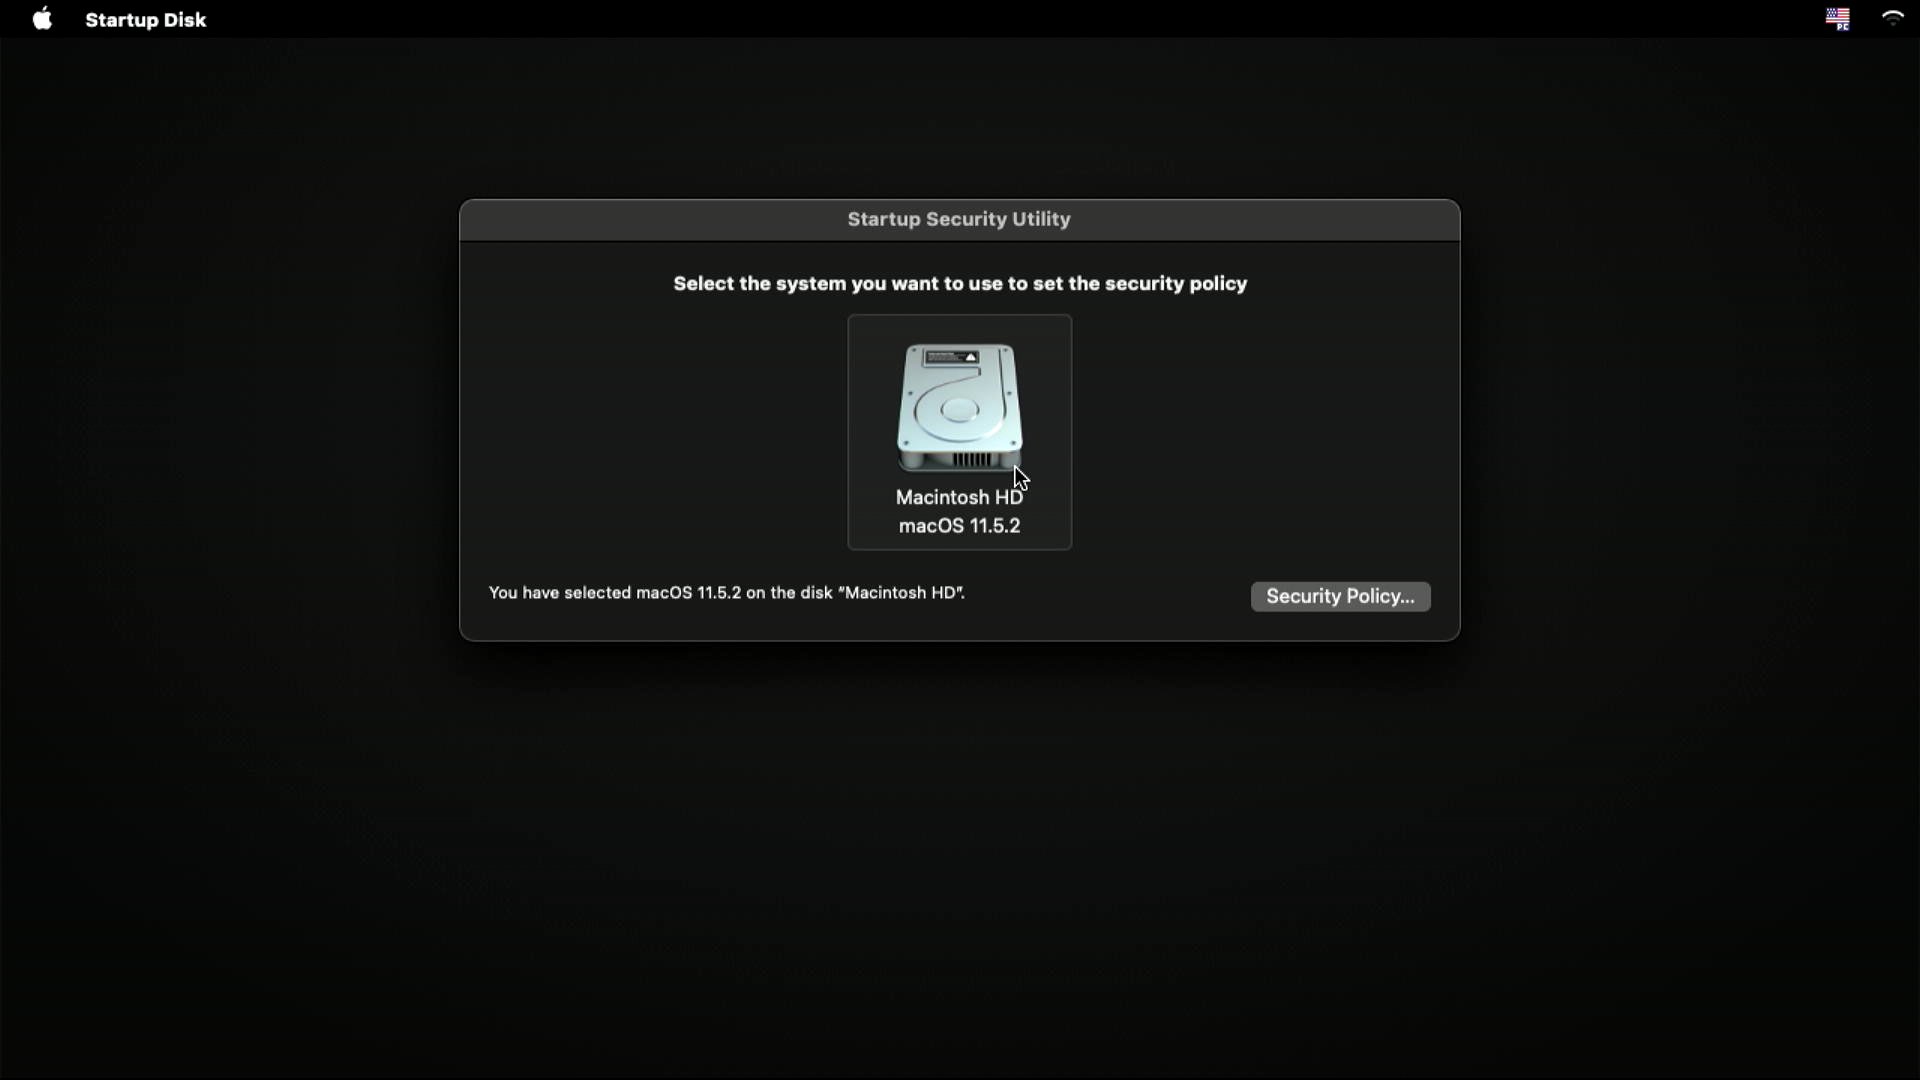
- Instead of using the utilities in the main window, go to the top menu bar, and select Utilities –> Startup Security Utility.

- Select your system drive and press the Security Policy button.
- On the next window, select Reduced Security option, then click OK button.
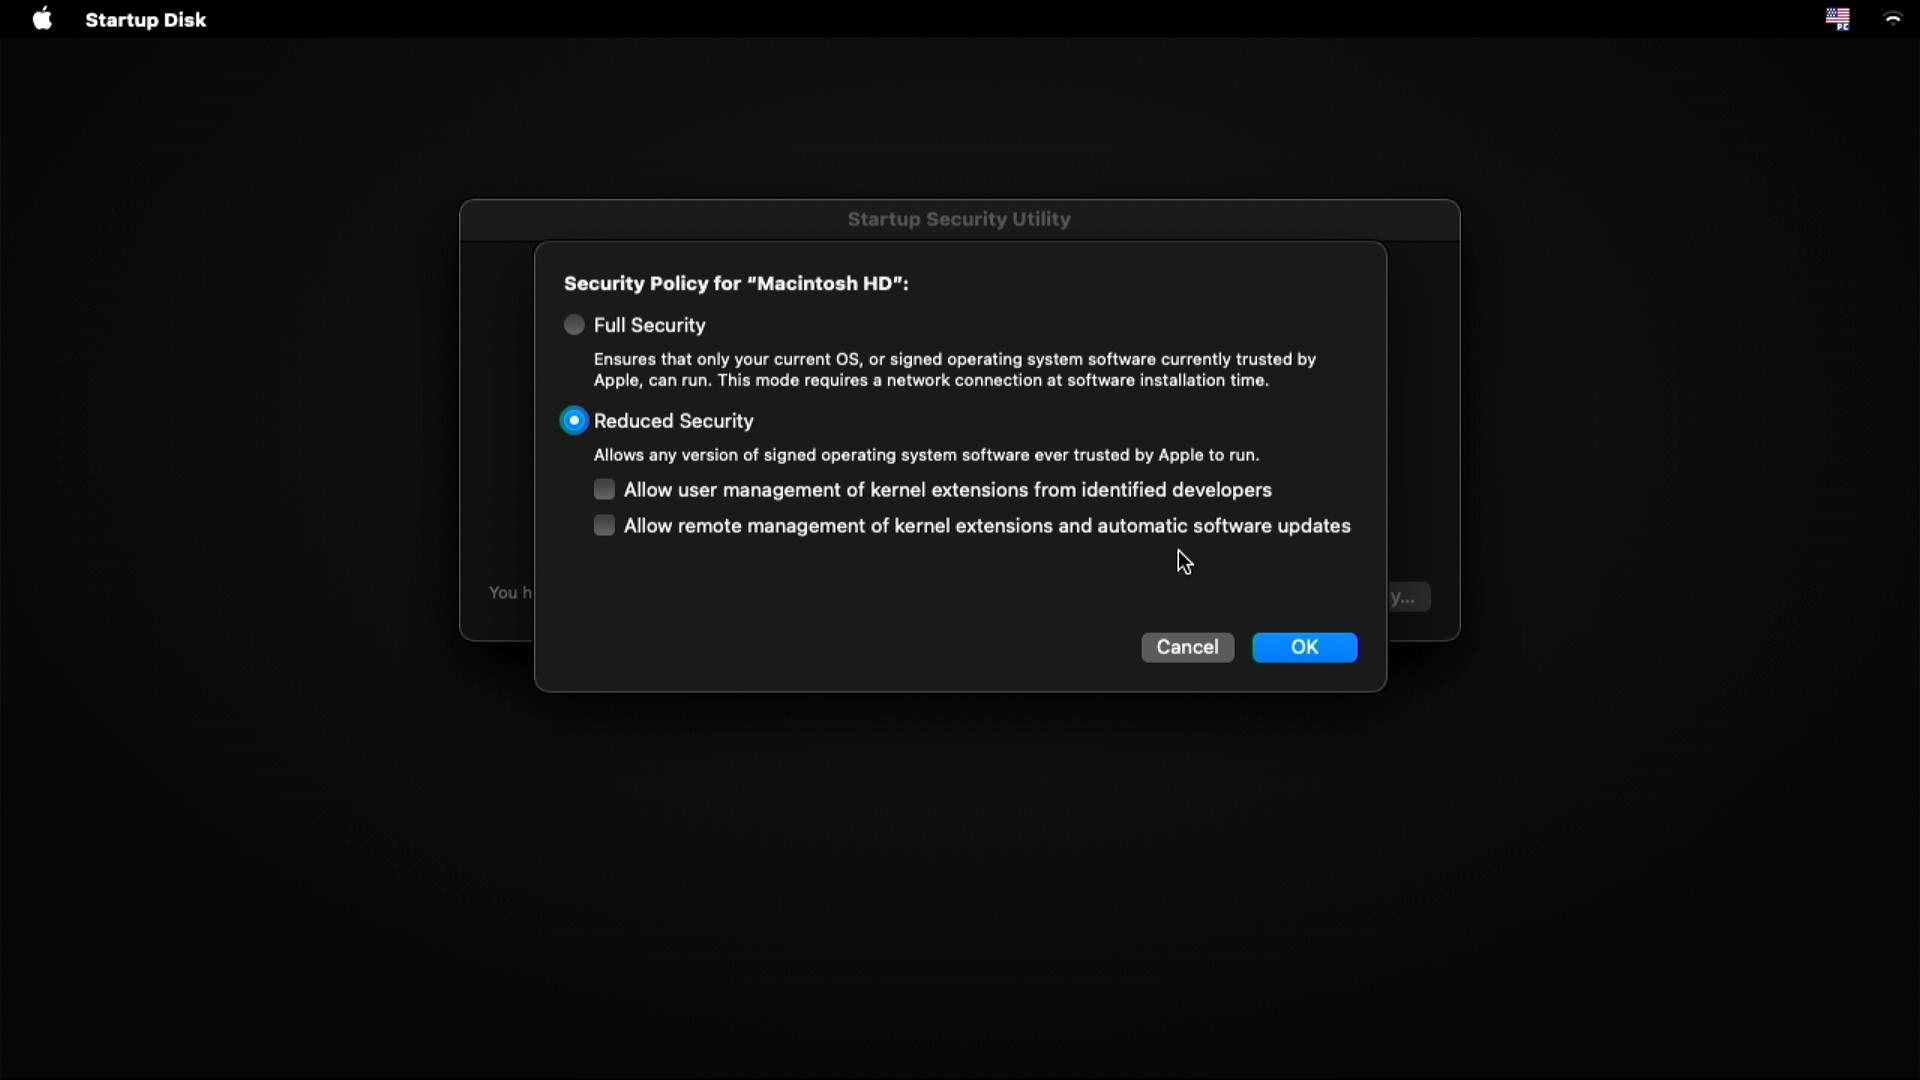
- Close the window and shut down your M1 Mac


Step 6: Erase Your Current macOS and Install macOS Monterey
After we have done all the necessary steps, your clean install of macOS Monterey will now begin. The next step is erasing your current macOS and finally installing macOS Monterey. For clarity, we will also divide this part depending on the type of Mac that you are using.
For older Macs that do not have security chips and for T2-powered Macs
- Connect your “Install macOS Monterey” USB drive where you placed the bootable installer.
- Start your Mac by holding down the Option key.
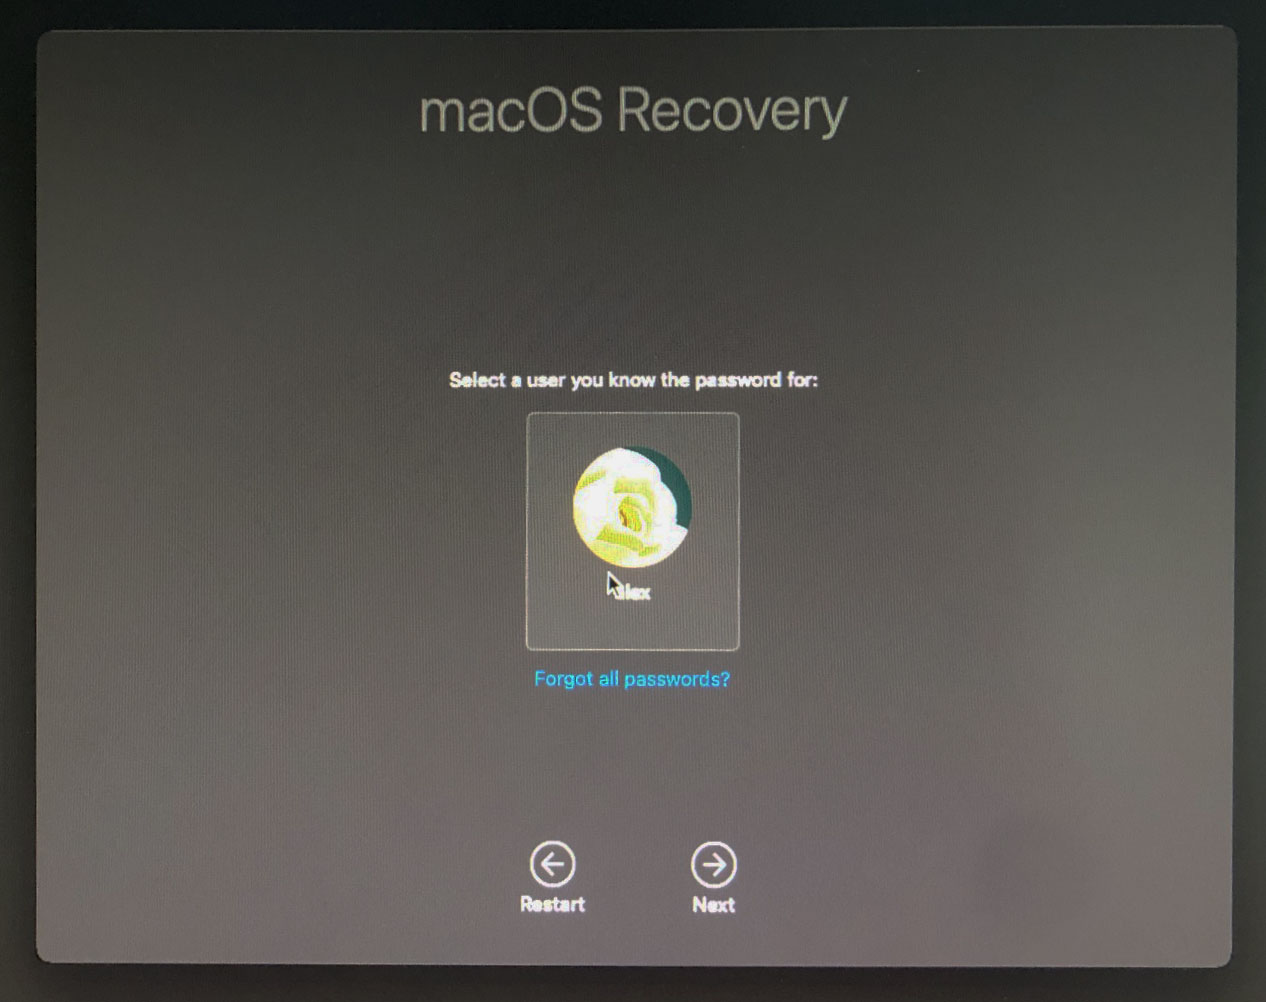
- The Recovery window will list the boot options. Boot from the Install macOS Monterey.
- Then, enter your account password to access macOS recovery menu.
- On the menu options, choose Disk Utility. The Disk Utility window will appear.

- Click the view button and select Show All Devices. From there, select your internal drive with the name Apple HDD\SSD and some numbers.

- Then, click Erase. Make sure to keep the format as APFS. Click Erase again.

- Your current macOS is now deleted. Close Disk Utility to go back to the Recovery window.
- While your “install macOS Monterey” bootable USB drive is still connected to your Mac, click Install macOS Monterey. Then, click Continue.


The installation will begin, and macOS Monterey will do the rest of the process. Your Mac will be restarting a few times and the installation will take around 30 minutes or more.
For Macs with M1, M2, and M3 chips installed
- Connect your “Install macOS Monterey” USB drive where you placed the bootable installer.
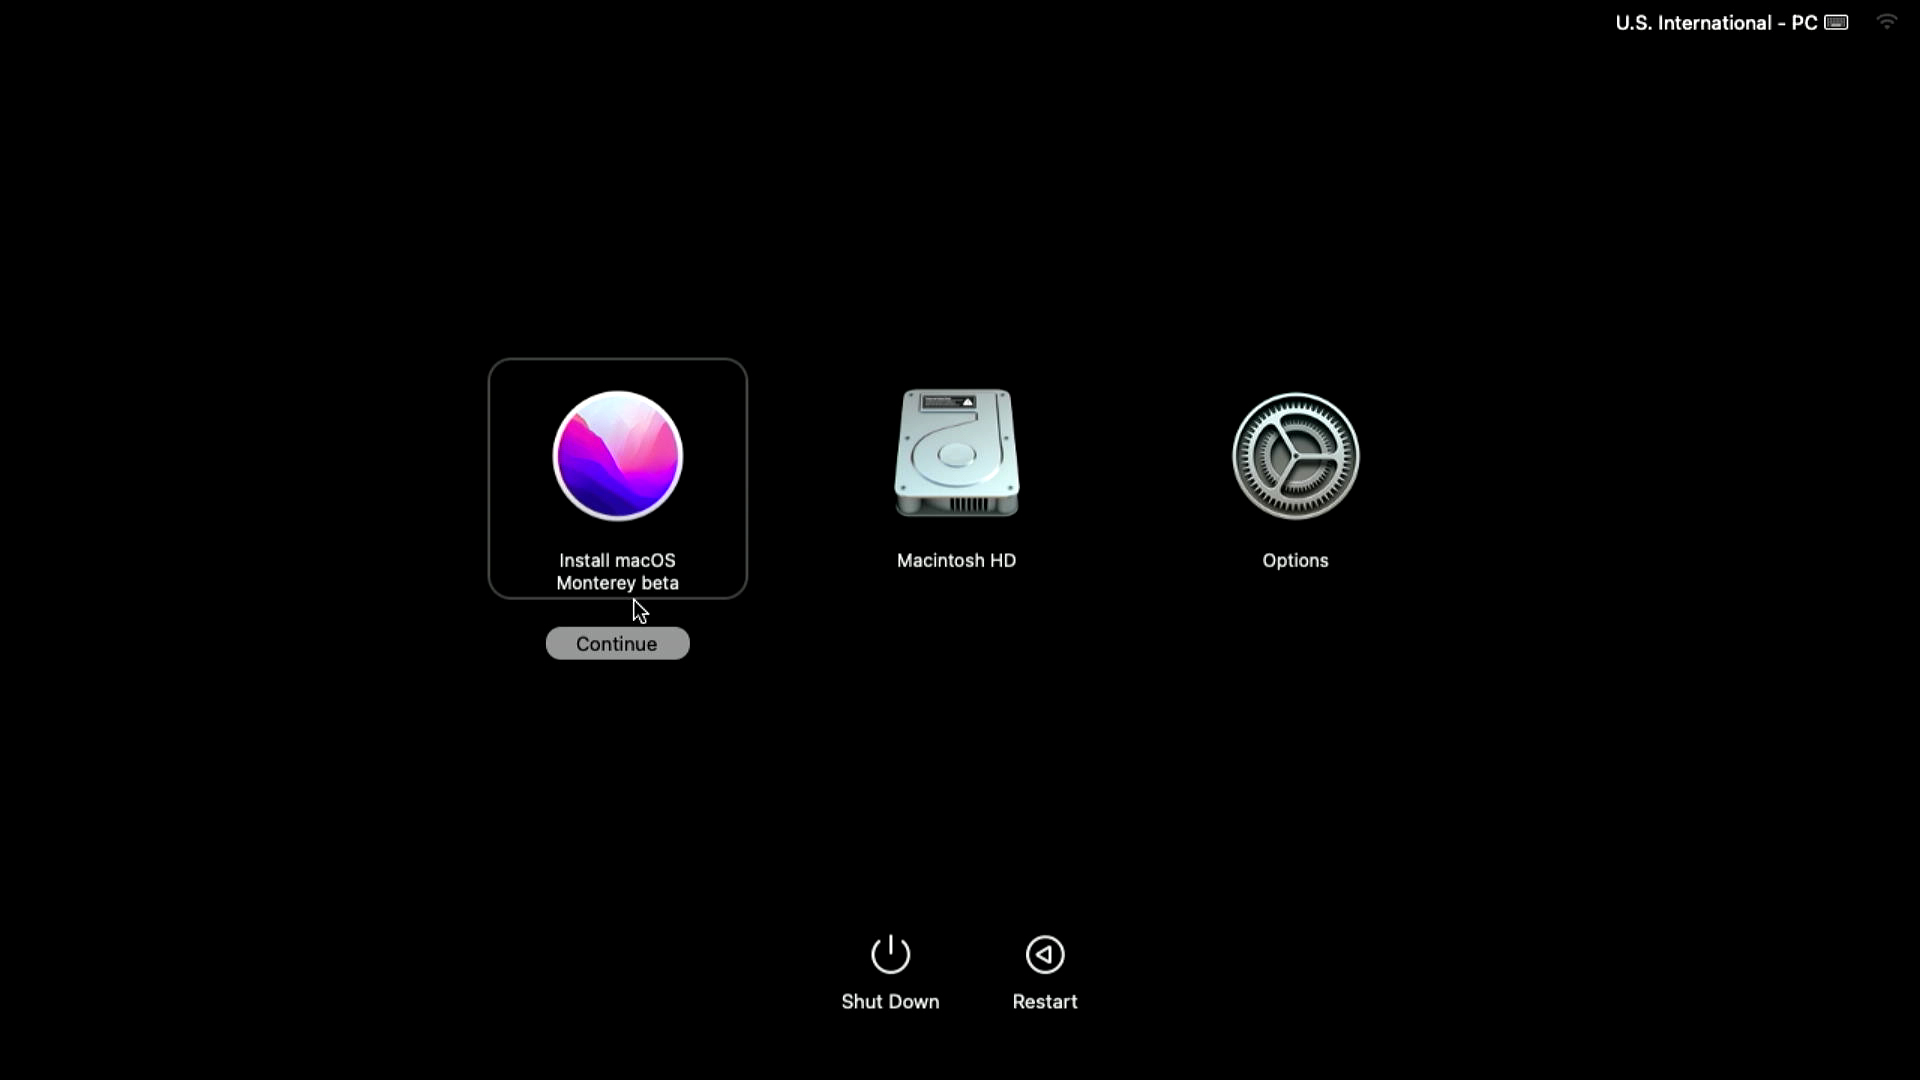
- Turn your Mac on and don’t let go of the power button. Keep holding it until you see the Startup Options window. Select Install macOS Monterey and click Continue.
- You will be presented with the macOS installer assistant window. Close it by pressing Install macOS Monterey -> Quit Install macOS.

- In the next pop-up window, press Quit. This step is needed to enter Disk Utility to erase your main system drive.

- Choose Disk Utility in the list of options.

- Click the View button and select Show all devices. Then select your internal drive – with the name Apple HDD\SSD and some numbers.

- Then, click Erase and choose APFS. Click Erase again.

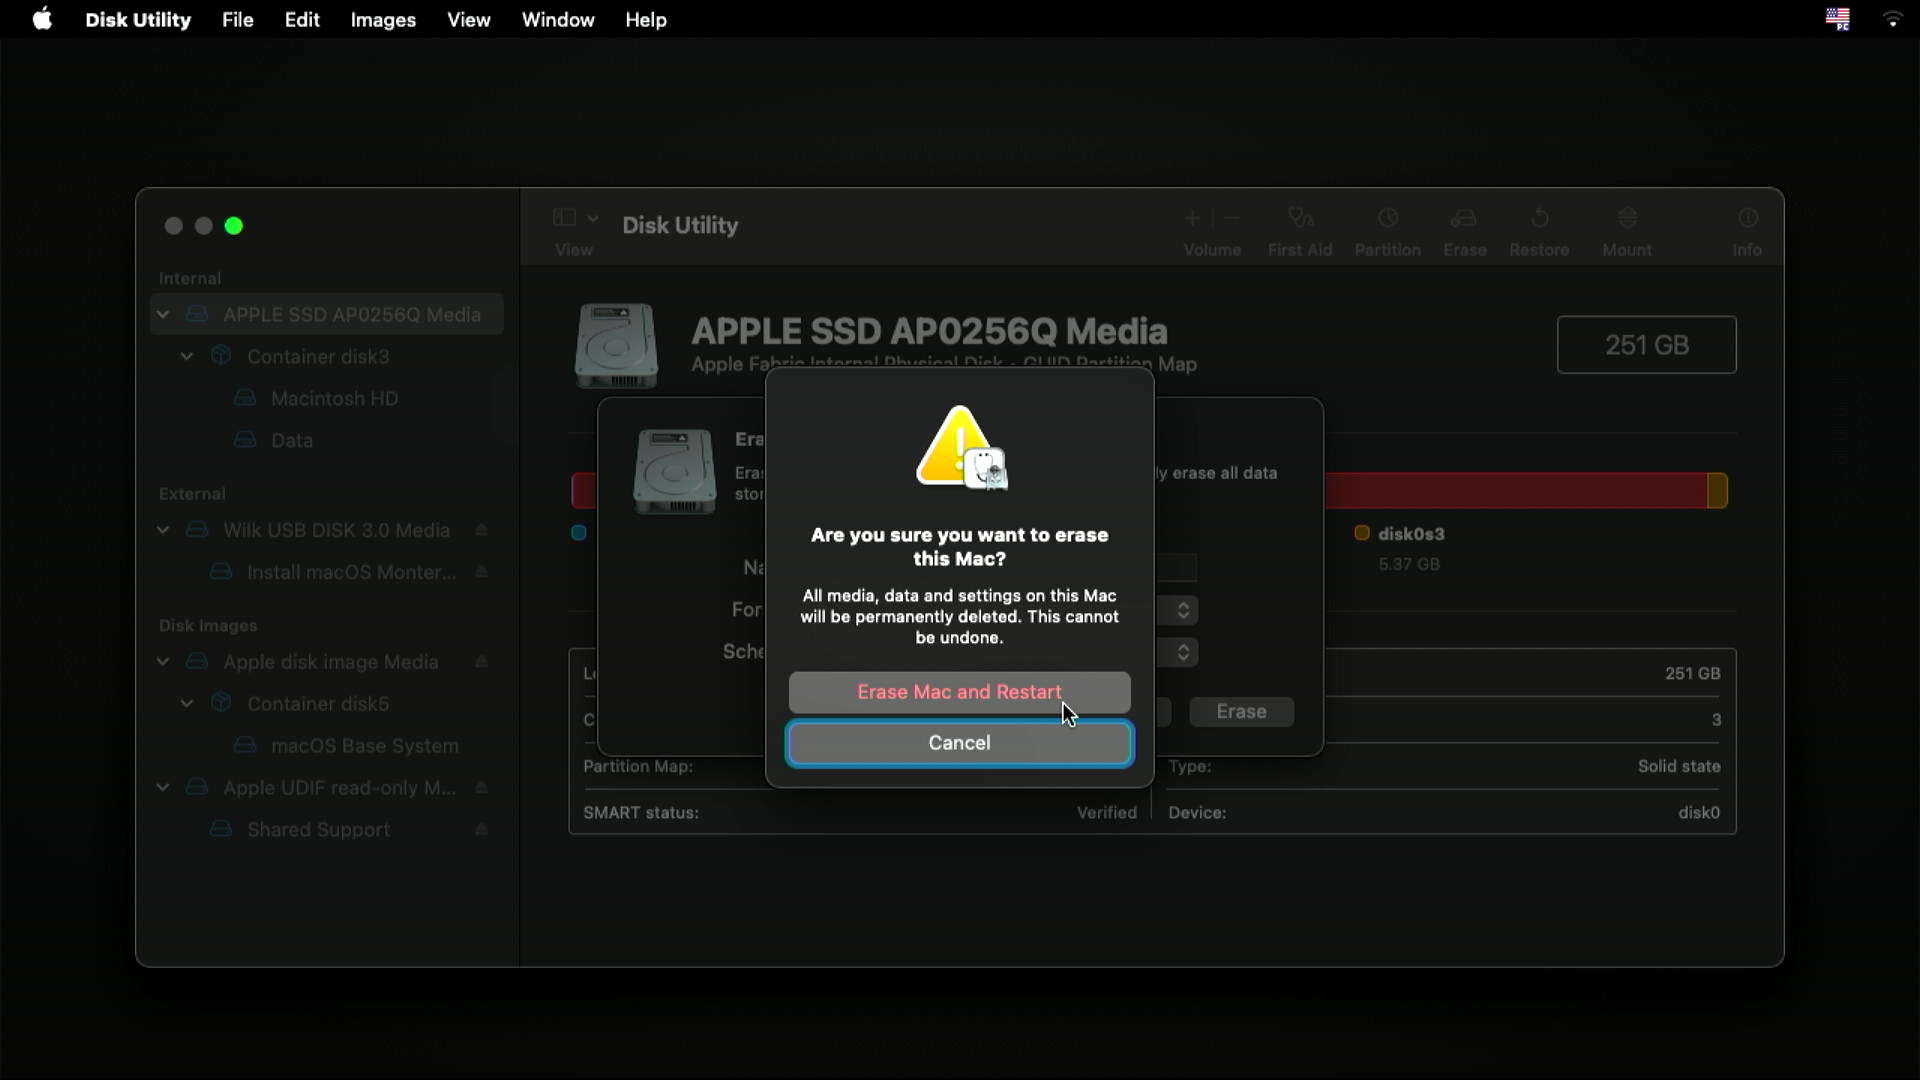
- On the next window click “Erase mac…”

⚠️ Warning: this will erase all your content stored on the Mac. Internet connection will be required to reactivate M1 Mac after erasing. - On the next window, click Erase Mac and Restart. This will start the process of erasing the main drive and will automatically restart your Mac for being reactivated after erasing is done.
- After auto restarting, a window to Activate Mac will appear. Remember, you need to have an internet connection to finish this process. Process of activation is automated and does not require user interaction.

- When activation is done, click Exit to Recovery Utilities.

- Shut down your Mac.
- Then finally, we go back to step 2. Turn on your Mac and don’t let go of the power button. Keep holding it until you see the Startup Options window. Select Install macOS Monterey and click Continue.
- You will be presented with the macOS installer assistant window again. Now select the language you want to use during installation, and click Continue to fire up macOS Monterey installation.


FAQ
For T2-powered Macs and Macs without a security chip: Shut down your Mac. Then press and hold Command + R to boot your Mac into recovery mode.
For Mac with M1 chip: Shut down your Mac. Turn it back on and hold the power button until you see the startup options window. Then click the gear “Options” icon, and then click Continue.
Conclusion
Doing a clean install of the macOS Monterey may seem like a tedious task but that’s just the way it is. Once you are done with all the processes, you will feel the difference between doing a regular install for a new macOS, compared to doing a clean install.
Have fun exploring your new macOS12 Monterey!