
Table of Contents
Running Windows programs on a Mac has become a common necessity for many users. Whether for professional software that’s only available on Windows or for games that haven’t made their way to macOS, the ability to run Windows software on Mac enriches the computing experience, offering the best of both worlds. This need highlights the importance of compatibility and flexibility in today’s diverse software ecosystem.
The goal to seamlessly run Windows programs on a Mac does not have to be complex or daunting. This article aims to guide you through the various methods available, from virtualization to dual-boot systems and compatibility layers, each offering a unique way to open Windows applications on your Mac. By exploring these options, you can learn how to integrate Windows into your Mac environment, making sure you have access to all the software you need, regardless of its native operating system.
Exploring Your Options for Windows Compatibility
When it comes to running Windows applications on a Mac, users have several avenues to explore. Each method offers its own set of advantages and considerations, catering to different needs and preferences. Understanding these options is the first step toward achieving seamless compatibility between Mac and Windows environments.
Virtualization: A Flexible Solution
Virtualization software allows you to run Windows within macOS, offering a balance between performance and convenience. Tools like Parallels Desktop and VMware Fusion enable users to open Windows applications on their Mac as if they were native macOS applications. This method is ideal for those who need to switch between operating systems without rebooting, providing a smooth, integrated experience.
Boot Camp: The Dual-Boot Approach
For those requiring the full performance of the Windows operating system, Boot Camp is a built-in macOS utility that allows you to install Windows on your Mac. This method creates a separate partition on your hard drive for Windows, enabling you to boot directly into Windows or macOS at startup. It’s perfect for applications that demand maximum hardware performance, offering a native Windows environment on your Mac hardware.
Compatibility Layers: Lightweight Alternatives
Compatibility layers, such as Wine, represent a more lightweight solution for running Windows programs on a Mac. These tools allow you to open a Windows program on your Mac without needing a full copy of Windows, by translating Windows API calls into macOS calls in real-time. While not suitable for every application, this method can be effective for running less demanding or older Windows software without the overhead of a virtual machine or dual-boot setup.
Each of these methods provides a viable pathway to run Windows software on Mac, whether you’re looking for flexibility, performance, or a lightweight solution. The choice depends on your specific needs, such as the types of applications you’re running, how often you need to access them, and whether you prioritize convenience or performance.
Selecting the Best Method for Your Needs
Choosing the right approach to run Windows apps on your Mac involves weighing several factors, including ease of use, performance requirements, and the specific Windows applications you need to run. Here’s a breakdown to help you decide which method aligns best with your needs:
- Virtualization Software: Ideal for users who need to frequently switch between macOS and Windows applications without rebooting. This method suits those who value convenience and are willing to compromise slightly on performance for the ability to run Windows software on Mac seamlessly alongside macOS apps.
- Boot Camp: Best for users who require the full performance of their hardware for Windows applications, such as graphically intensive games or professional software that demands maximum resources. This dual-boot solution provides a native Windows environment but requires rebooting to switch between operating systems.
- Compatibility Layers: A great choice for running older or less resource-intensive Windows applications without the need for a full Windows OS. This lightweight option is perfect for users who want to open Windows programs on a Mac with minimal overhead but may not support every application.
When making your decision, consider how often you’ll need to access Windows applications and whether those applications are resource-intensive. Virtualization offers the most flexibility but at a cost to performance, while Boot Camp offers peak performance with the inconvenience of rebooting. Compatibility layers sit in a unique niche, providing a balance for less demanding applications. Ultimately, the best method depends on your specific use case and workflow preferences.
Detailed Guide to Running Windows on Mac
Implementing the right method to run Windows software on your Mac enriches your computing experience. Here, we focus on virtualization and Boot Camp, providing a step-by-step guide for each, starting with virtualization through Parallels Desktop and VMware Fusion.
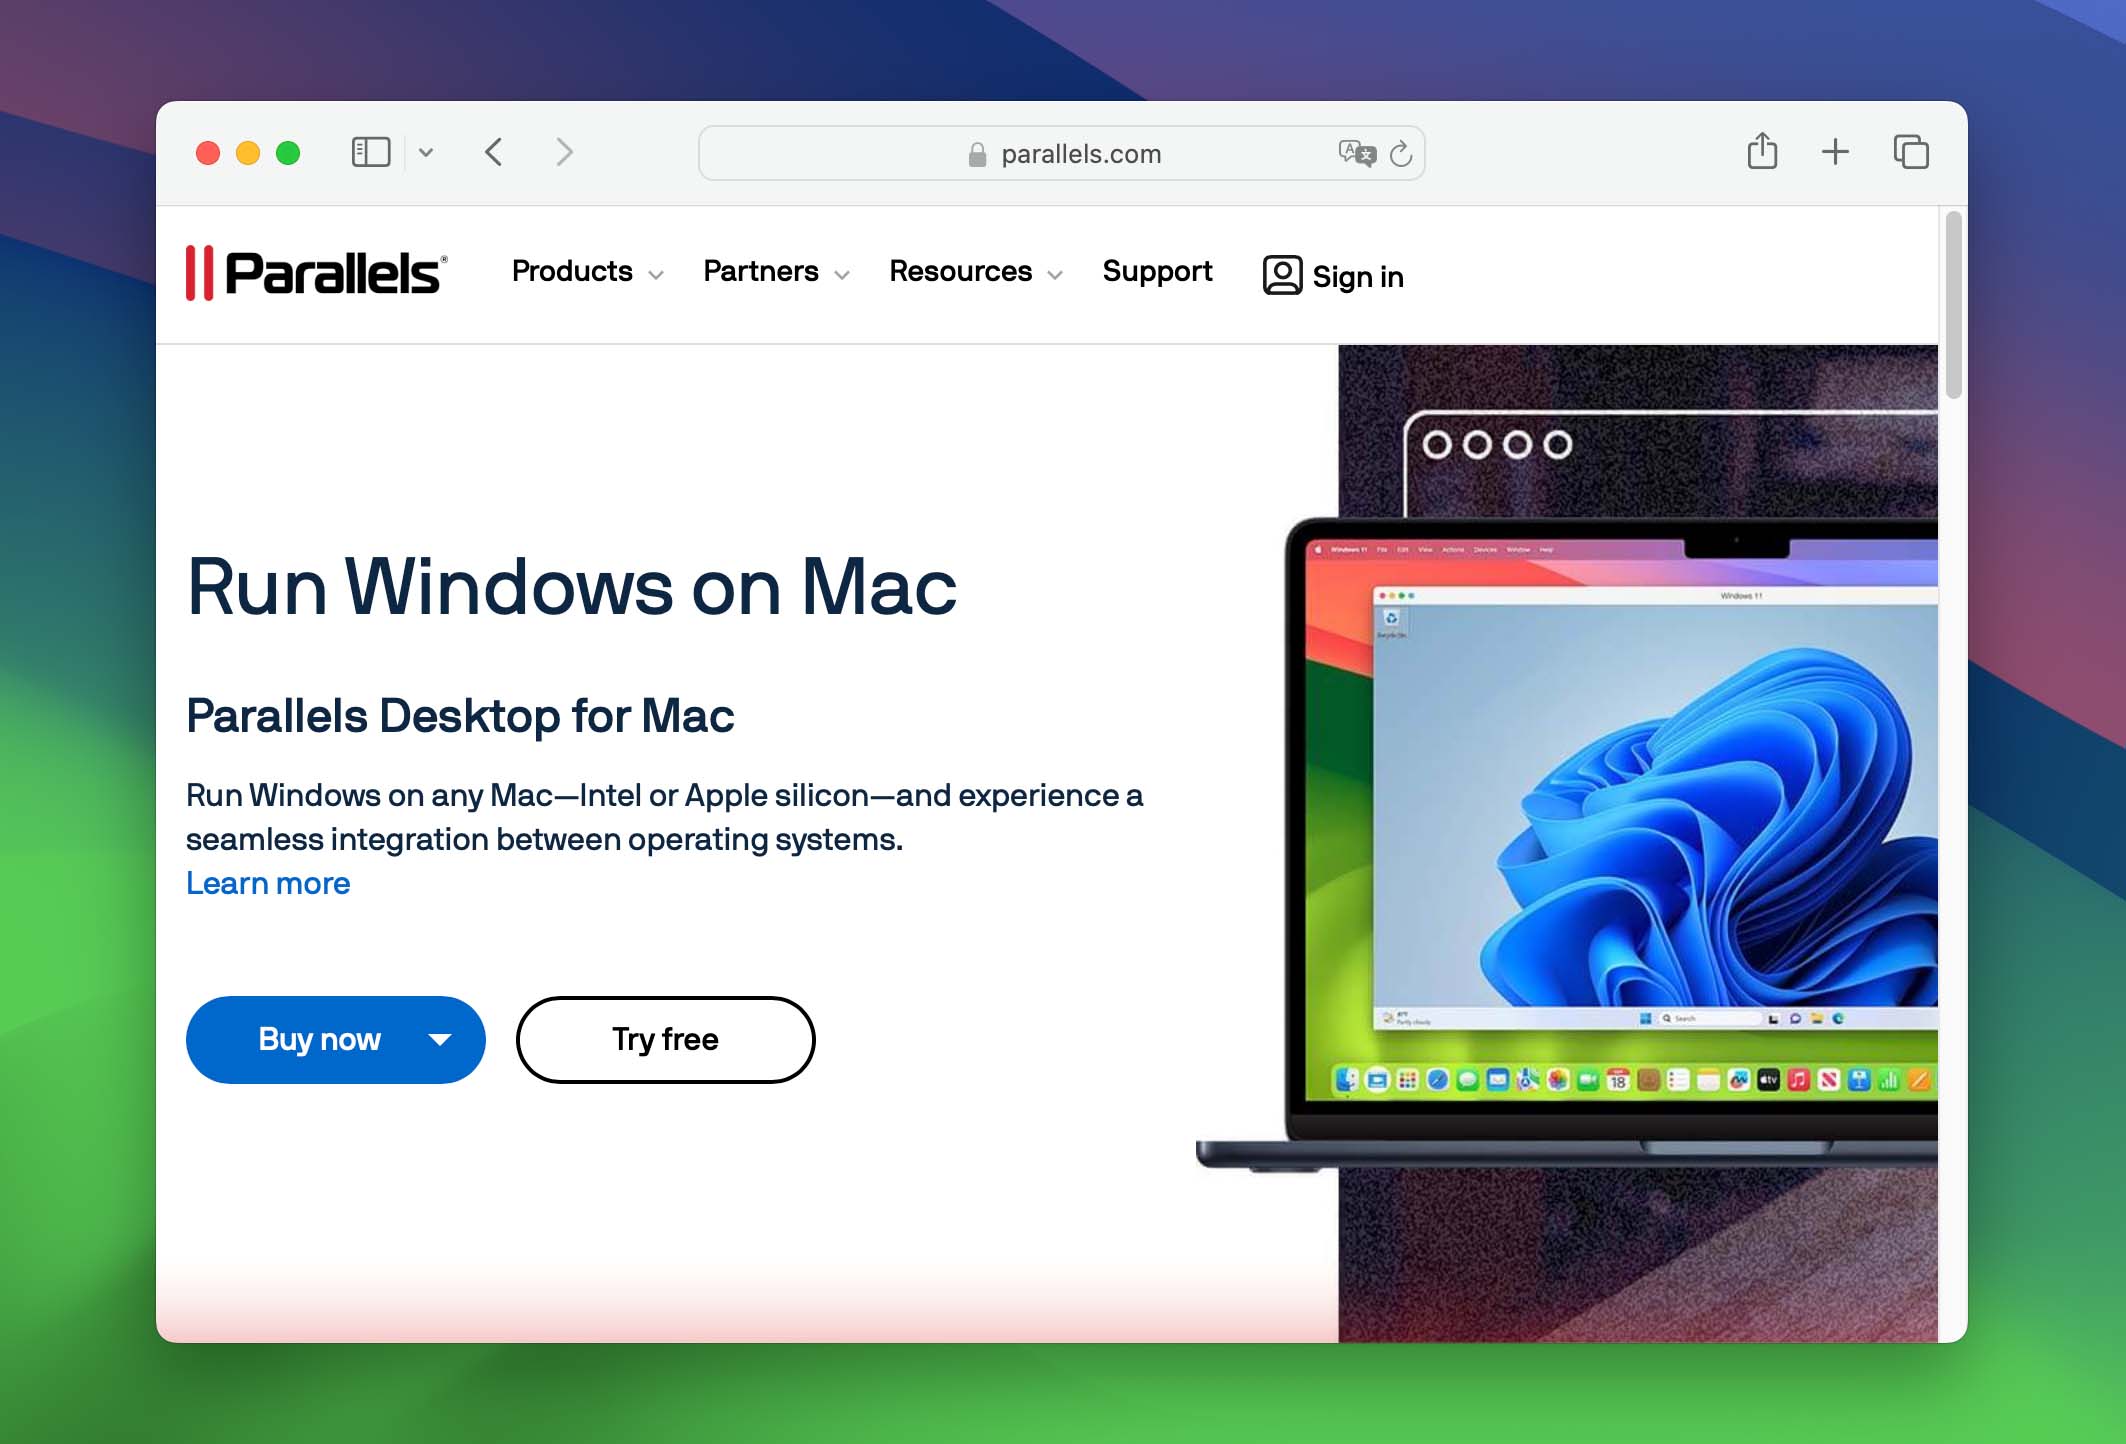
Setting Up Parallels Desktop for Mac
Parallels Desktop is a popular choice for those looking to run Windows software on their Mac without rebooting. Follow these steps to set up Parallels Desktop:
- Download Parallels Desktop from the official website. Ensure your Mac meets the minimum system requirements for installation.
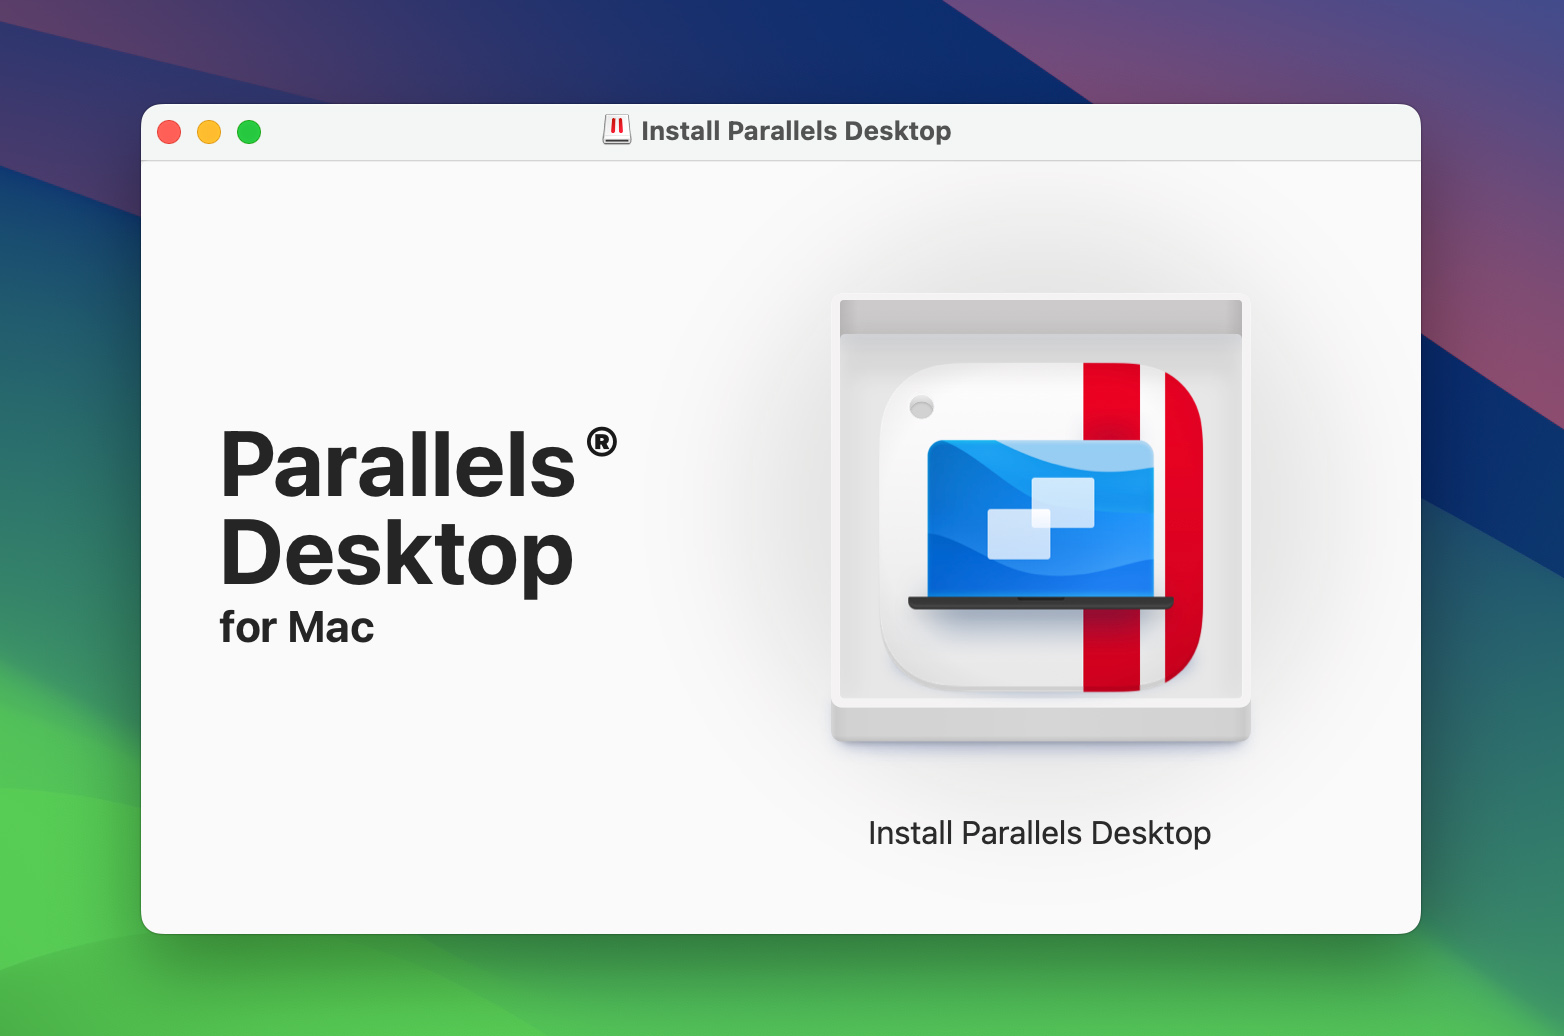
- Install Parallels Desktop by opening the downloaded image file location and Double-clicking Parallels Desktop icon. Launch Parallels Desktop once the installation is complete.
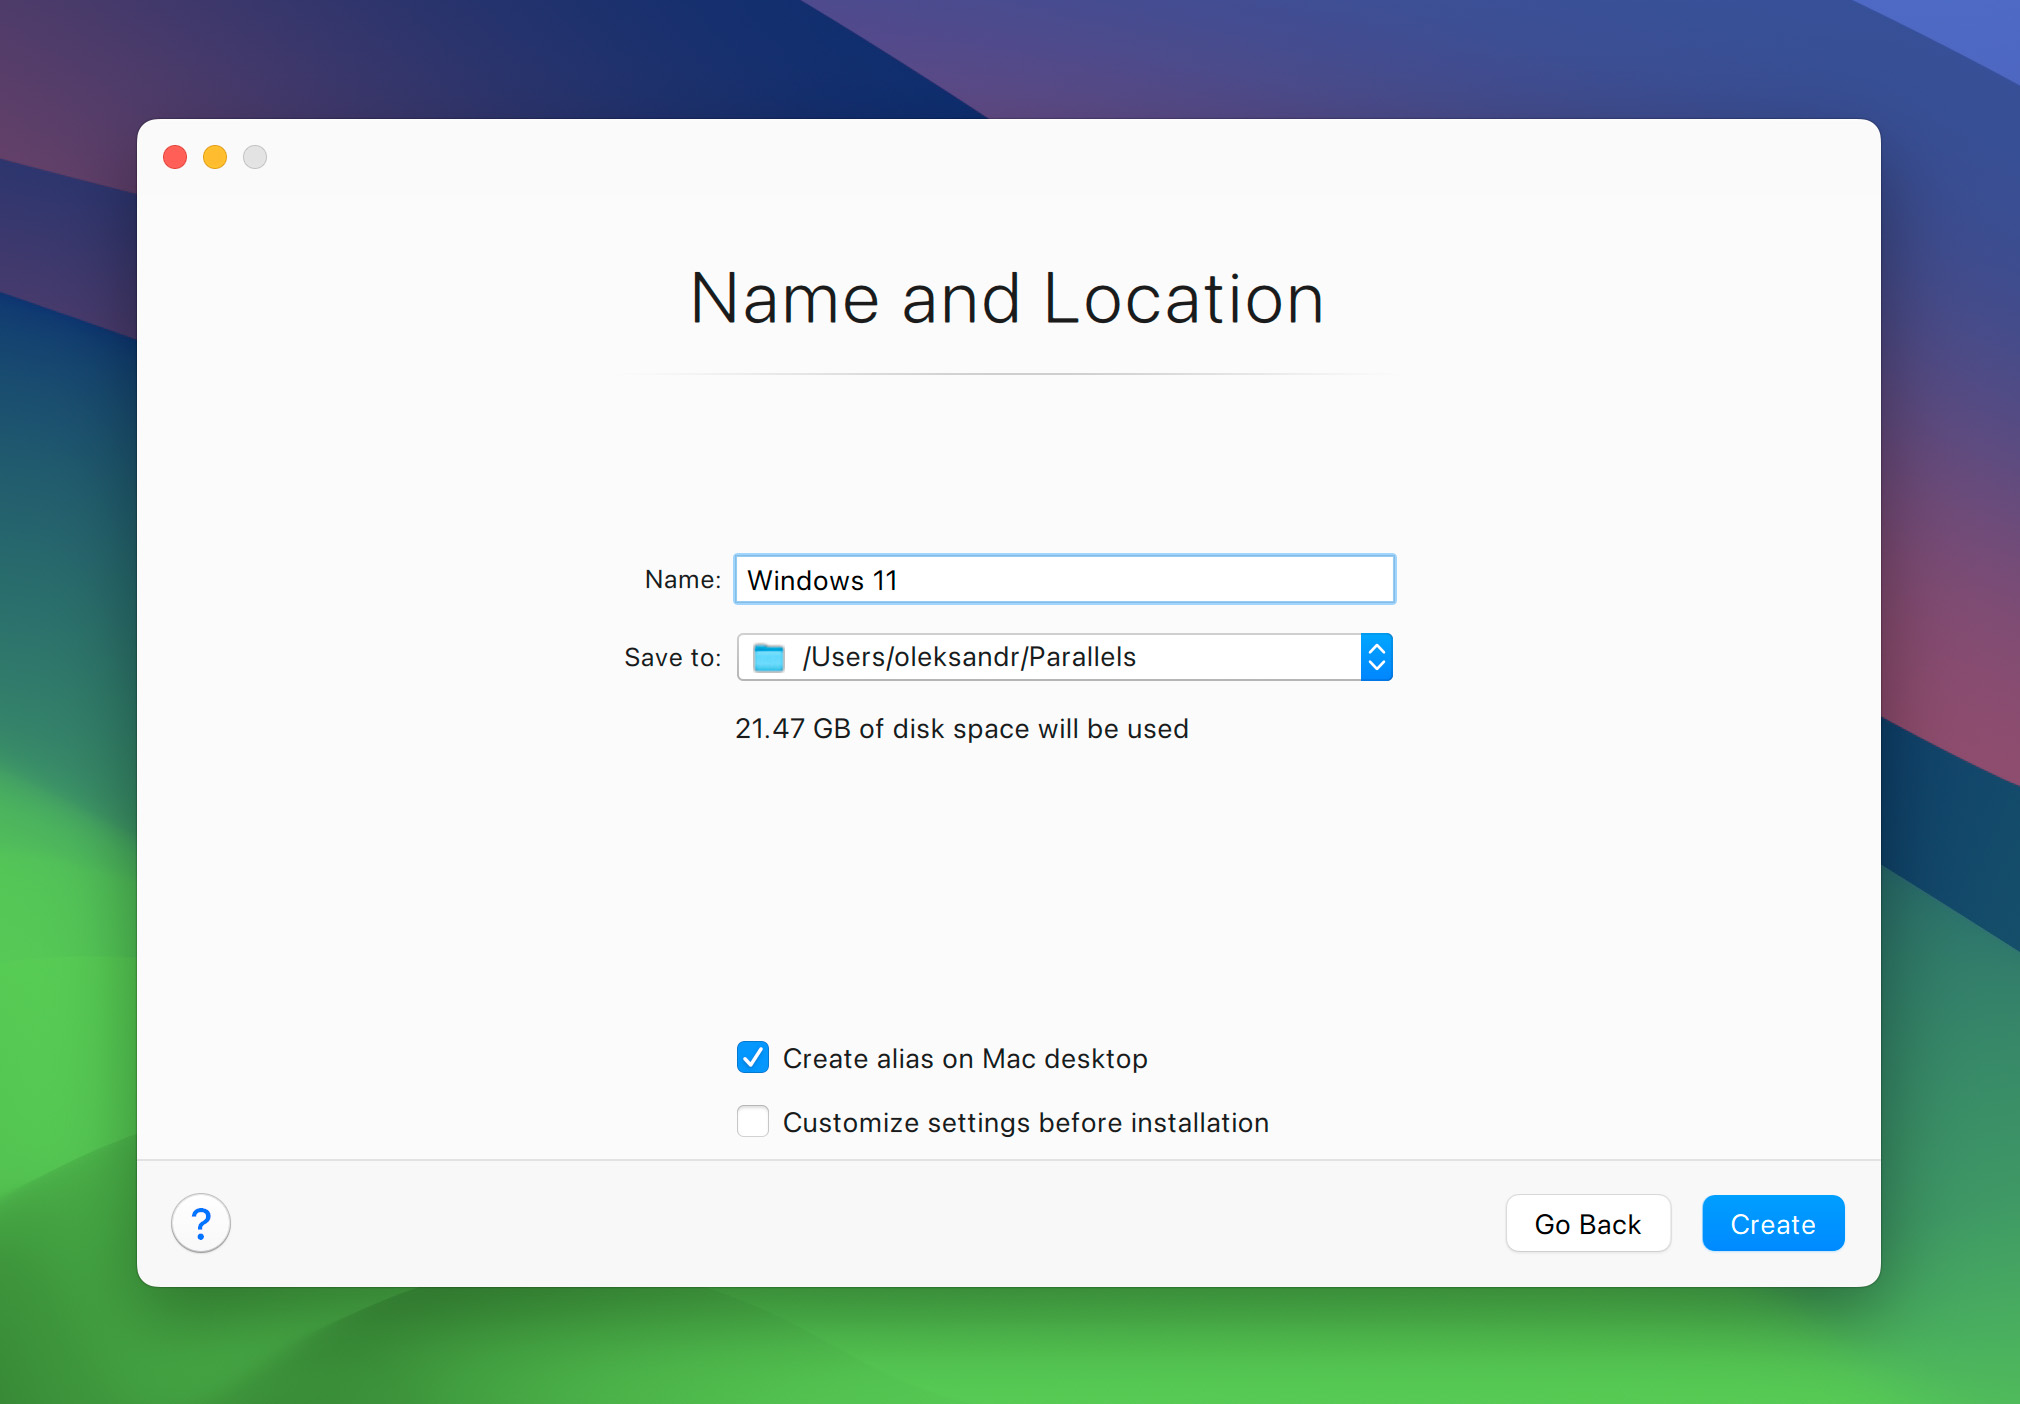
- Upon first launch, Parallels Desktop will prompt you to download and install Windows. You can choose to install Windows 10 or 11 directly from Microsoft through Parallels Desktop. Alternatively, if you have a Windows ISO file, you can select it at this stage.
- Follow the on-screen instructions to create a new virtual machine. Parallels Desktop will automatically configure the virtual machine’s settings for optimal performance based on your Mac’s specifications.
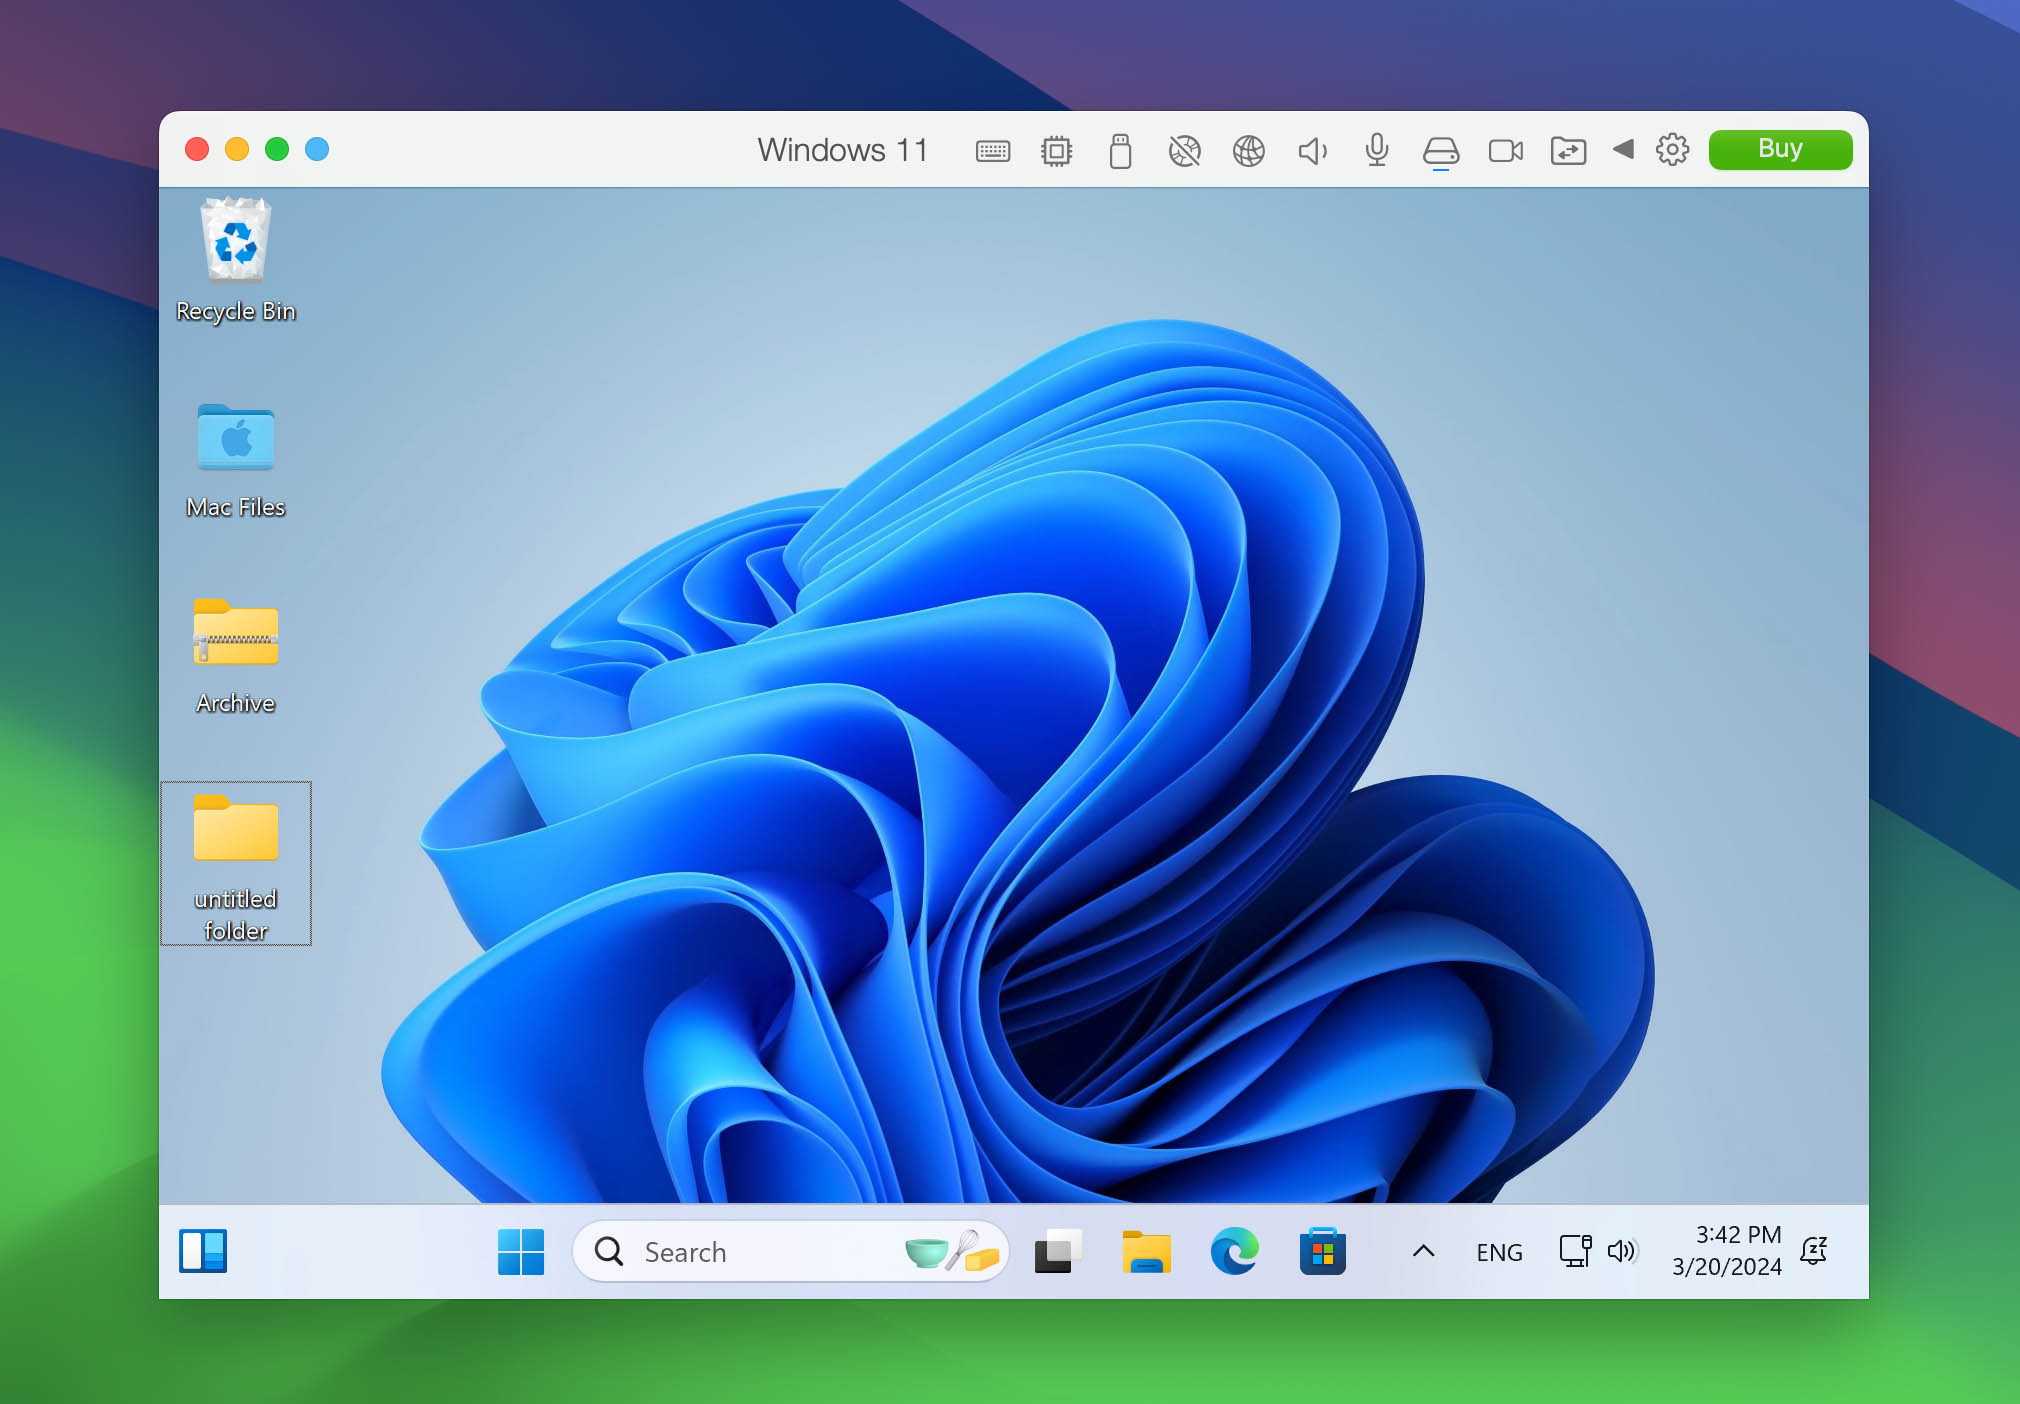
- Once Windows is installed, you can start the virtual machine by clicking the Power button in Parallels Desktop. You’ll be running Windows on your Mac, in a window or full-screen mode, according to your preference.
- To install Windows applications, simply download them within the Windows environment on your virtual machine and install as you would on a regular Windows PC.


For optimal performance, Parallels Desktop offers various settings that you can tweak, such as allocating more RAM or CPU cores to your virtual machine. You can also enable Coherence mode, which allows Windows applications to run as if they were native Mac applications, blending them into your macOS desktop.
By following these steps, you can quickly set up Parallels Desktop on your Mac, offering a convenient way to open and run Windows applications seamlessly alongside your macOS apps.
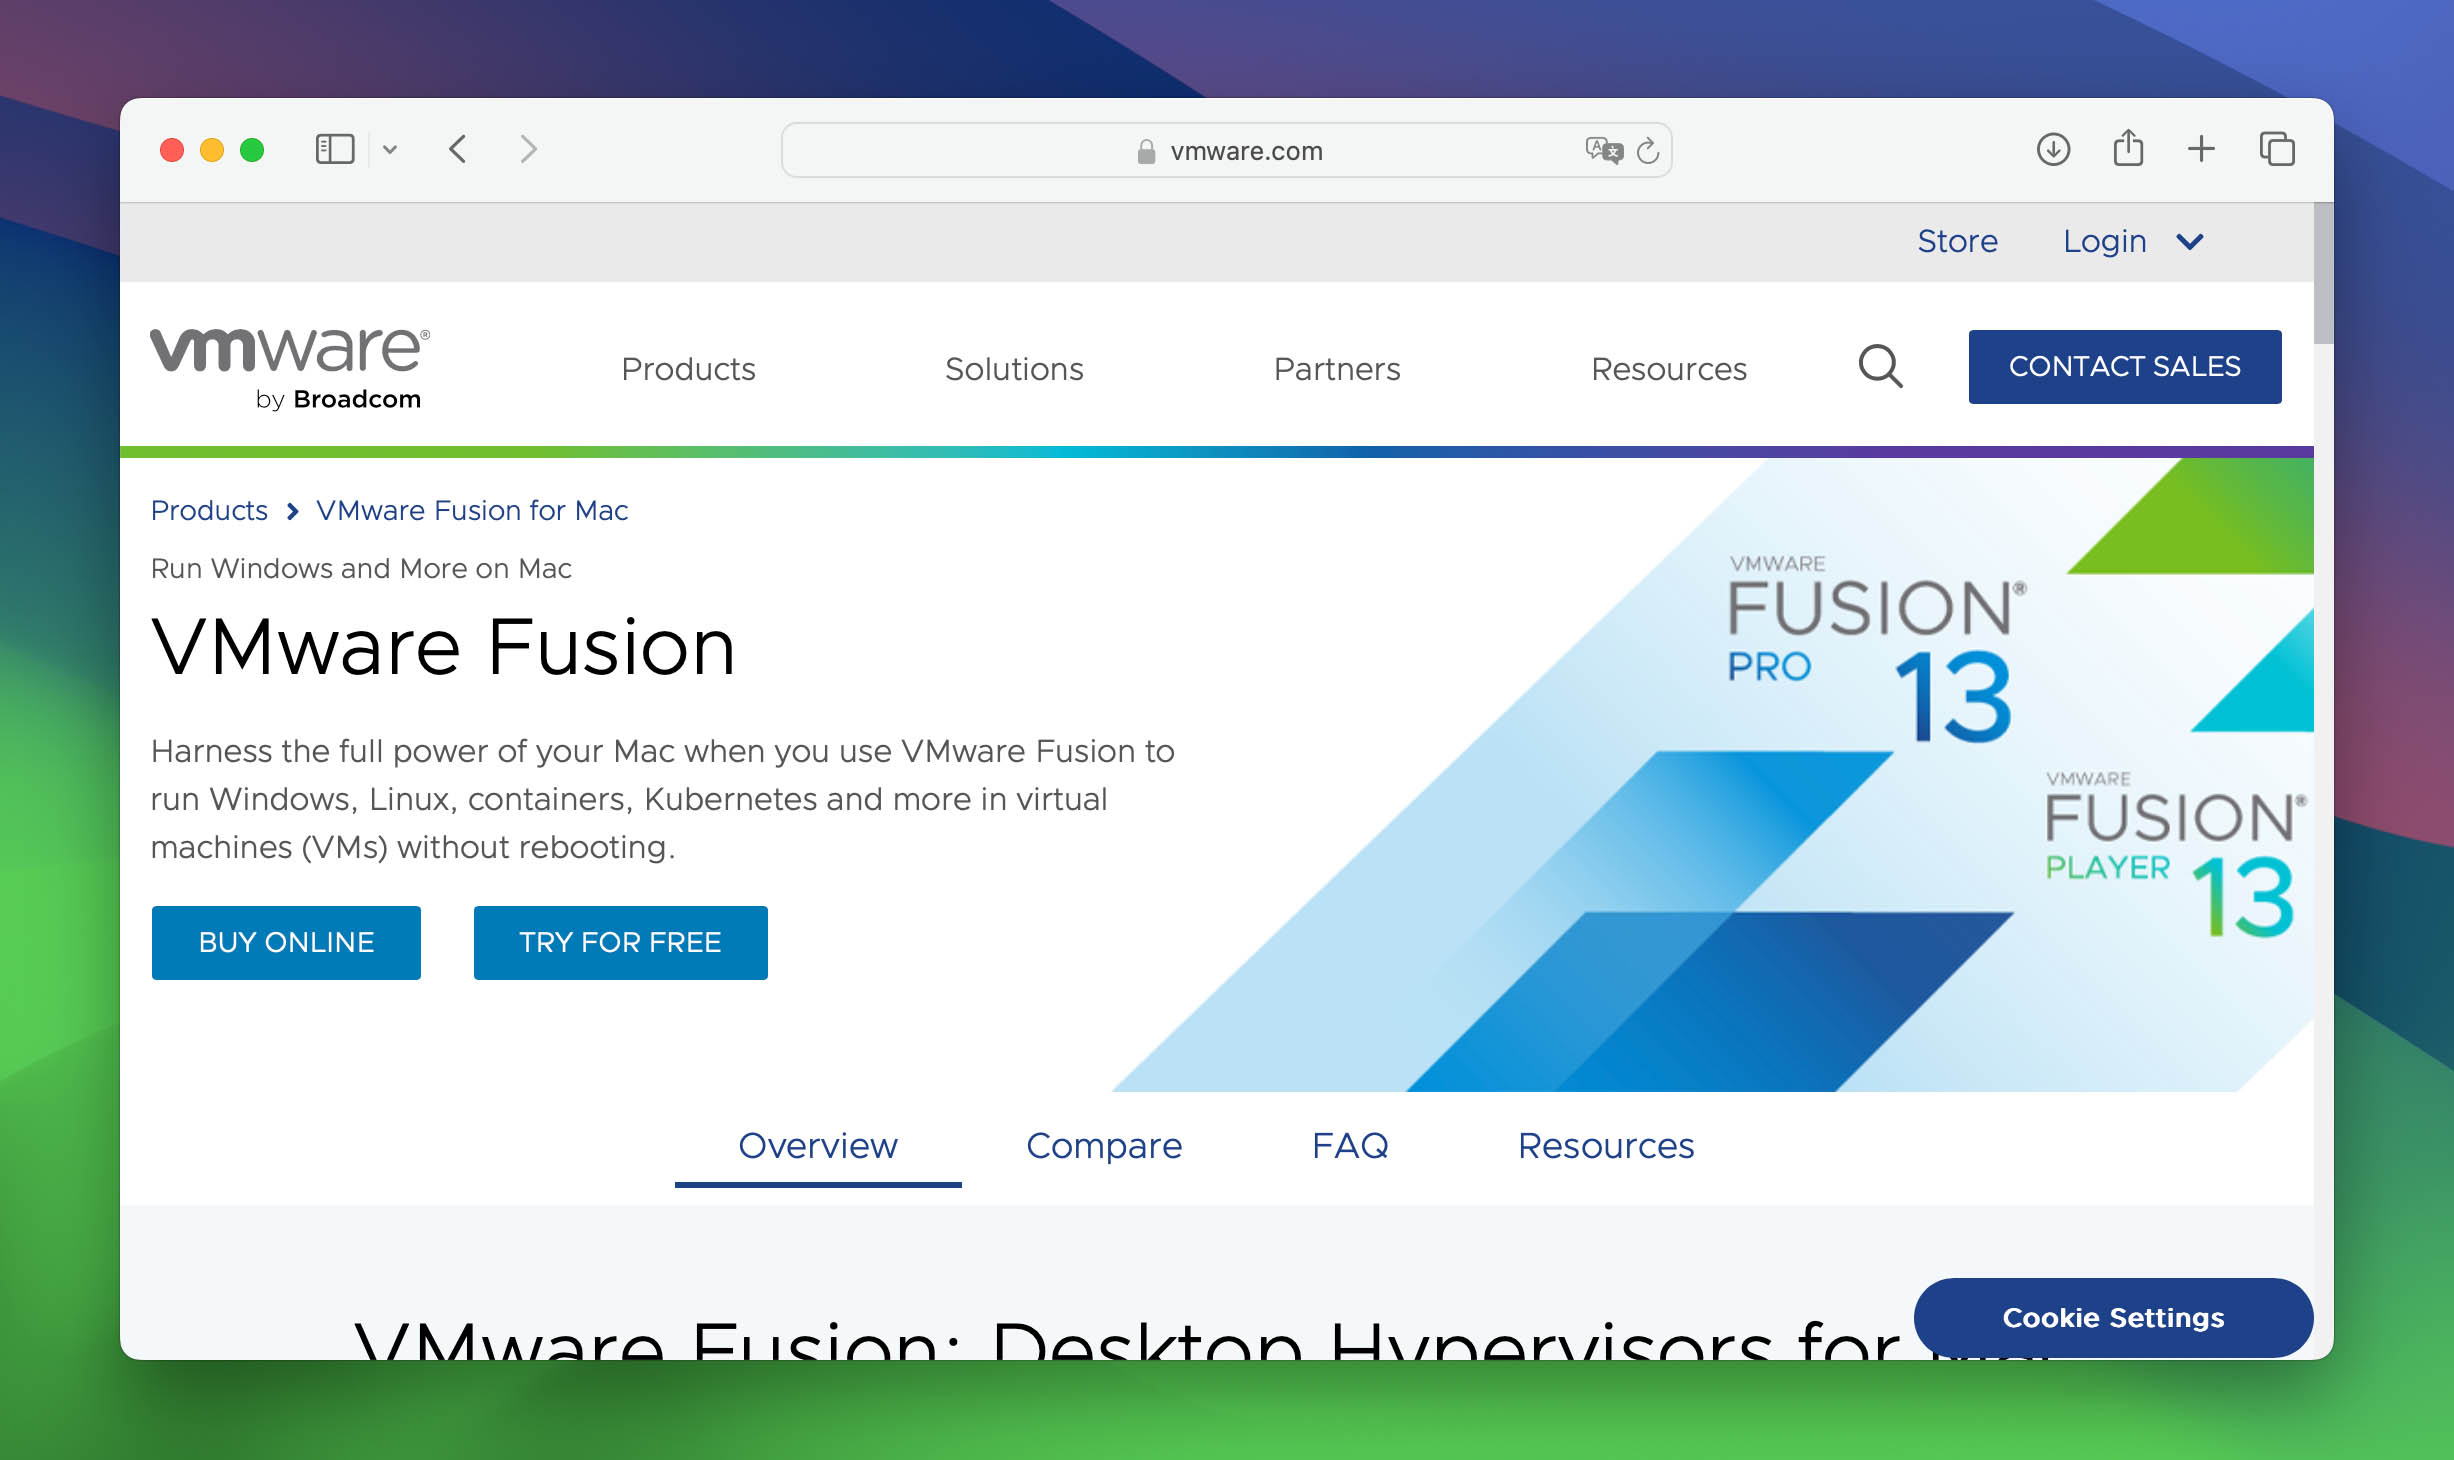
Installing VMware Fusion to Run Windows on Your Mac
VMware Fusion provides another robust solution for running Windows on your Mac, offering a blend of performance and integration for professional and casual use alike. Here’s how to get started with VMware Fusion:
- Download VMware Fusion from the official VMware website. VMware offers both a free and a Pro version, depending on your needs.
- Install VMware Fusion by double-clicking on the downloaded file.
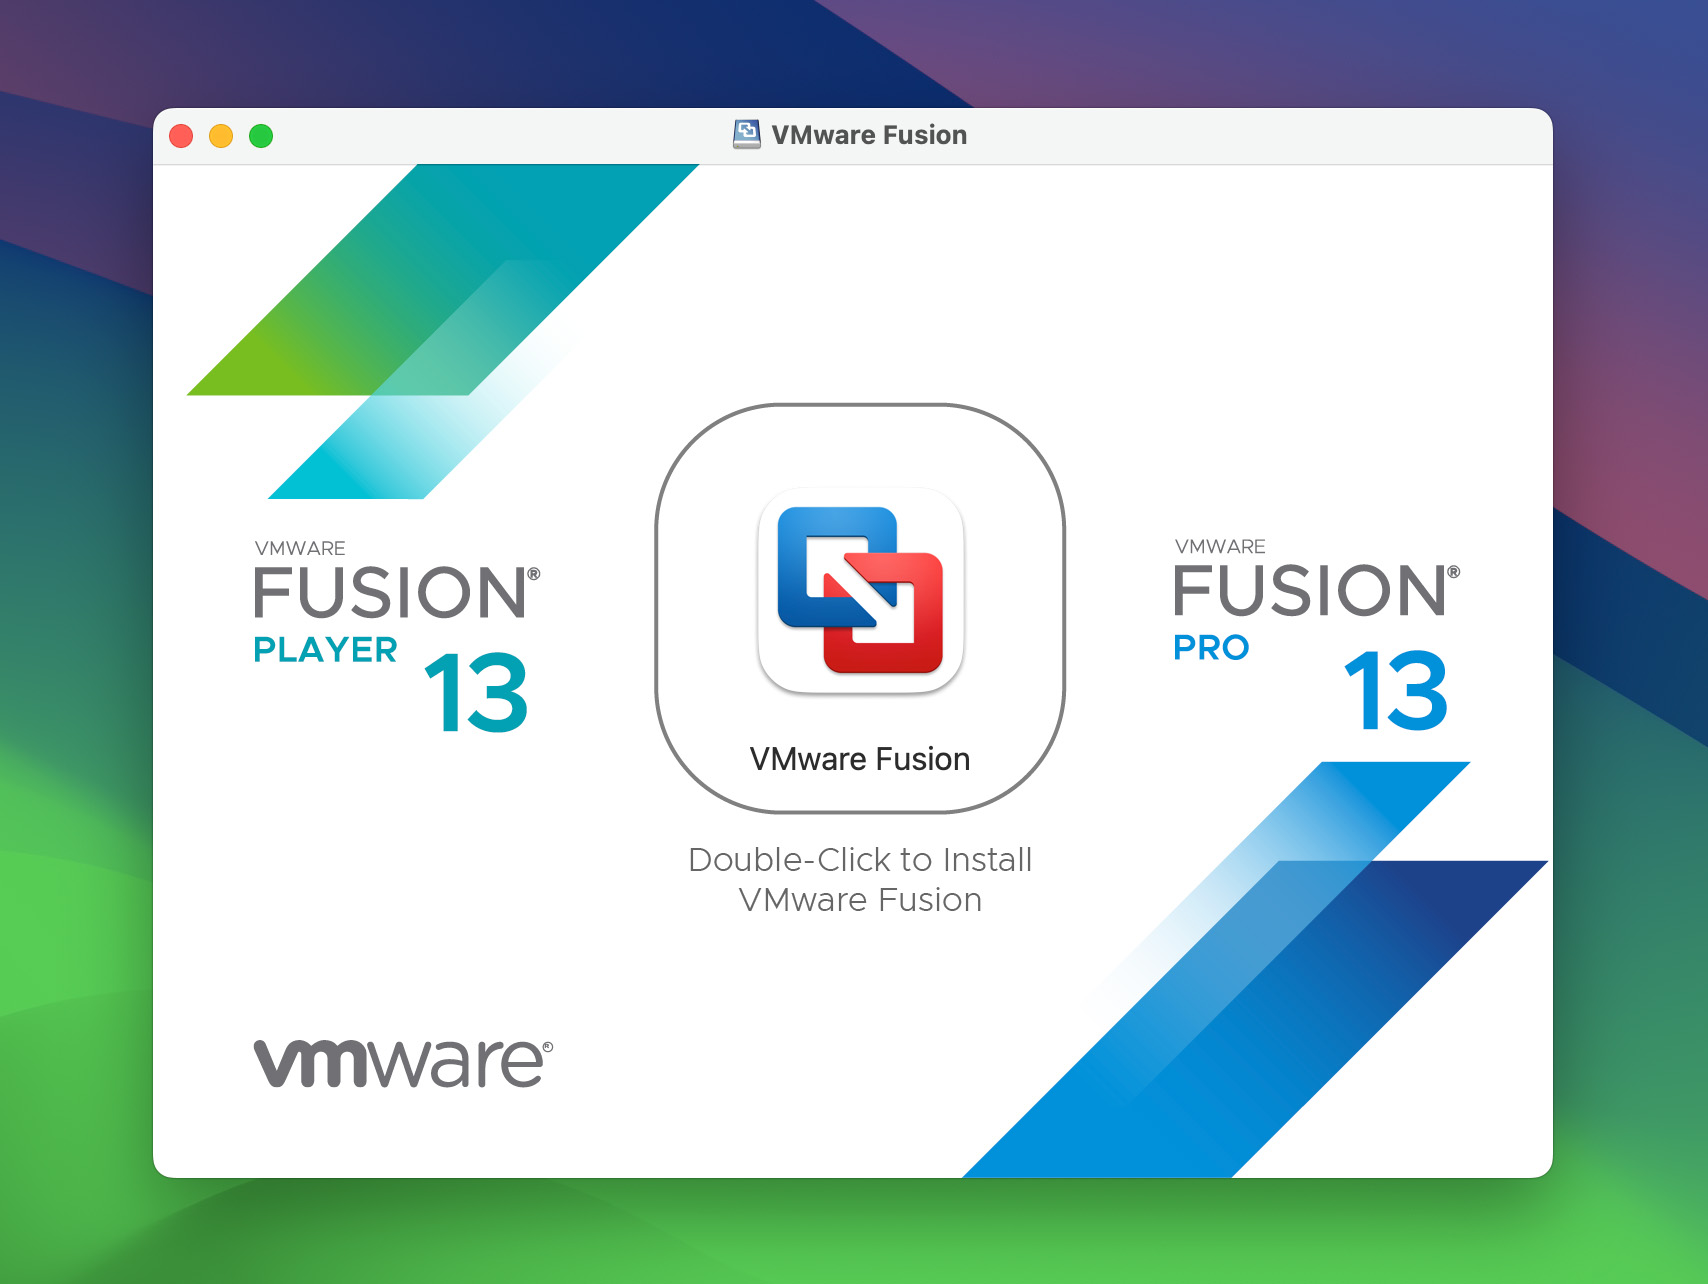
- Launch VMware Fusion. You’ll be greeted with a welcome screen where you can choose to create a new virtual machine.
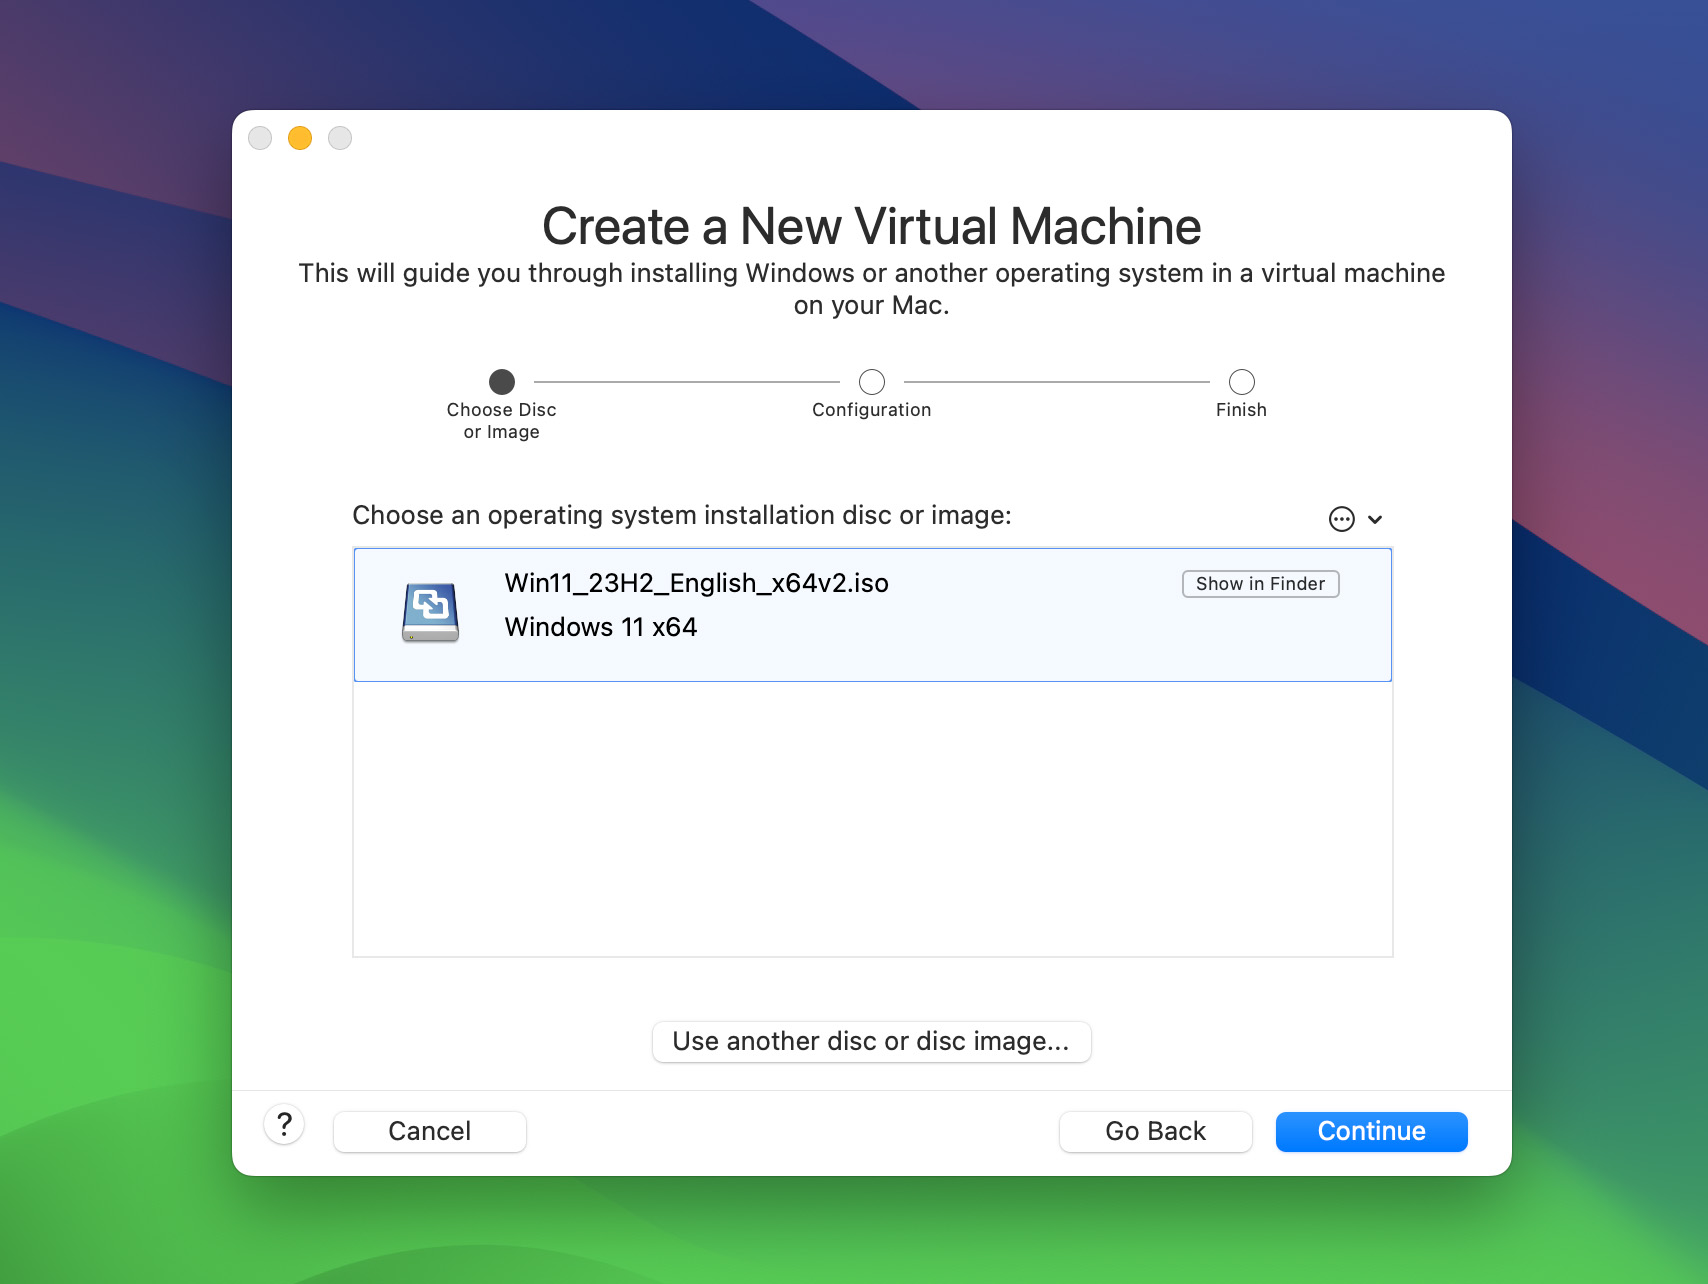
- Obtain a Windows ISO file from the Microsoft website. This file is necessary for installing Windows in your virtual machine.
- In VMware Fusion, select “Create a new custom virtual machine” and drag the Windows ISO file into the installation dialog. VMware Fusion will recognize the ISO and prepare for the Windows installation.
- Customize your virtual machine’s settings before installation, such as allocating memory and CPU cores. While the defaults are sufficient for general use, adjusting these settings can optimize performance for more demanding applications.

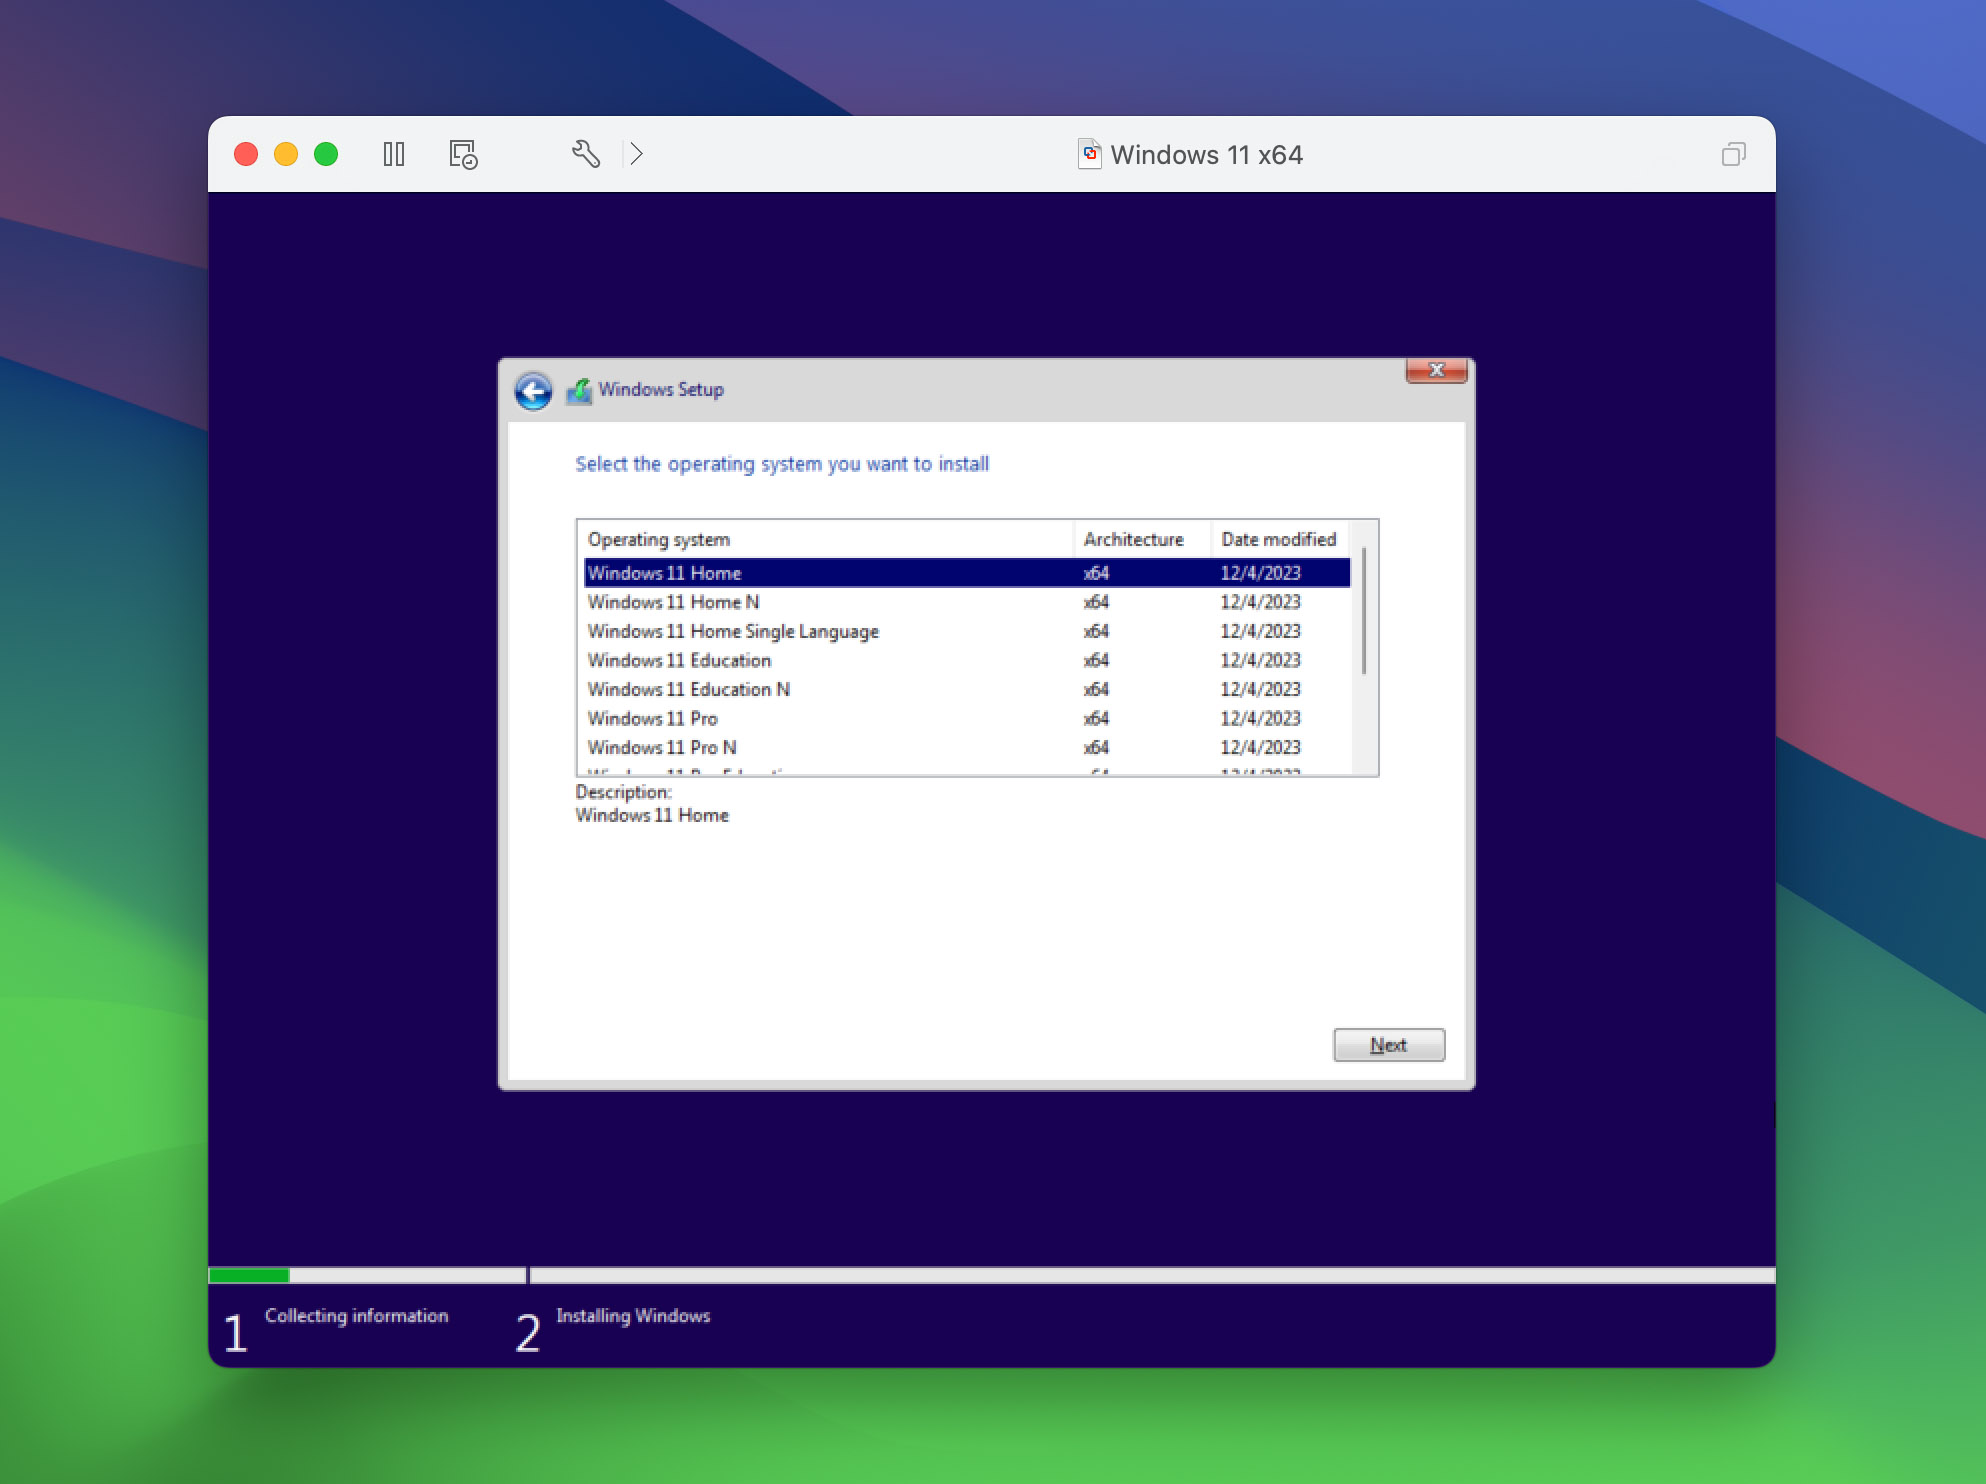
- Follow the prompts to complete the Windows installation. After the setup, you can install Windows applications within your VMware Fusion virtual machine, running them as if they were part of your Mac’s native environment.


VMware Fusion stands out for its detailed configuration options and support for a wide range of operating systems beyond Windows. It’s an excellent choice for users who need the flexibility to run Windows software on Mac without sacrificing too much performance or control over their virtual computing environment.
Installing Windows with Boot Camp
If you prefer using Boot Camp for a full Windows experience, here’s how to set it up:
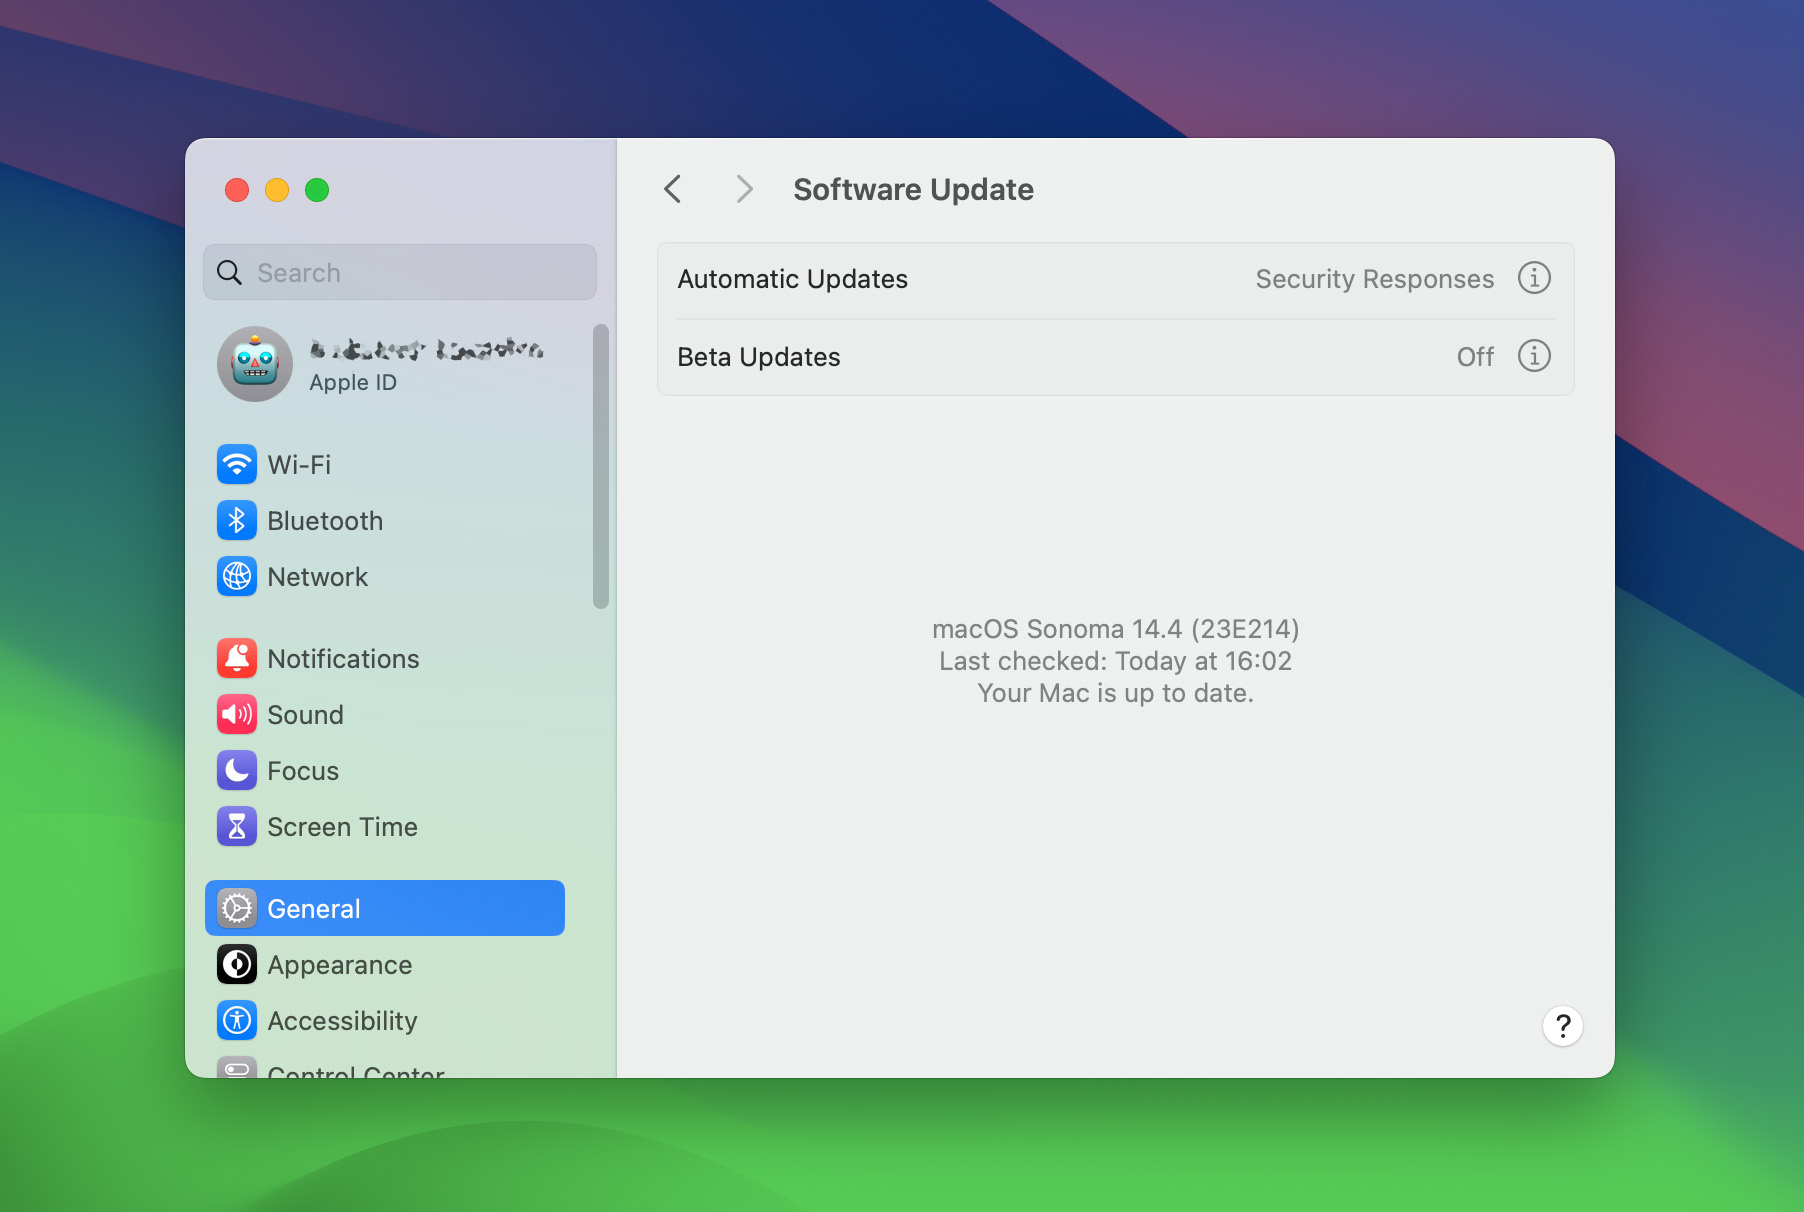
- Check for Updates: Ensure your Mac is up to date by checking for macOS updates in the System Preferences.
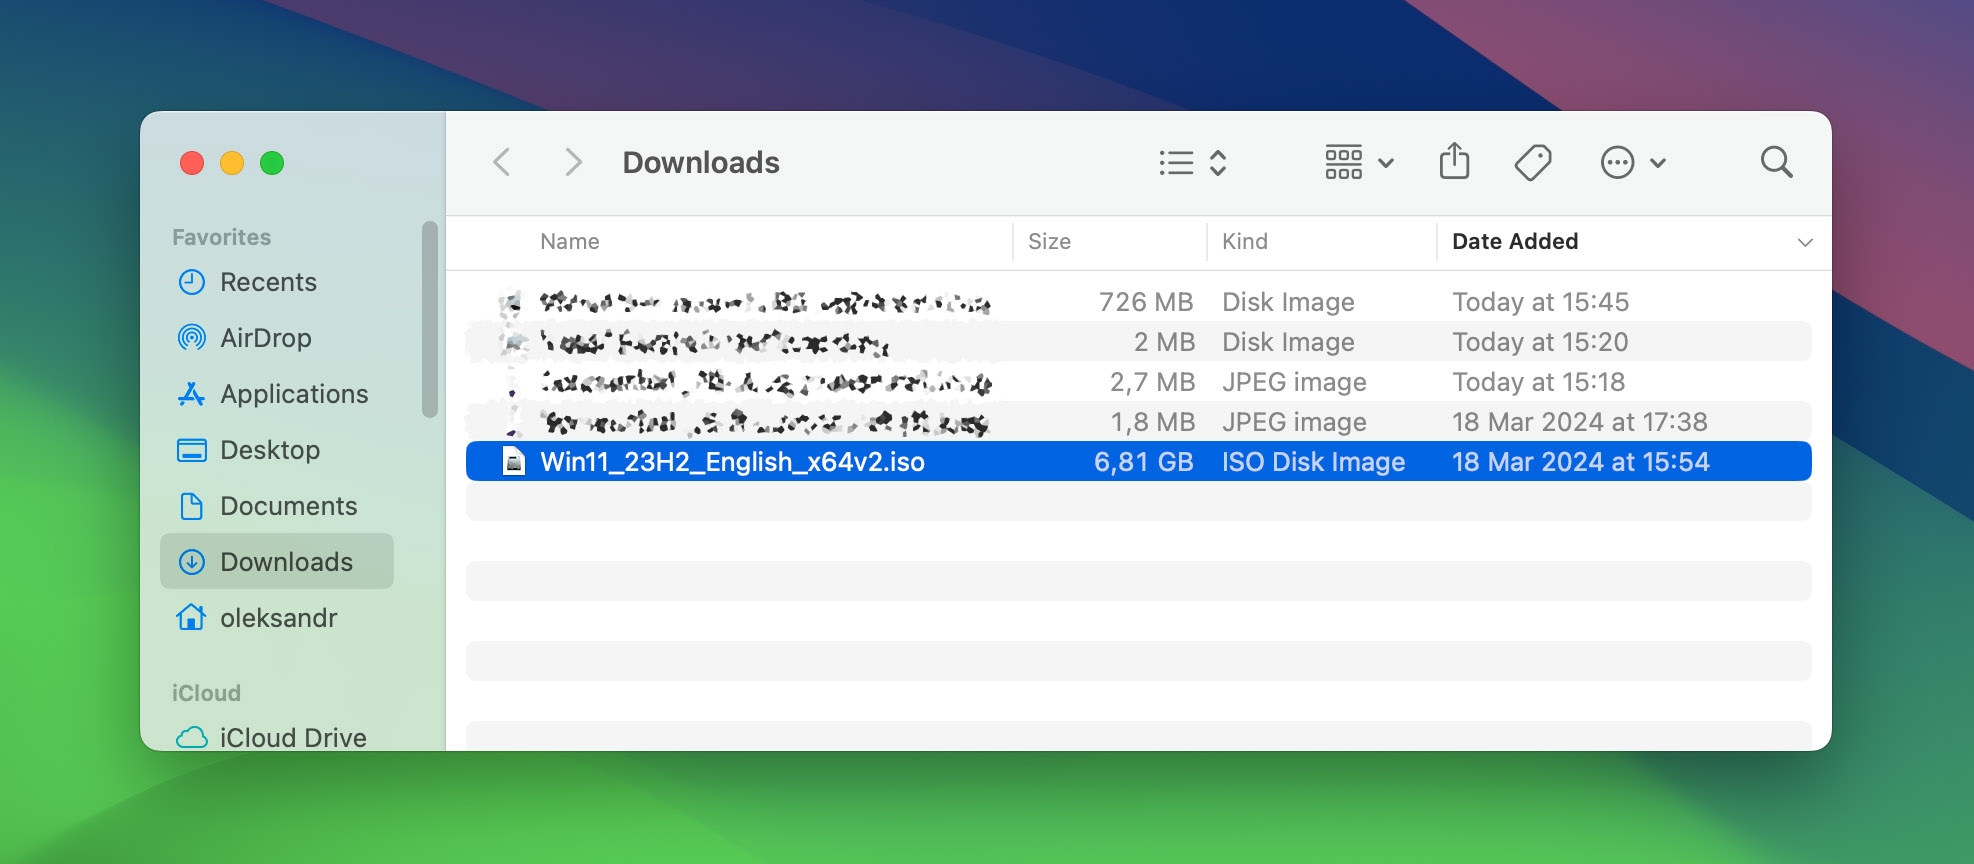
- Prepare Your Windows ISO File: Download a Windows 10 or Windows 11 ISO file from Microsoft’s official website.
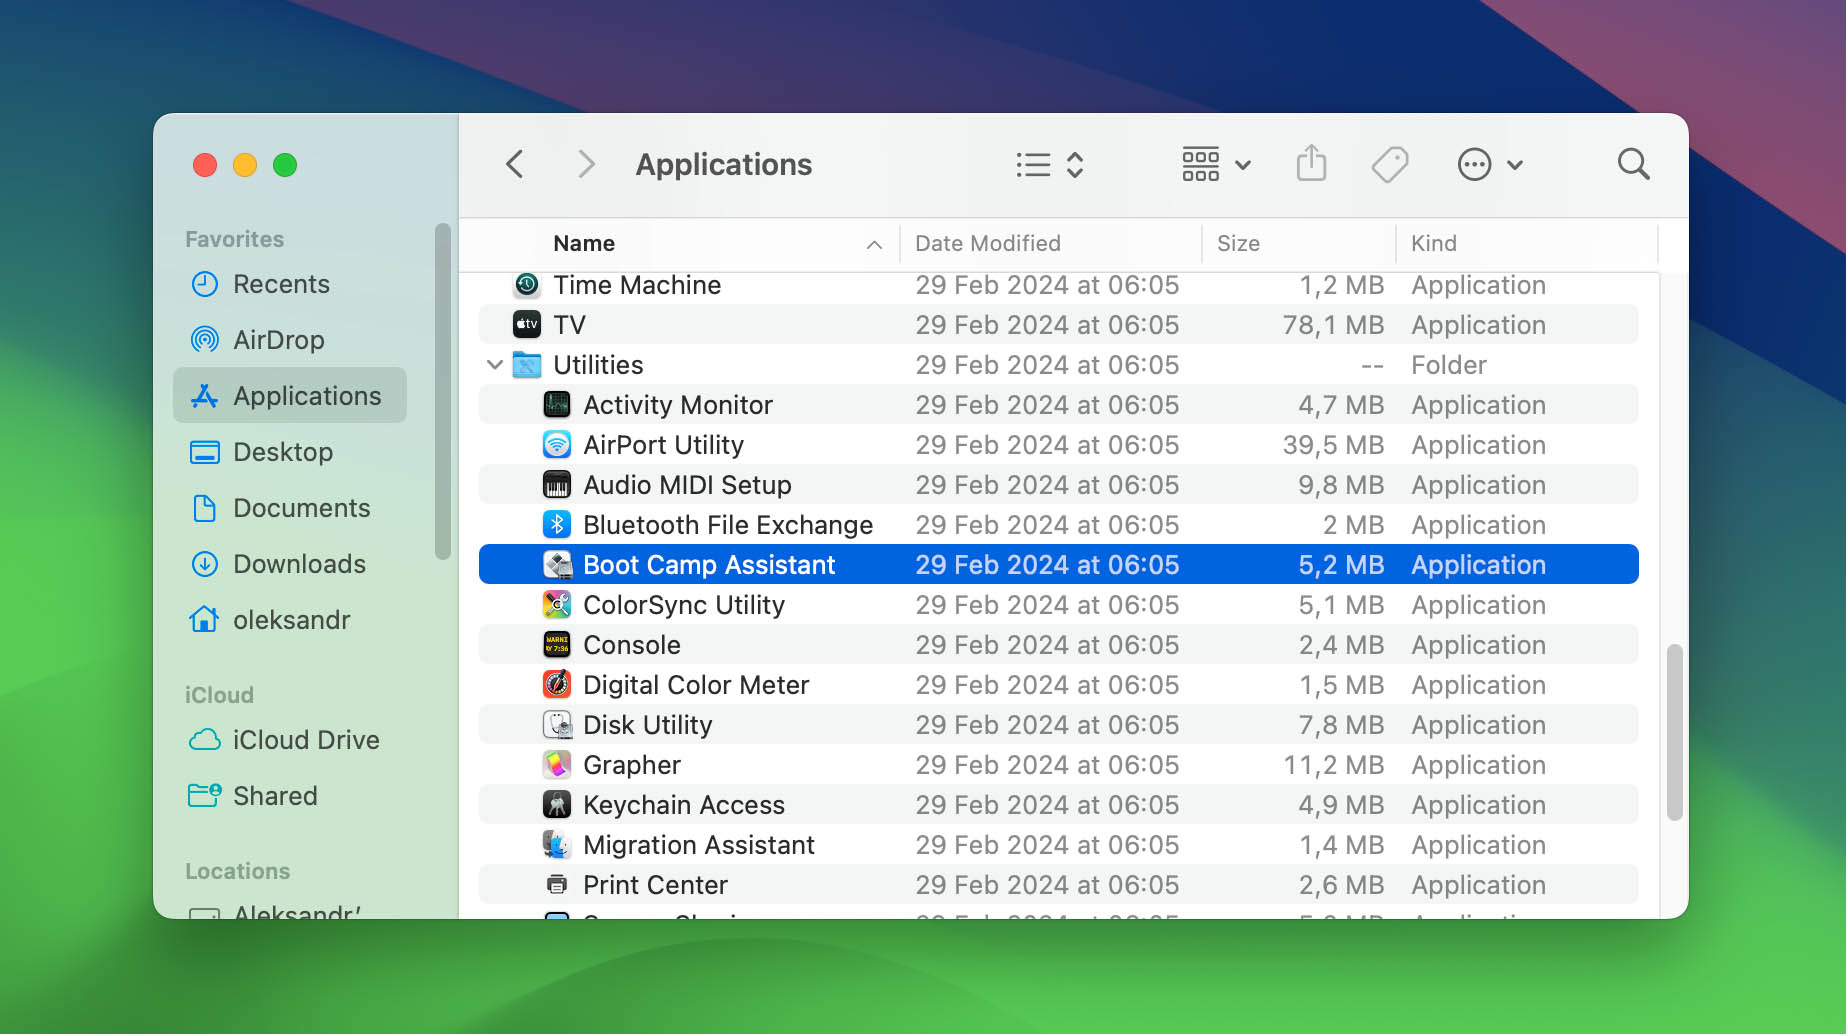
- Open Boot Camp Assistant: Found in the Utilities folder within Applications, Boot Camp Assistant guides you through partitioning your hard drive and installing Windows.
- Partition Your Drive: Decide how much disk space to allocate to Windows. You can adjust this later, but it’s easier to choose an appropriate size now.
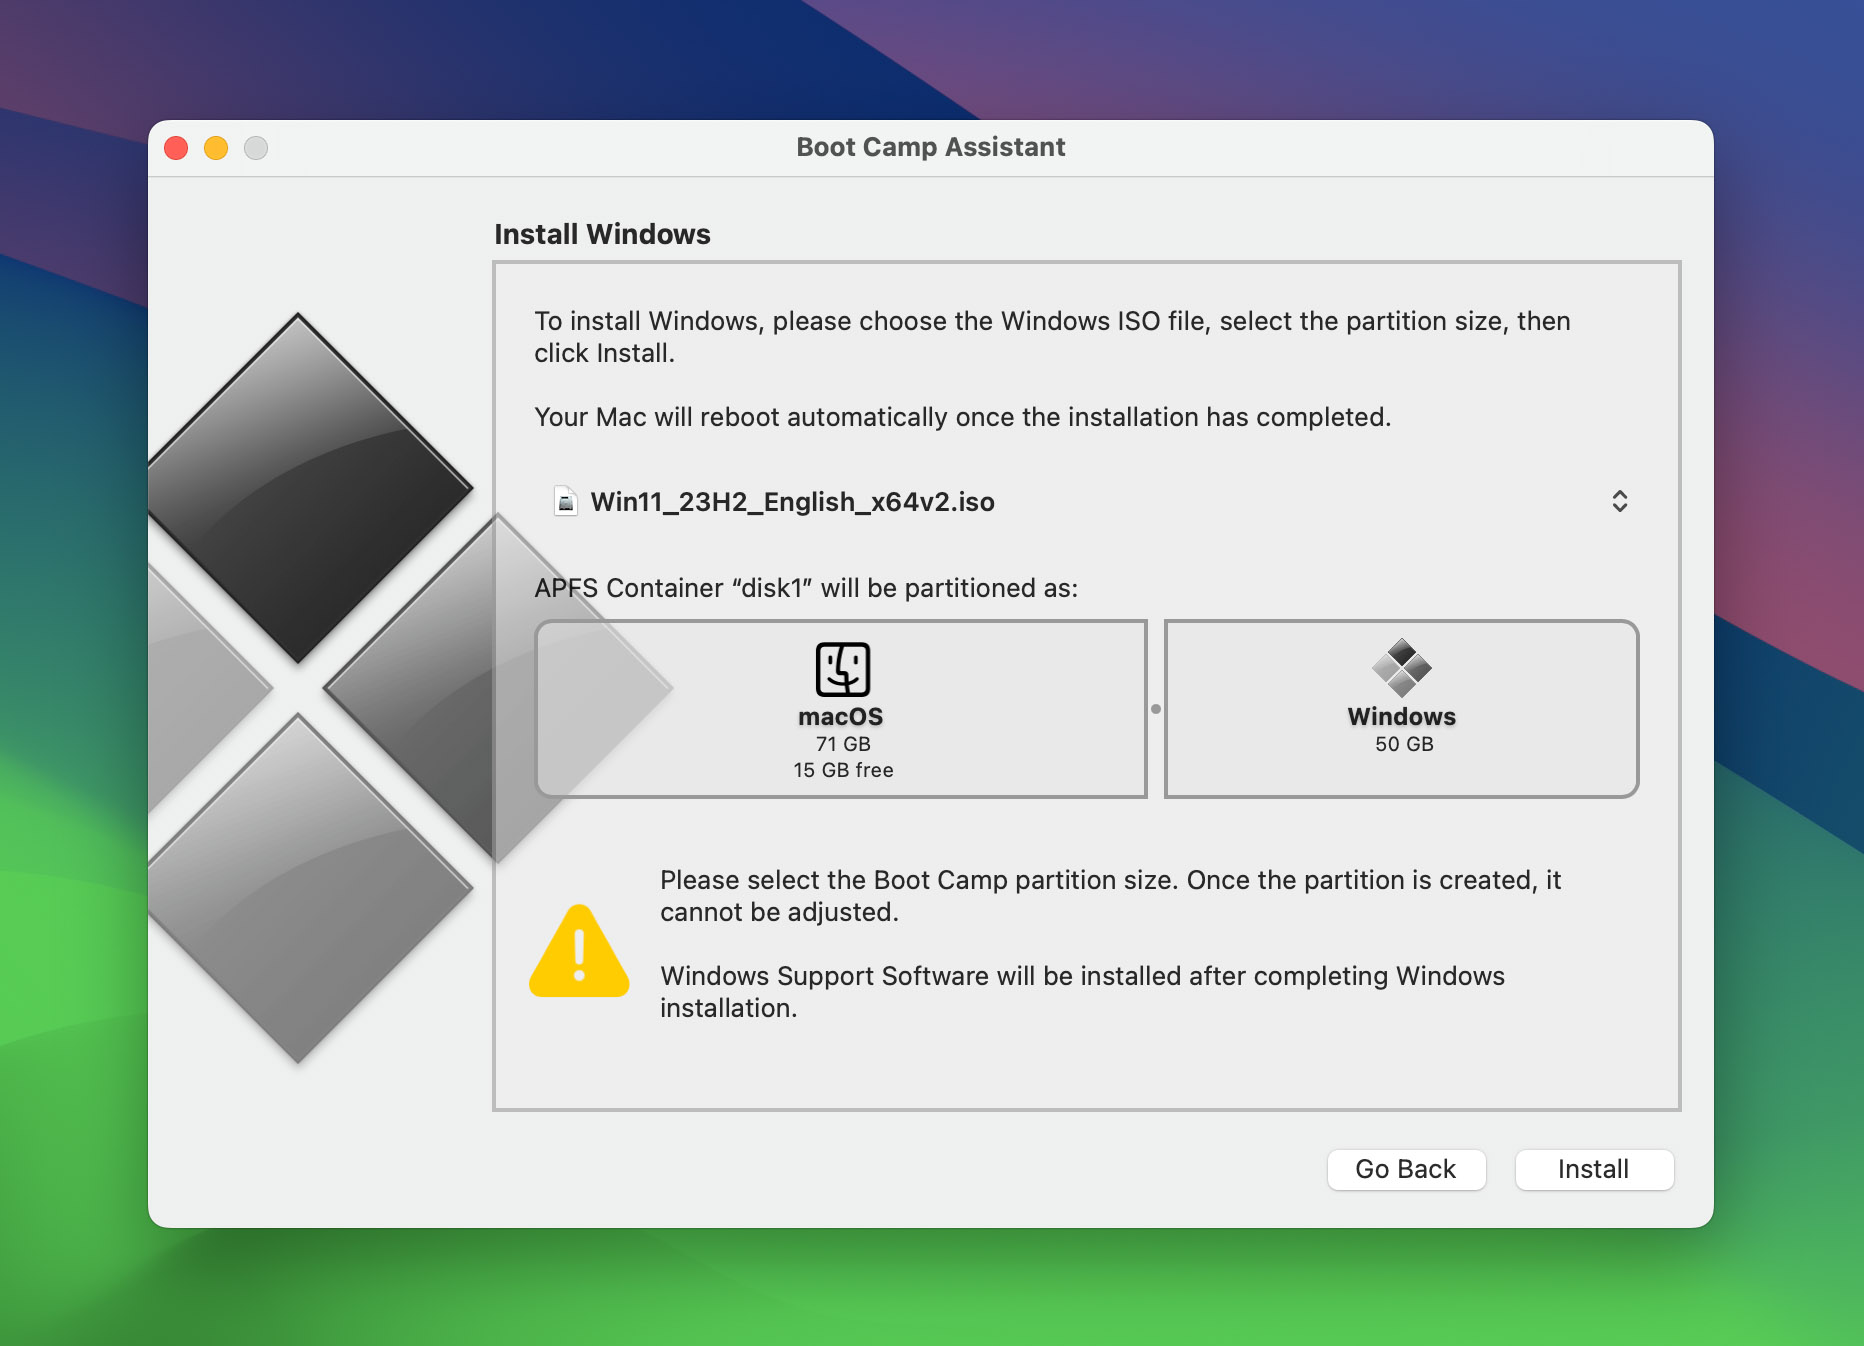
- Install Windows: Follow the on-screen instructions in Boot Camp Assistant to install Windows on the partition you created. Your Mac will reboot into the Windows installer.
- Install Boot Camp Drivers: After Windows installation, Boot Camp Assistant automatically installs the necessary drivers to ensure your Mac hardware works seamlessly in Windows.
- Switching Between macOS and Windows: You can switch between macOS and Windows by holding the Option key during startup and selecting the operating system you wish to use.


Both virtualization and Boot Camp provide robust solutions for running Windows on your Mac. Whether you prefer the seamless integration of virtualization or the full performance of a dual-boot setup with Boot Camp, these guides will help you through the process of installation and setup, ensuring you can run Windows software on your Mac with ease.
Exploring Alternative Methods for Running Windows on Mac
Beyond the mainstream methods of virtualization and Boot Camp, there are alternative options that can be considered for running Windows applications on a Mac. These alternatives cater to specific needs and can provide solutions where traditional methods may not be the best fit.
CrossOver Mac
CrossOver Mac is a paid software that builds upon the open-source Wine project, offering a user-friendly interface for running Windows applications directly on macOS without requiring a Windows license. Here’s a brief guide:
- Download and install CrossOver Mac from the CodeWeavers website.
- Search for the Windows application you wish to run in CrossOver’s compatibility database to ensure support.
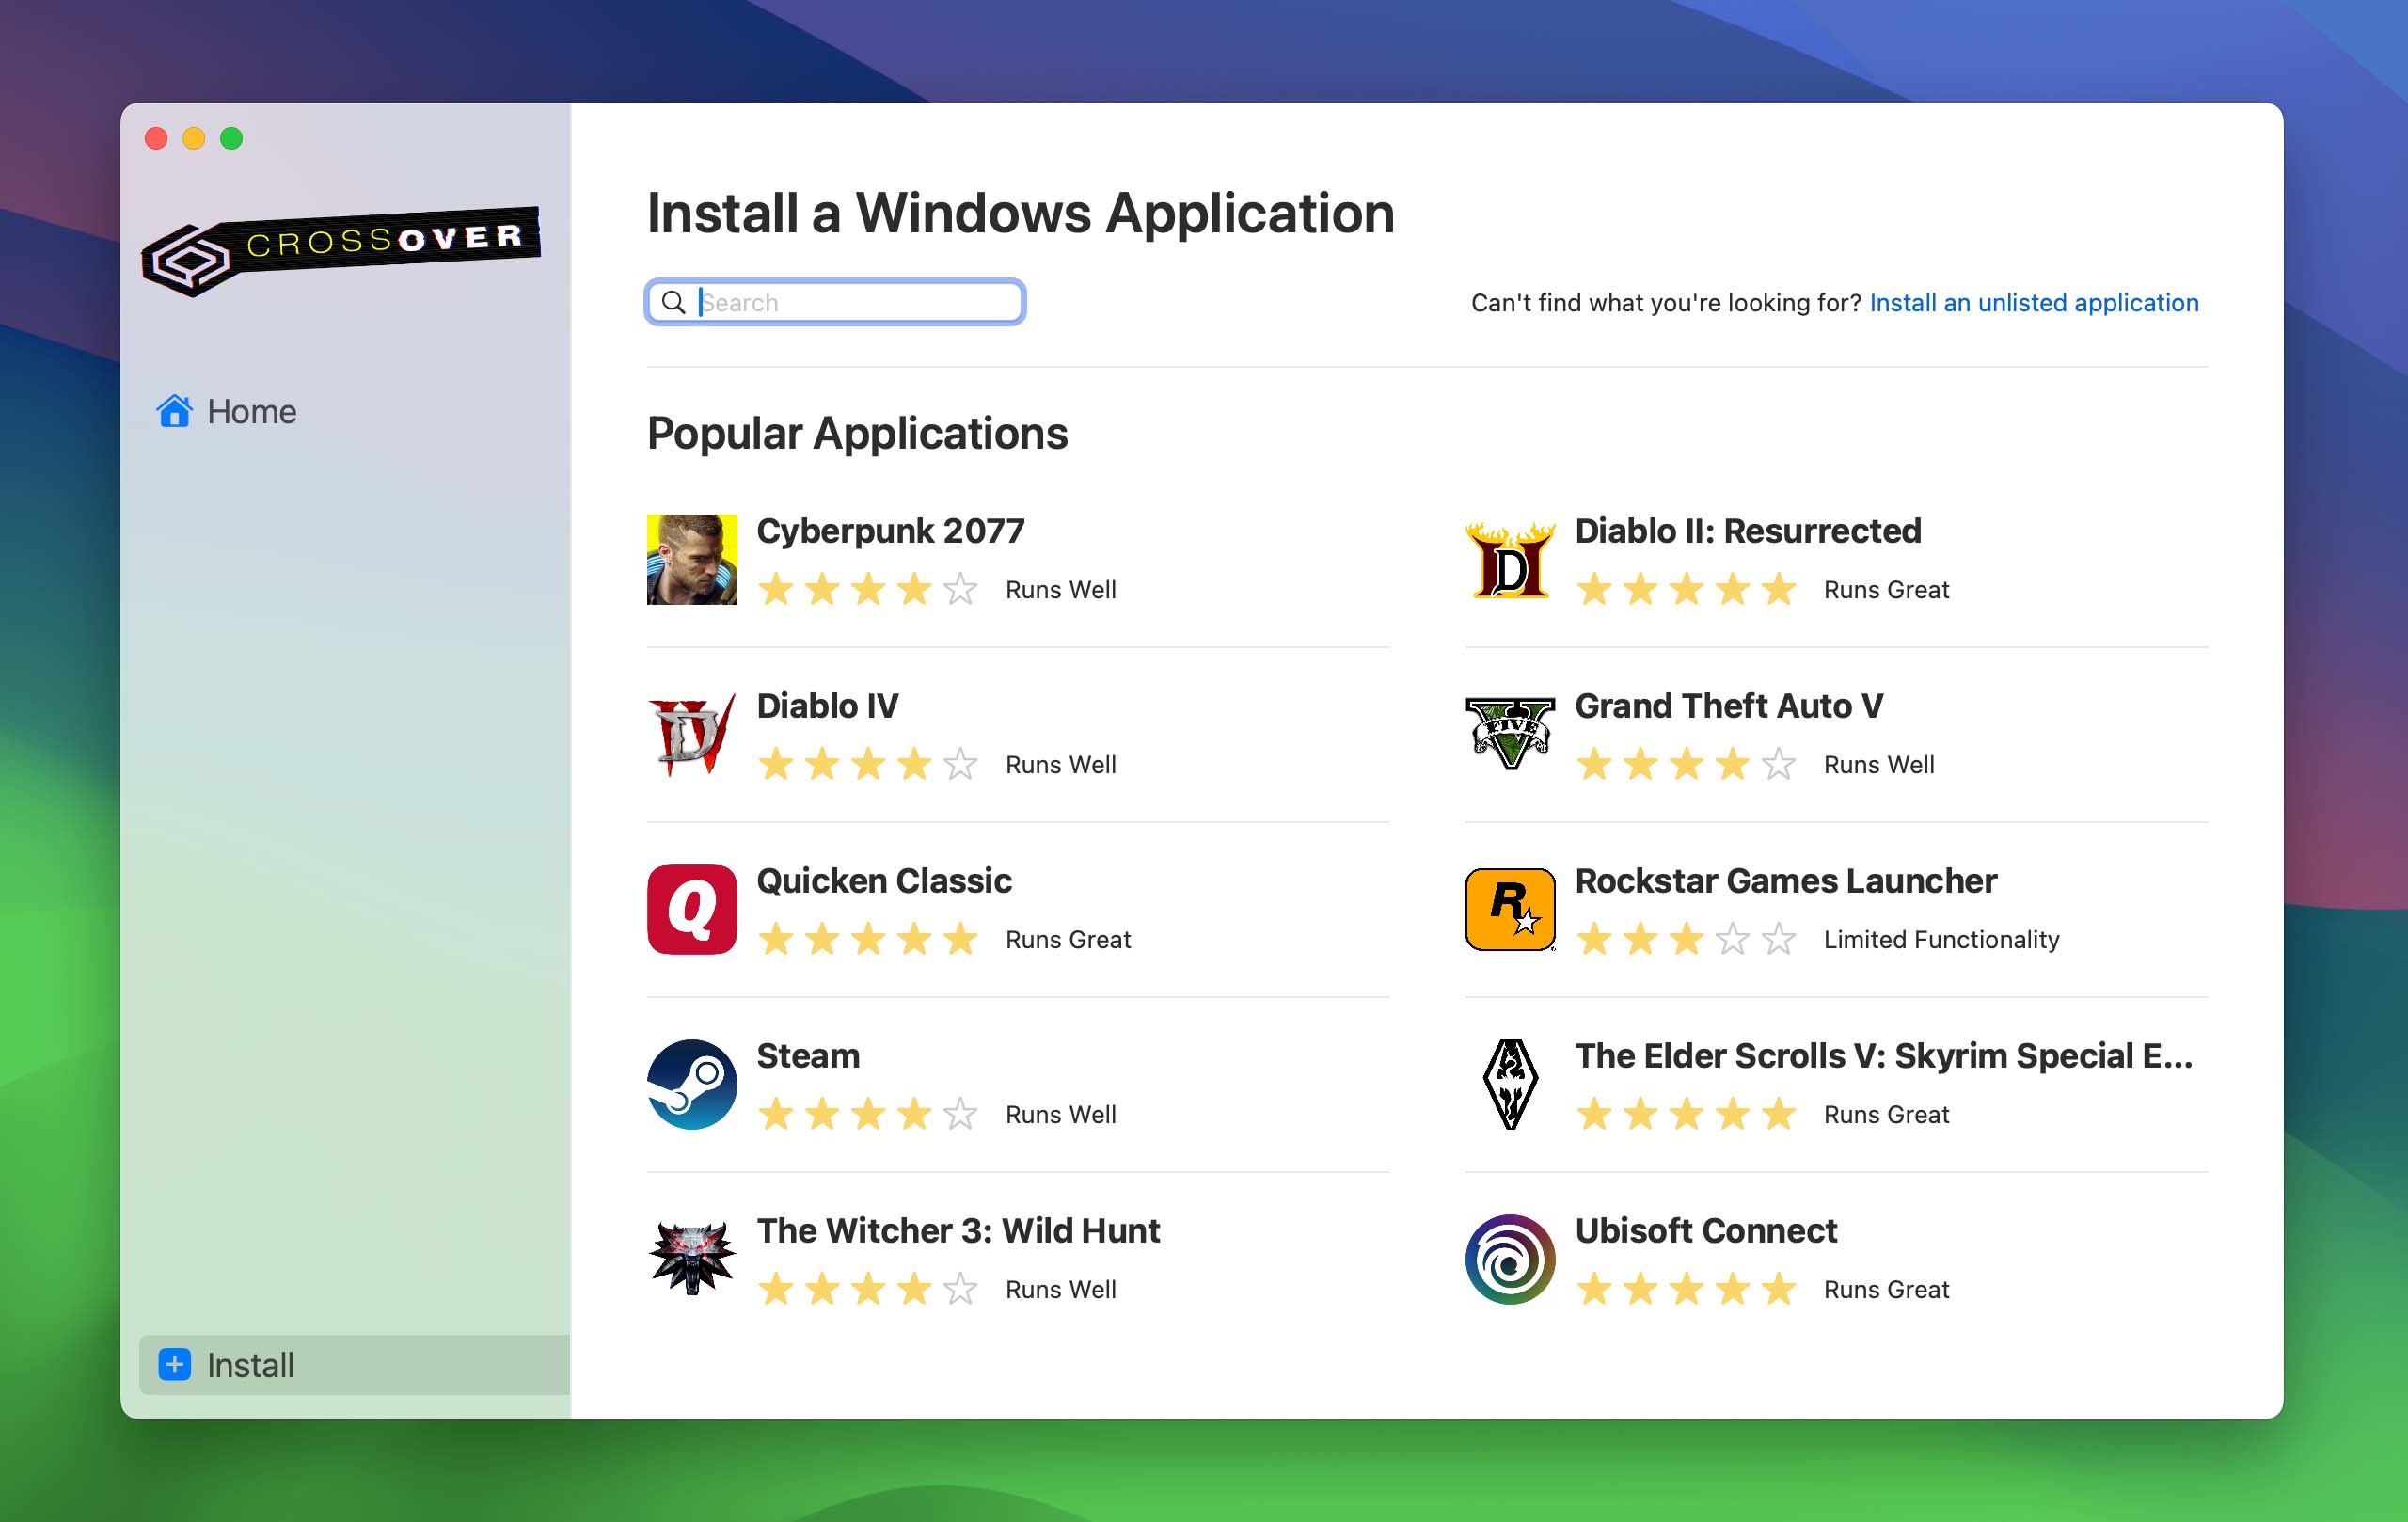
- Install your desired Windows application through CrossOver’s easy installation process, which handles the setup in a macOS-compatible format.
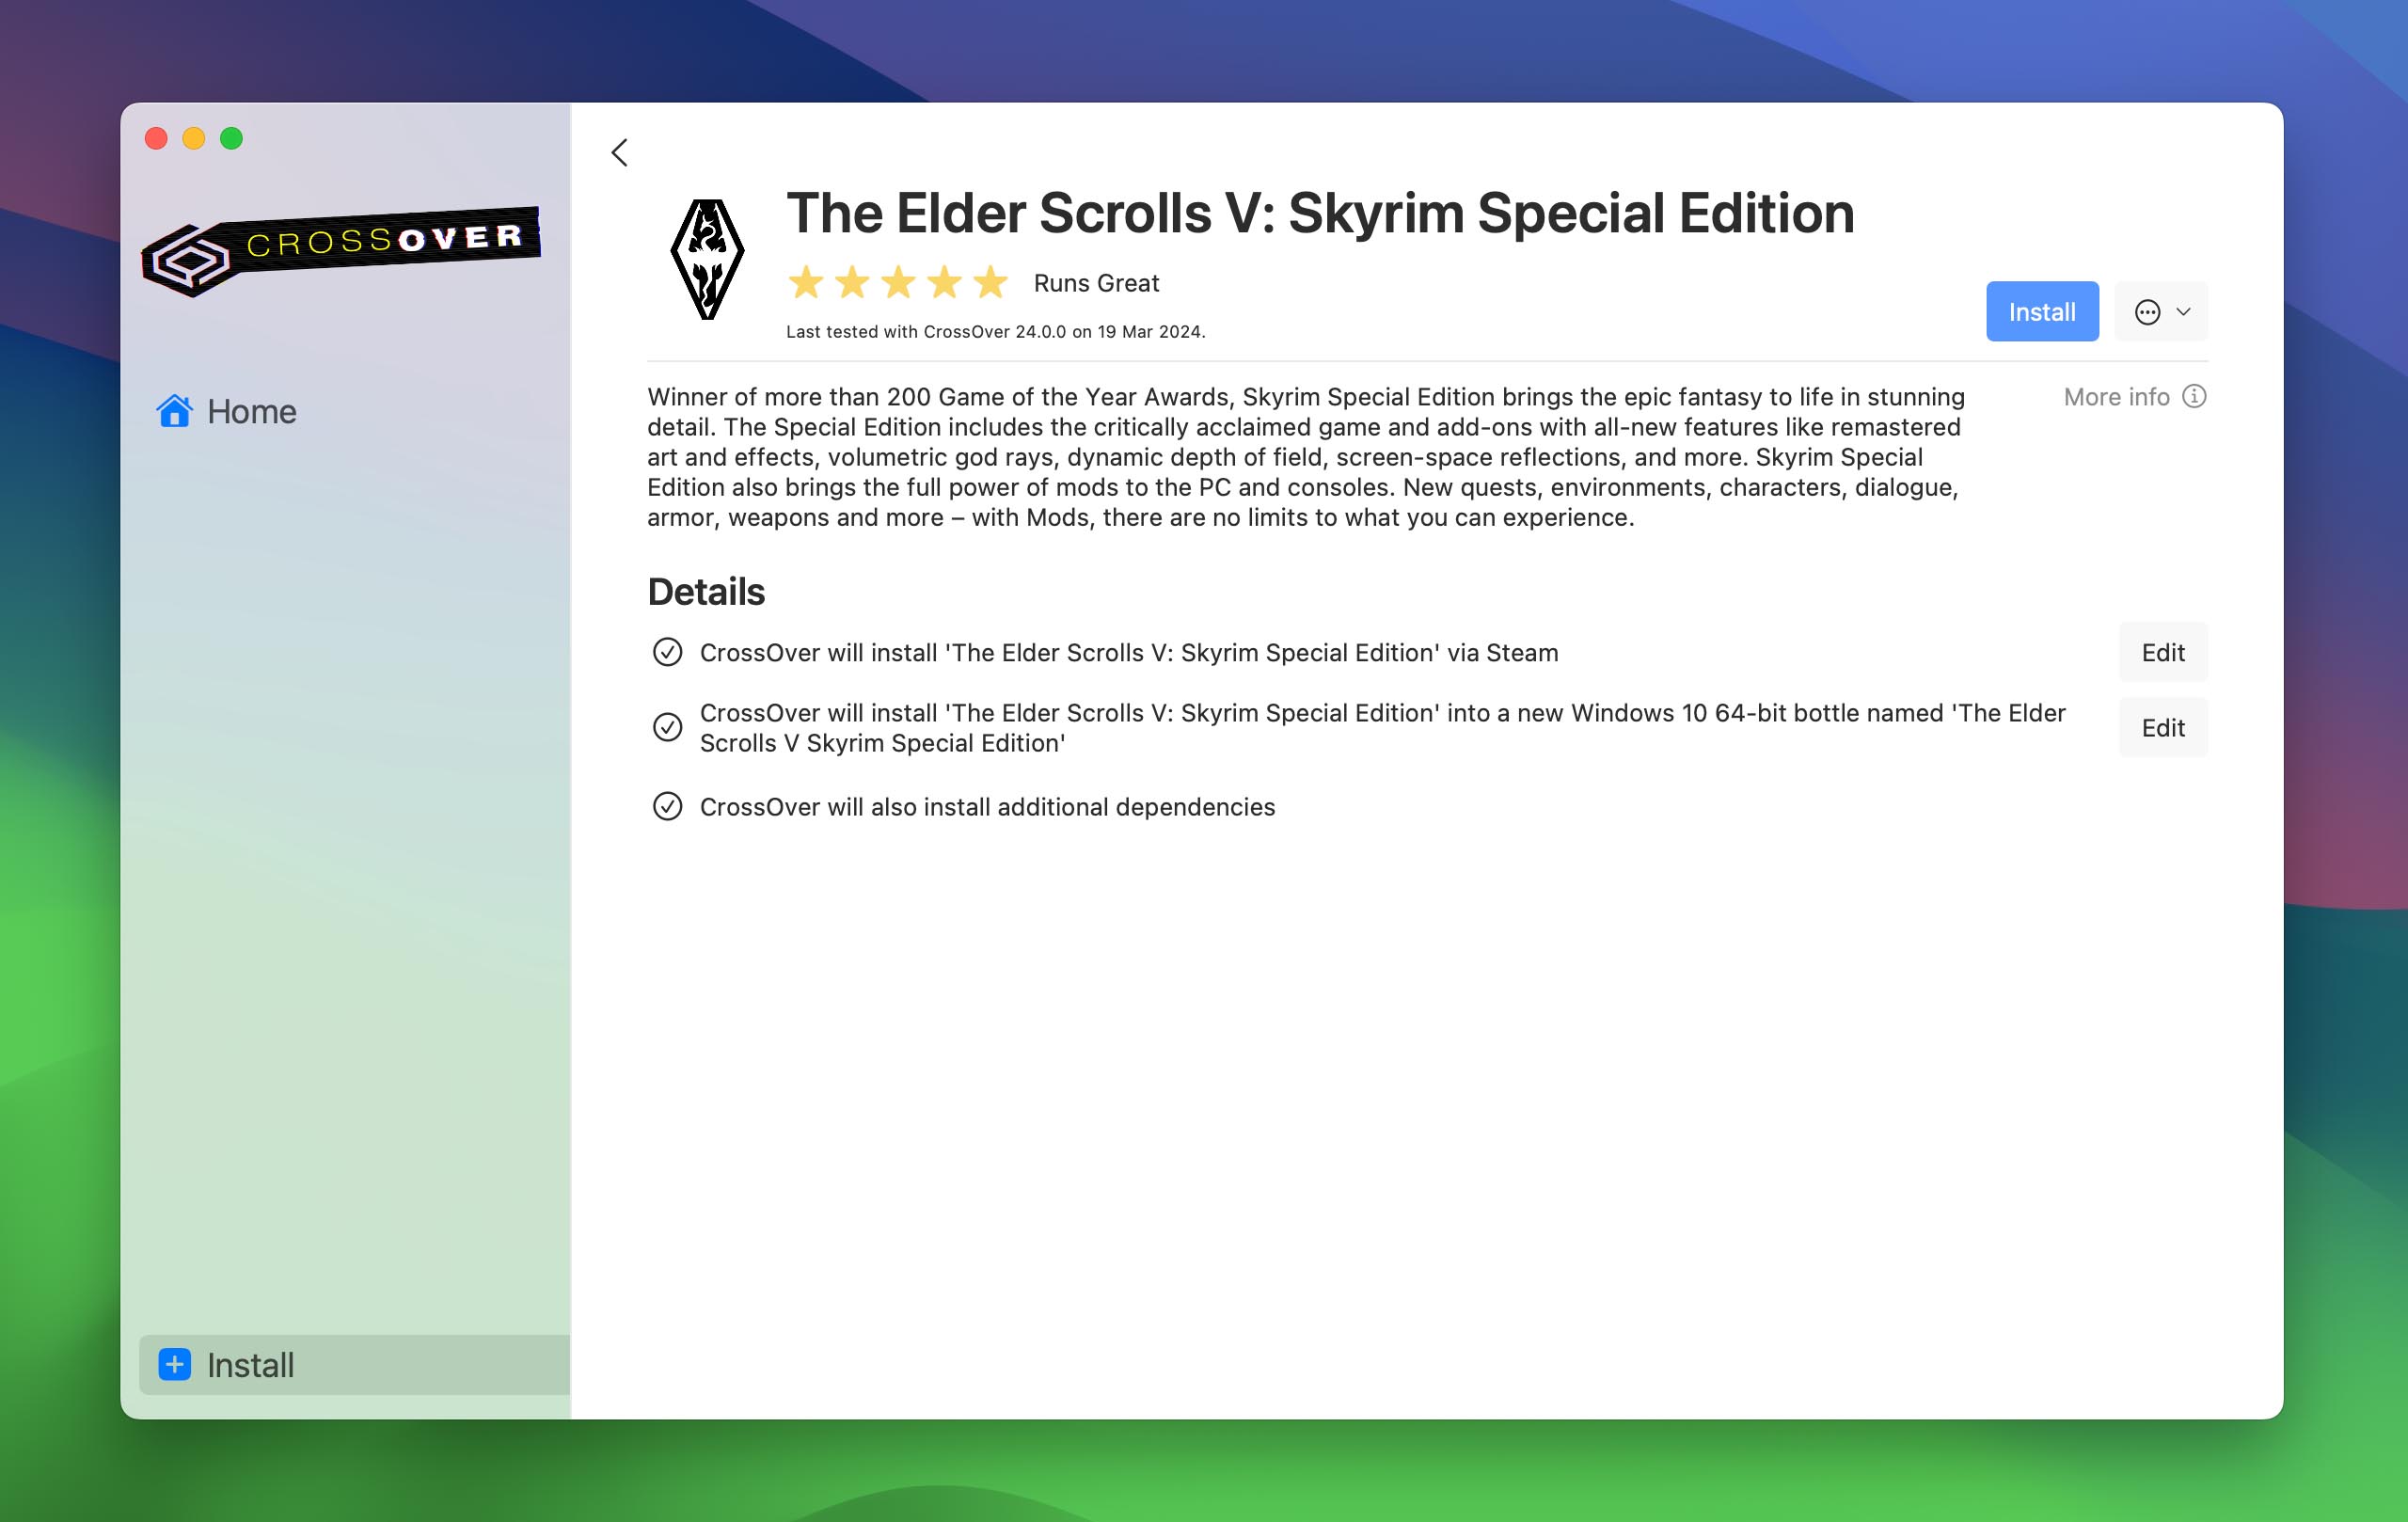


This method is particularly useful for running specific applications without the overhead of a full Windows operating system, making it a convenient option for those with limited requirements.
Wine
Wine is a free and open-source compatibility layer capable of running Windows applications on several POSIX-compliant operating systems, including macOS. While it can be more complex to set up than CrossOver, it offers a powerful and flexible option for experienced users:
- Install Wine using a package manager like Homebrew, or download it directly from the WineHQ website.
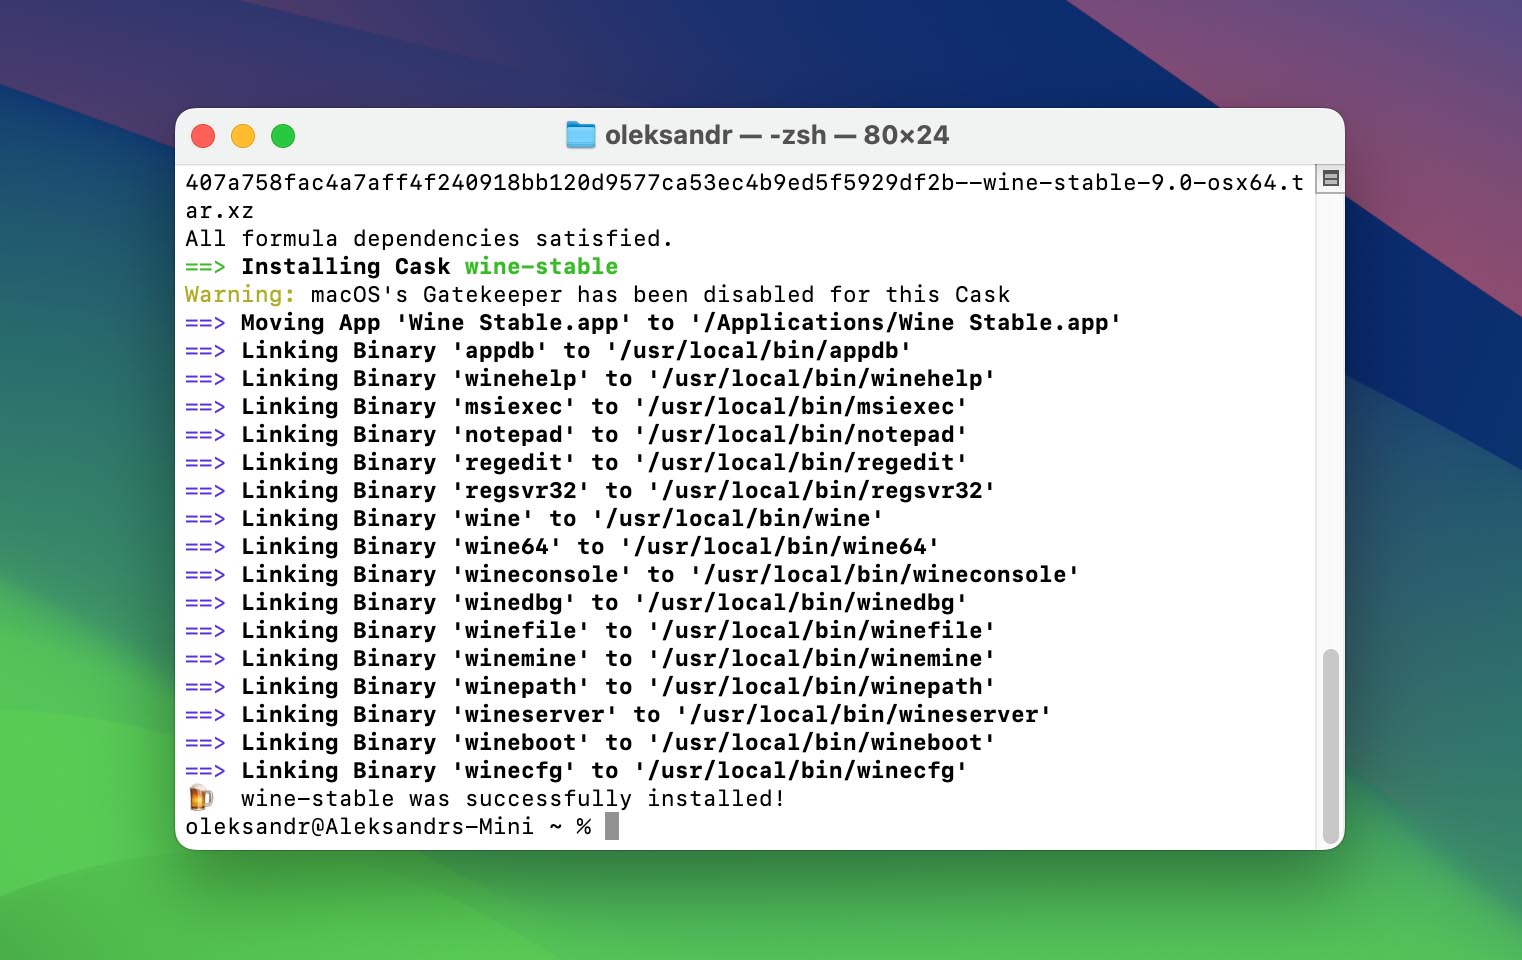
- Configure Wine for use on your Mac, which may involve adjusting settings for optimal performance with your applications.
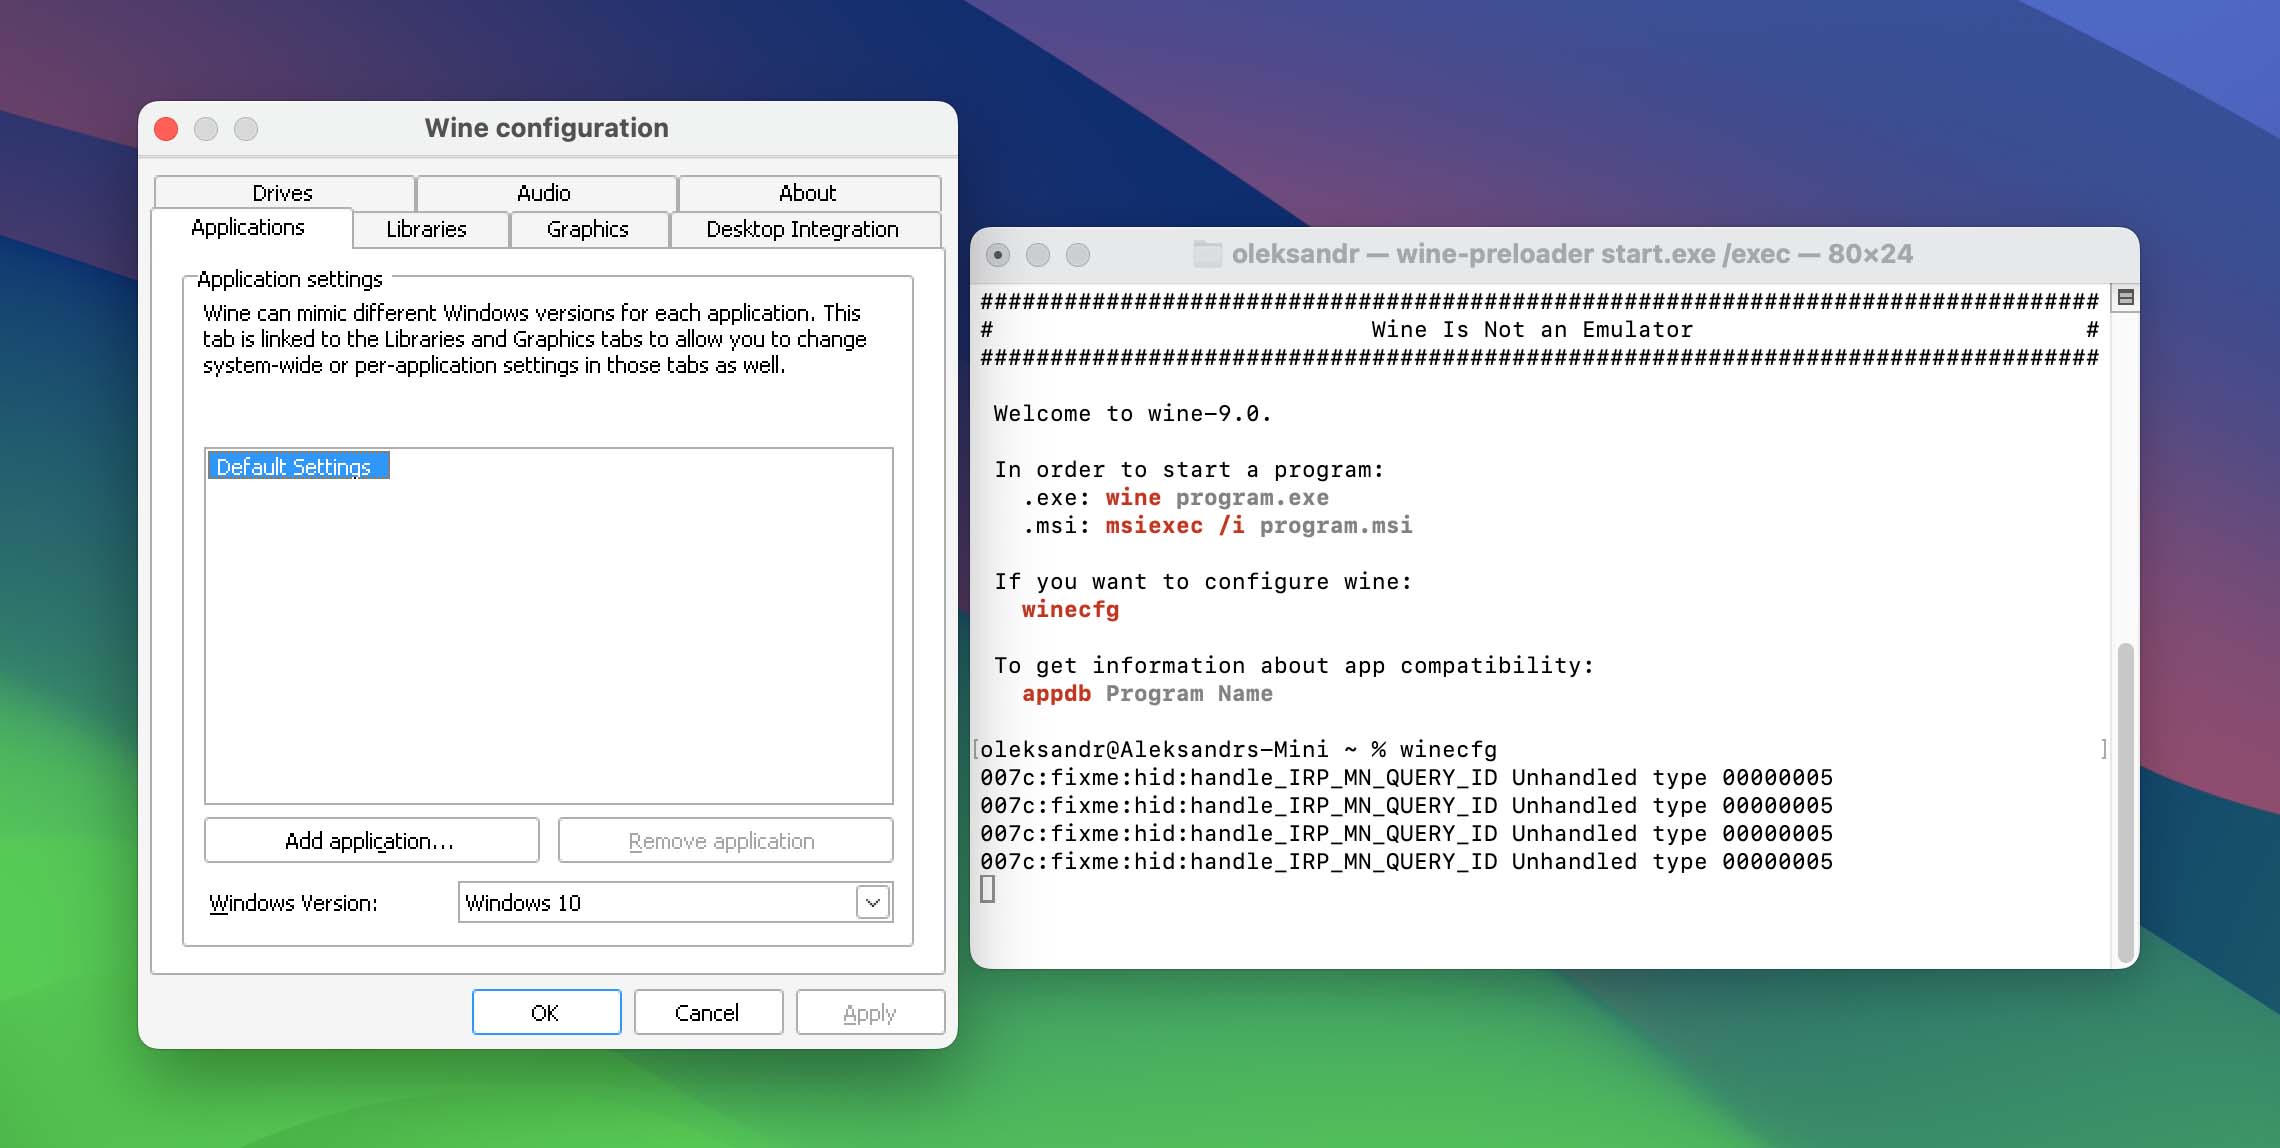
- Run Windows applications by opening them through Wine, which translates Windows API calls into macOS calls on-the-fly.


Wine is best suited for technically savvy users who are comfortable with manual configuration and troubleshooting.
Game Distribution Platforms
For gamers looking to run Windows games on a Mac, various game distribution platforms offer native macOS support for a wide selection of games. These platforms provide a straightforward way to access and play games without the need for running Windows on your Mac. Here’s an overview of some key platforms:
- Steam: One of the largest digital distribution platforms for PC gaming, Steam offers a vast library of games with many titles available for macOS. The platform automatically provides the correct version of the game for your operating system.
- Origin: While primarily known for its collection of EA titles, Origin offers several games that are compatible with macOS. Users can download and play games directly within the Origin client.
- Battle.net: Blizzard Entertainment’s platform, Battle.net, supports macOS for most of its games, including popular titles like World of Warcraft and Hearthstone.
- Epic Games Store: The Epic Games Store has been expanding its library and includes macOS-compatible games. Users can explore and download games directly through the Epic Games launcher.
- GOG: GOG (Good Old Games) provides a wide range of DRM-free games, many of which support macOS. It’s an excellent source for classic and indie titles that run natively on Mac.
These game distribution platforms are a great resource for Mac users looking to play games natively supported by macOS. By utilizing these services, gamers can enjoy a broad selection of games without needing to implement solutions for running Windows games on Mac.
These alternative methods offer additional ways to open Windows apps on a Mac, expanding the toolbox for users seeking compatibility solutions. Whether through a polished product like CrossOver or the hands-on approach of Wine, there’s a spectrum of possibilities for integrating Windows applications into your macOS workflow.
Conclusion
Running Windows programs on a Mac bridges the gap between two powerful computing platforms, enabling users to access essential software for work, education, or entertainment. Whether through virtualization, Boot Camp, or compatibility layers, each method offers a tailored solution to meet specific user needs.
Virtualization appeals to those seeking ease of use and the convenience of running Windows and macOS applications side by side. Boot Camp is the go-to for users needing the full performance of Windows, while compatibility layers serve well for less intensive applications.
The choice between these methods depends on individual preferences and requirements. With the guidance provided, users can make an informed decision, ensuring a smooth and efficient integration of Windows into their Mac usage. The goal is straightforward: to enhance your Mac’s functionality, allowing it to support a wider range of applications.