

Table of Contents
The Desktop folder is one of the main folders on your Mac. It stores folders, shortcuts, and files that could be displayed and arranged on your Desktop screen. But just like other folders, you may still encounter data loss from your Desktop folder, often due to accidental deletions.
Read this guide to learn more.
Why Desktop Files Disappear on Mac?
Suddenly losing files on the Desktop folder is a familiar issue among Mac users and can happen to anyone. Some users lose it due to human error, others due to technical errors.
Here are the most common reasons why your Desktop folders disappeared on Mac, along with the quick fixes you can do to solve them:
| Reason for Disappearance | Quick Solution |
| Forgetting to save the file | Check AutoRecovery folders or temporary file locations. |
| Accidentally deleting the file | Look in the Trash Bin and restore it if available. |
| Sudden power loss or computer crashes | Use recovery software or check for unsaved document recovery options in the application. |
| Overwriting a file or misplacing it into another folder | Use Spotlight search to locate the file or check recent files in relevant applications. |
| Files disappeared after the software update | Check for a backup prior to updating or use Time Machine to restore files. |
| Files disappearing after changing your password | Check if files were stored in a user-specific folder and regain access with the new password. |
| Misplacing a file | Use Finder or Spotlight to search for the file across the system. |
| 3rd-party security software accidentally deletes a file | Check the security software’s quarantine or log for the file and restore it if possible. |
| You enabled the “Hide extensions for known file types” option | Disable this option in Finder preferences and search for the file again. |
| Malware | Run a malware scan and use recovery software to restore lost files. |
| Problems with iCloud sync | Check iCloud online or disable and re-enable iCloud sync to refresh file visibility. |
Fortunately, Mac computers have recovery methods that can help you find files on Mac and restore lost files. Granted, 3rd-party data recovery solutions are more reliable and do a deep scan of your storage device, allow you to preview files, and ultimately recover deleted items more reliably.
Best Methods to Recover Disappeared Files from the Desktop on Mac
If you’ve experienced any of the cases above, here are some recovery methods that you can try. We have compiled different and effective how-to methods to recover disappeared desktop files on your Mac.
Read on and follow the steps carefully.
Method 1: Recover Deleted Files from the Trash
Deleted desktop files don’t immediately disappear from your system. Unless these desktop files are explicitly deleted permanently, they are temporarily moved to the Trash folder where you can still retrieve them.
To recover deleted files from the Trash, follow these steps:
- Open the Trash app by clicking its icon on the Dock. You can find the Trash app on the rightmost side of the Dock.

- Find your lost file. You can sort the files by Name, Date Modified, Size, and Kind. You can also search for your file using the Quick Search feature on the top-right part of the window.
- Right-click on the file you want (Control + left-click on a trackpad) and select Put Back.

- Once your file is recovered, the folder where it originally was should automatically open. From there, you can browse and check for your recovered file.


Method 2: Recover Desktop Files with a Data Recovery Software Tool
Data recovery software is usually our top recommendation in cases where your missing files are not in the Trash, especially if you don’t have any backups before data loss.
Based on our extensive testing, Disk Drill comes on top as an all-around data recovery and device monitoring tool. It has a modern, user-friendly interface combined with a deep-scanning set of data recovery algorithms.
PhotoRec, on the other hand, is recognized for its straightforward approach and its entirely free software with no installation required. In this section, we’ll explain how these tools work and how you can recover your desktop files using them:
Option A: Disk Drill
Disk Drill is a proven solution for different data loss scenarios, including disappeared desktop files. It is available on the latest version of MacOS, M3-powered Macs, and Windows OS.
This data recovery software tool can also recover over 300+ different file formats, so you should find whatever files you lost. The only downside we see in choosing Disk Drill for Mac is that you have to pay for their software to use them.
Nevertheless, we still recommend running a file recovery tool like Disk Drill since there is always a chance of recovering files. The good thing is, Disk Drill can scan and preview recoverable files for free.
To use Disk Drill for recovering desktop files on Mac, follow the steps below:
- Download Disk Drill for Mac from their official website and install it on your device.
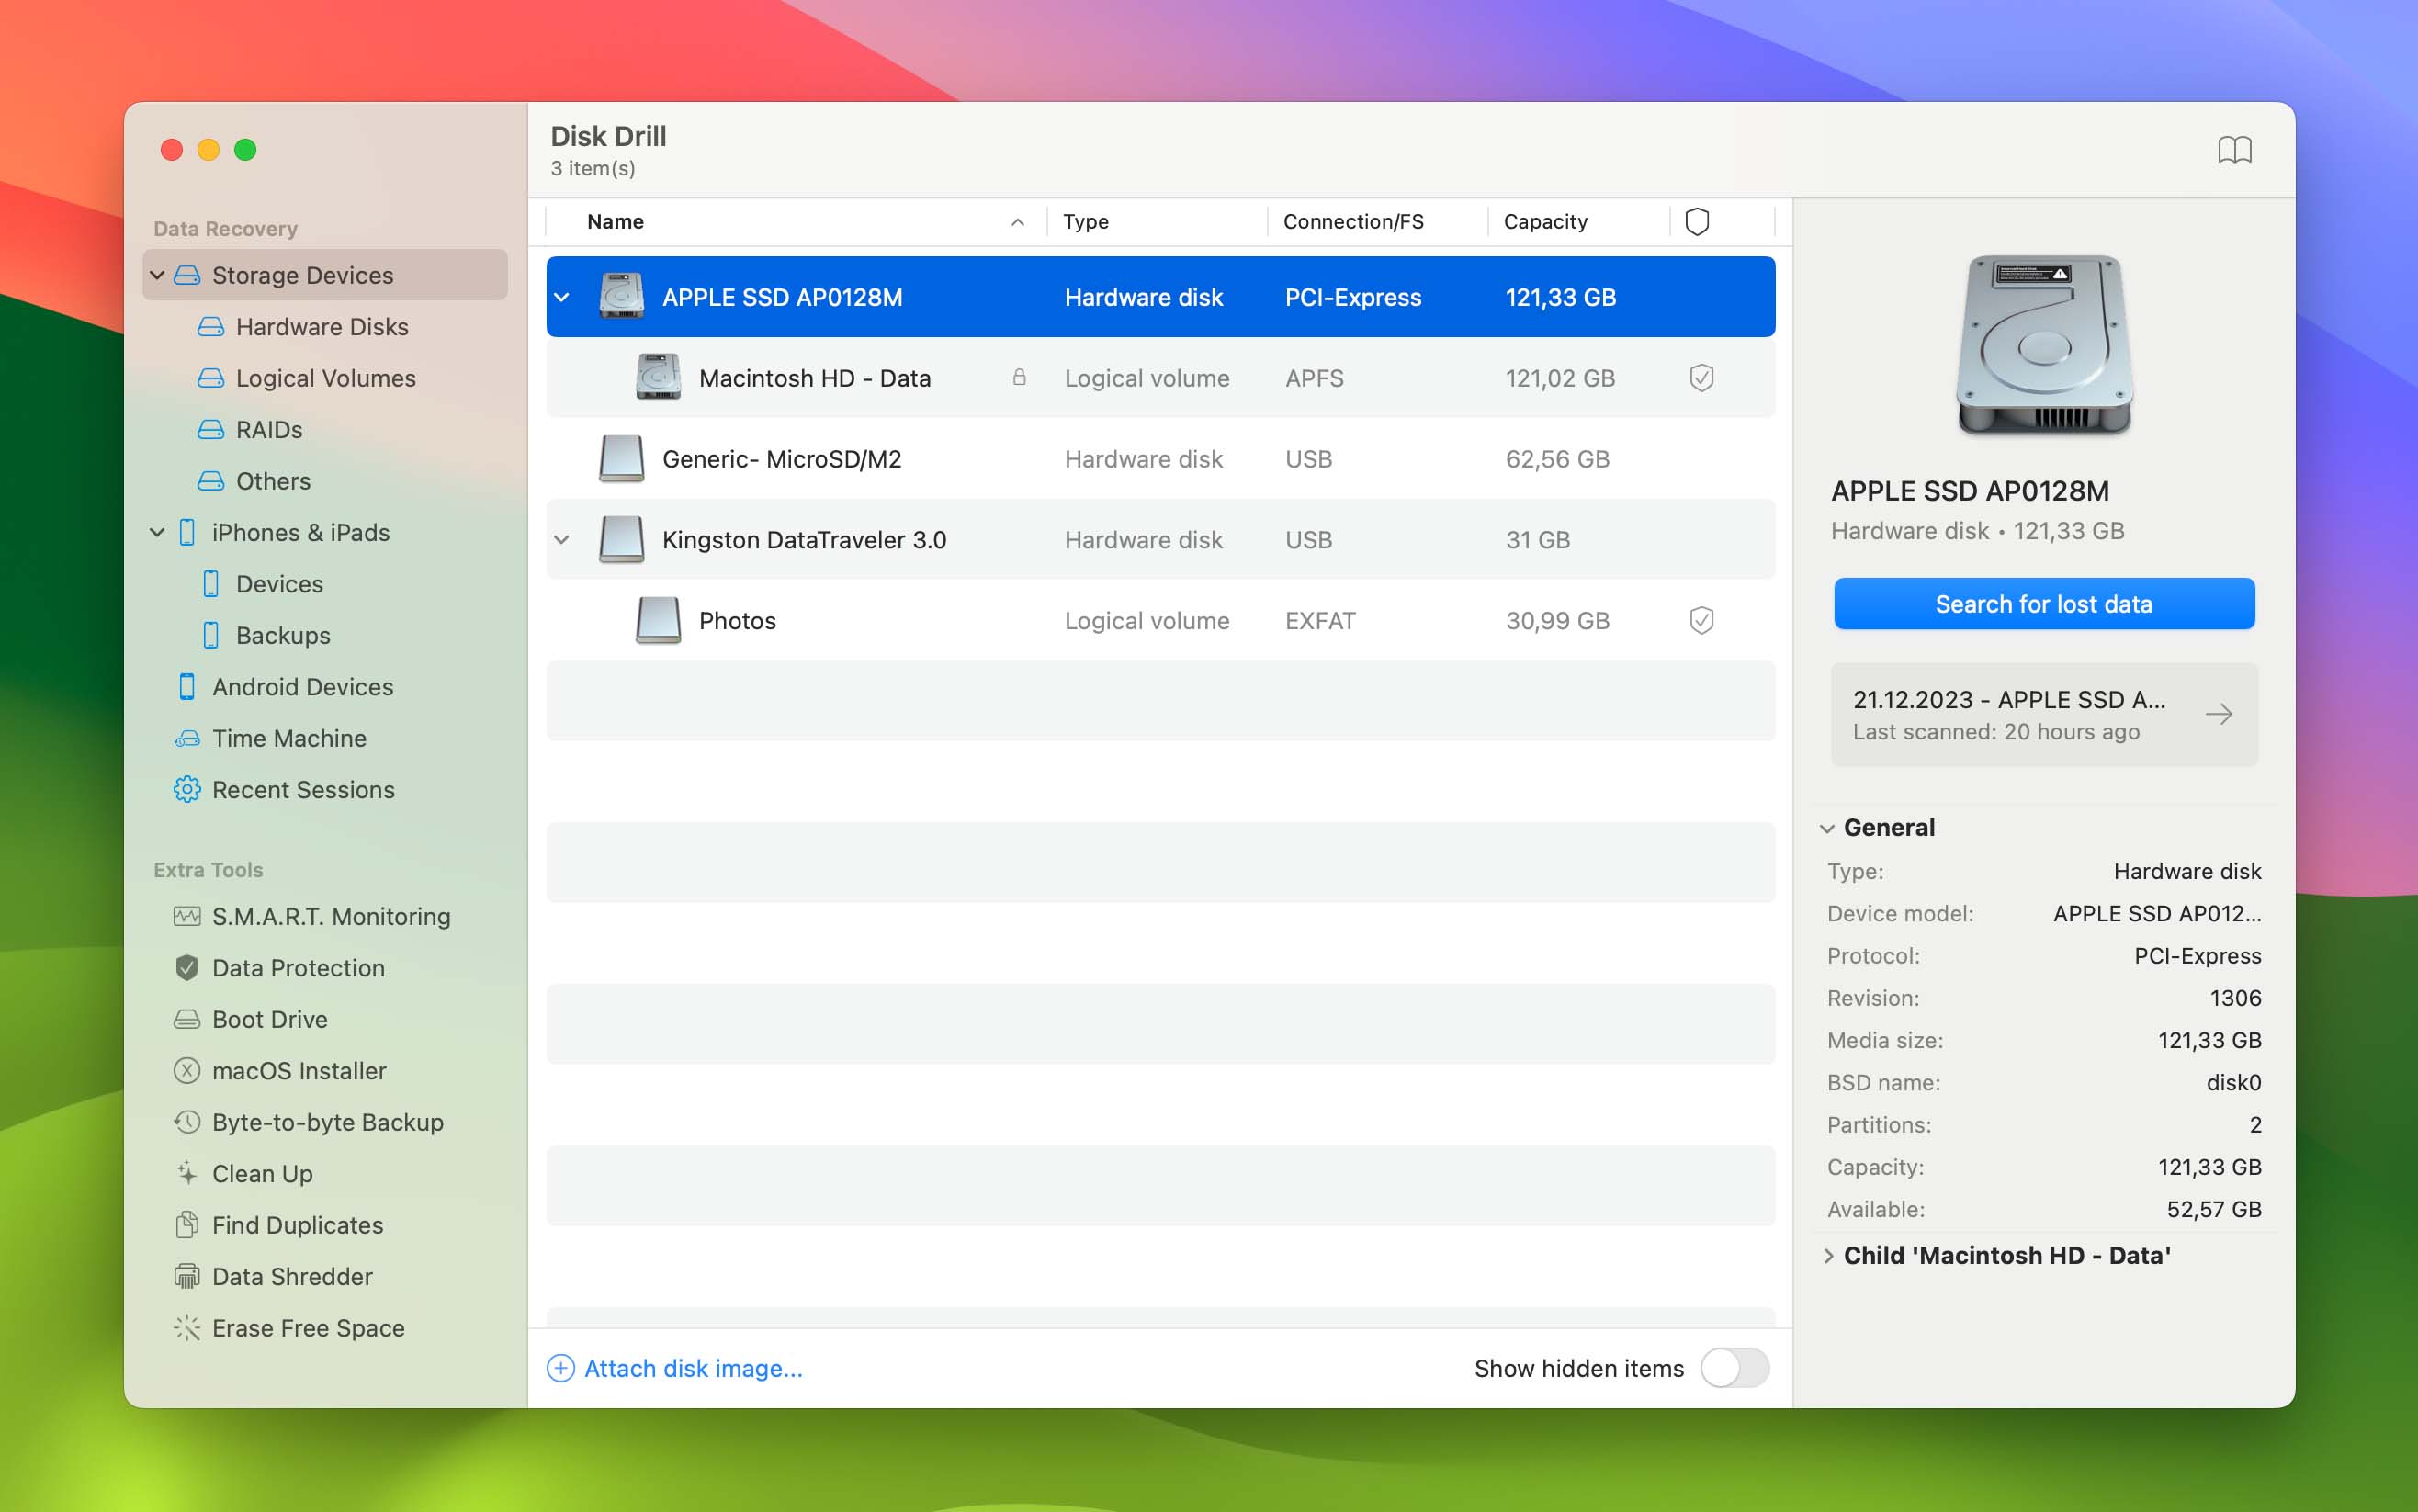
- Launch the app and select the Mac’s hard drive.
- Select your system drive from the list of available storage devices.
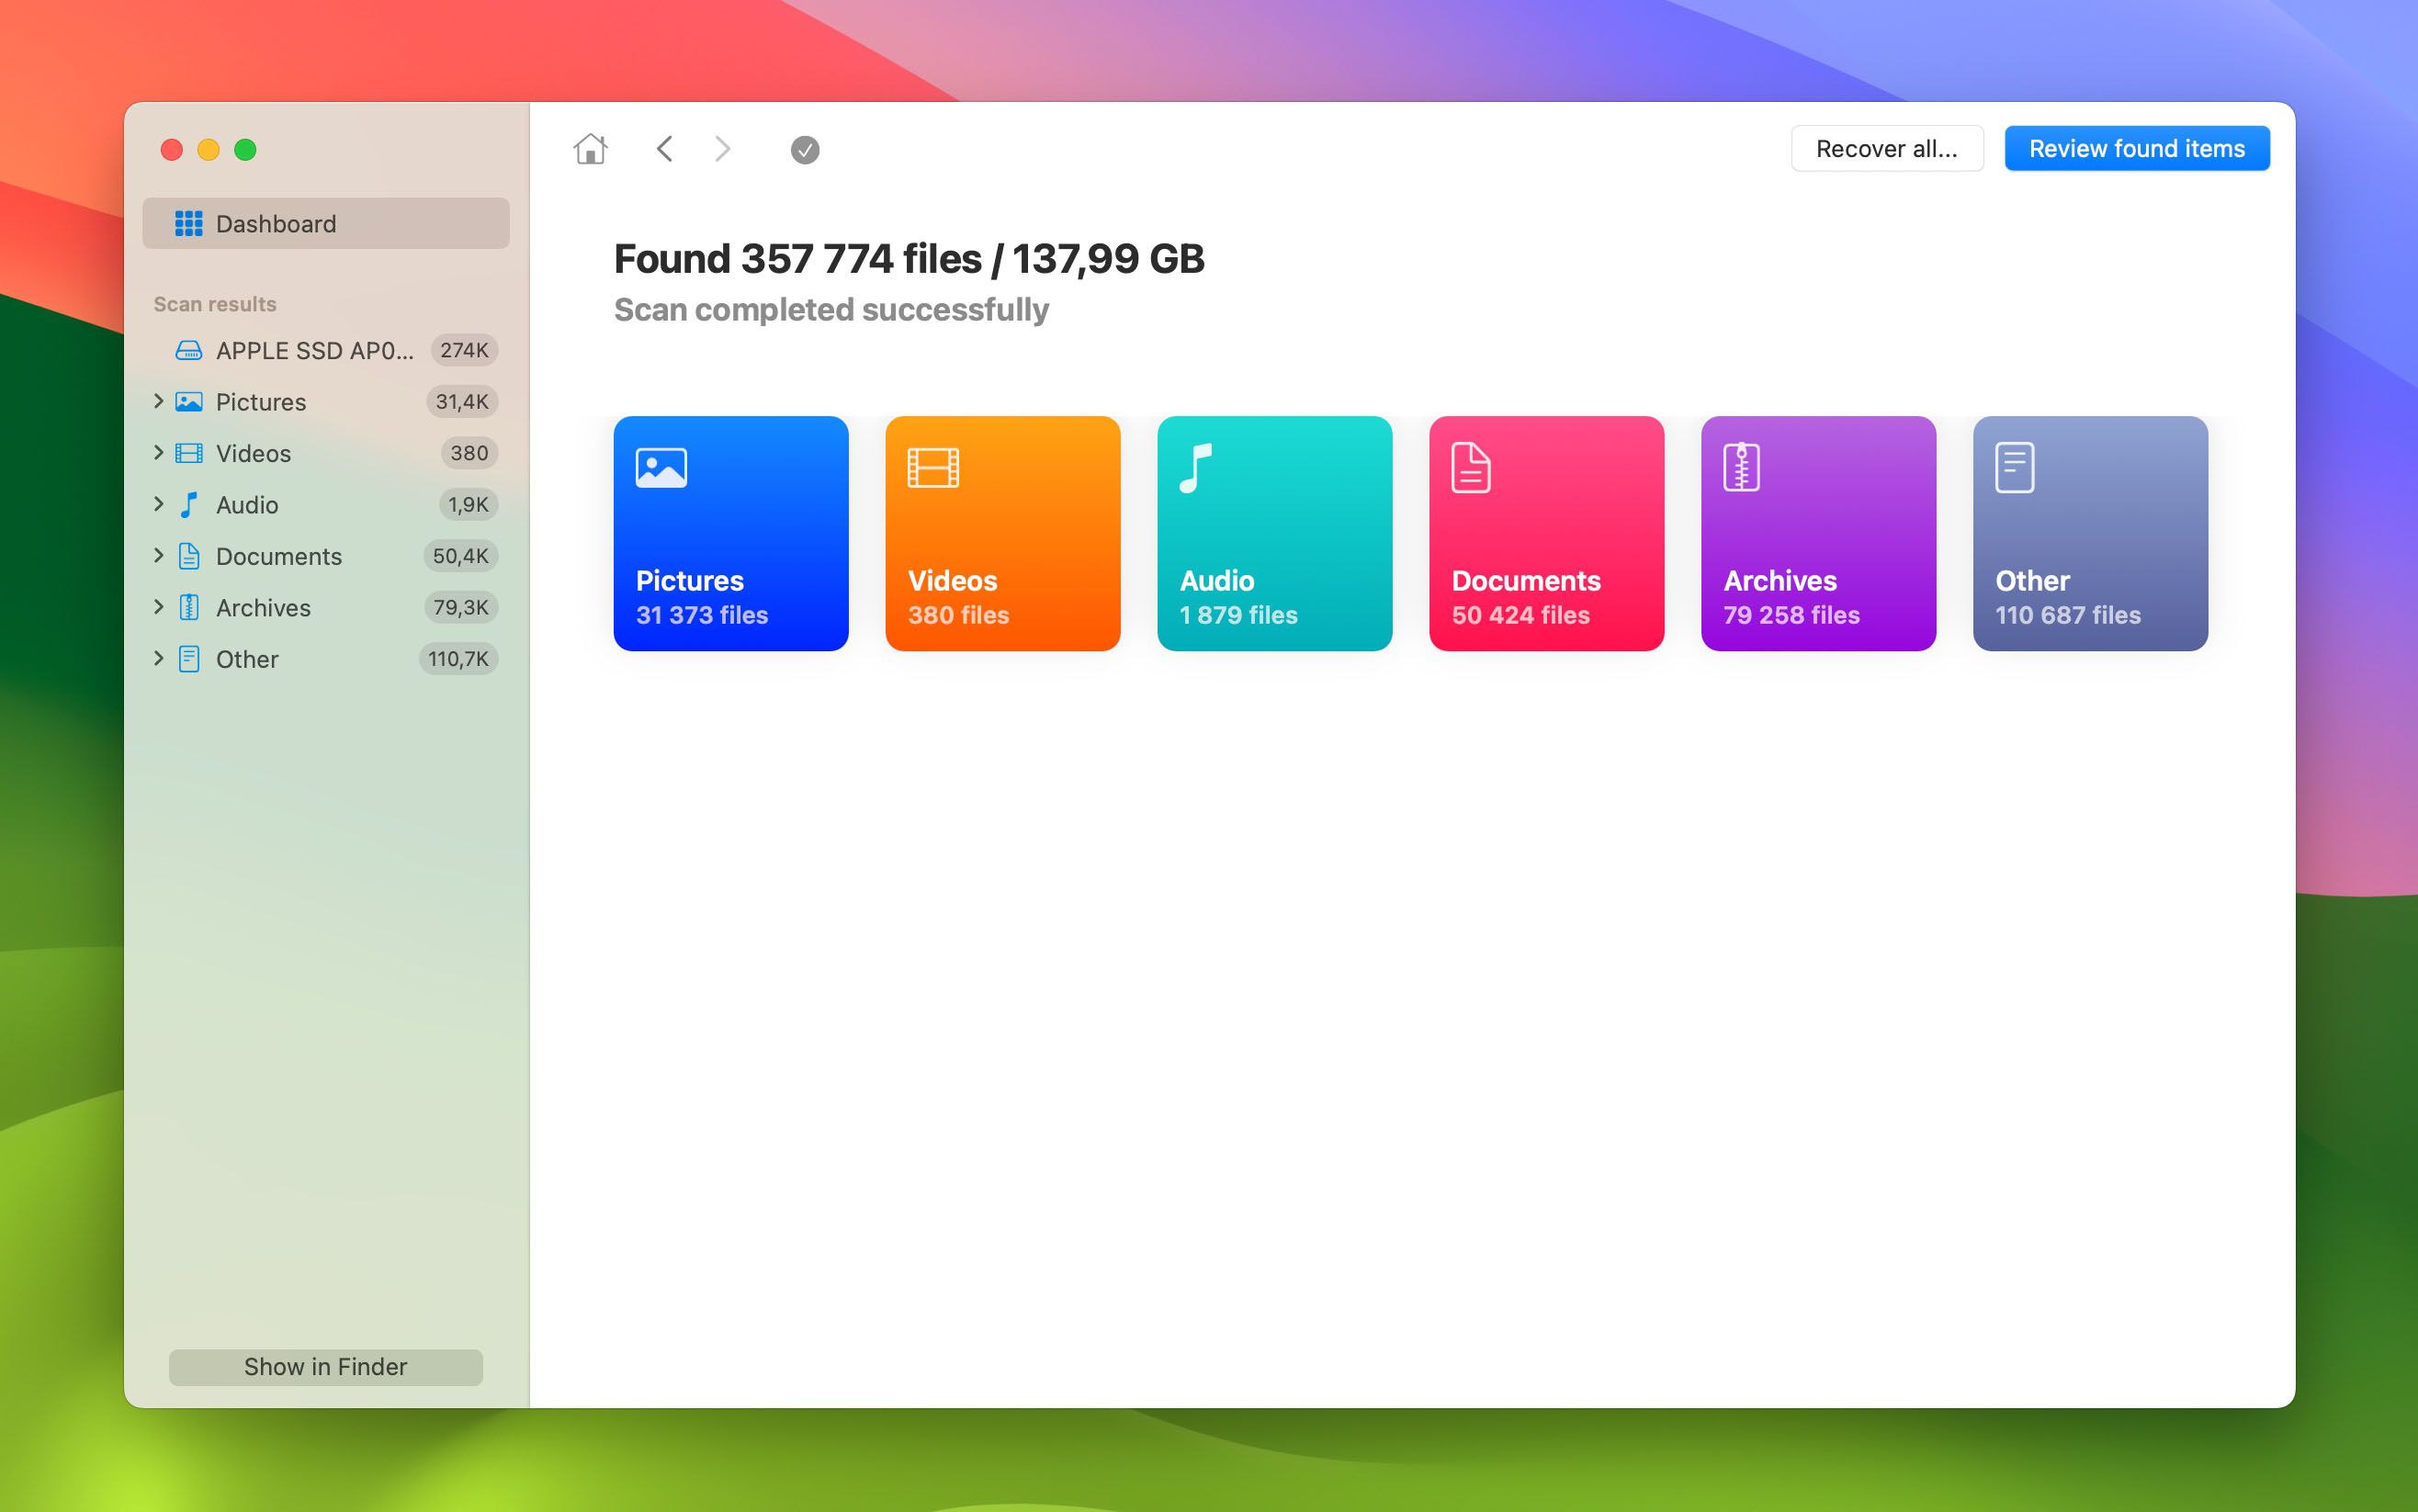
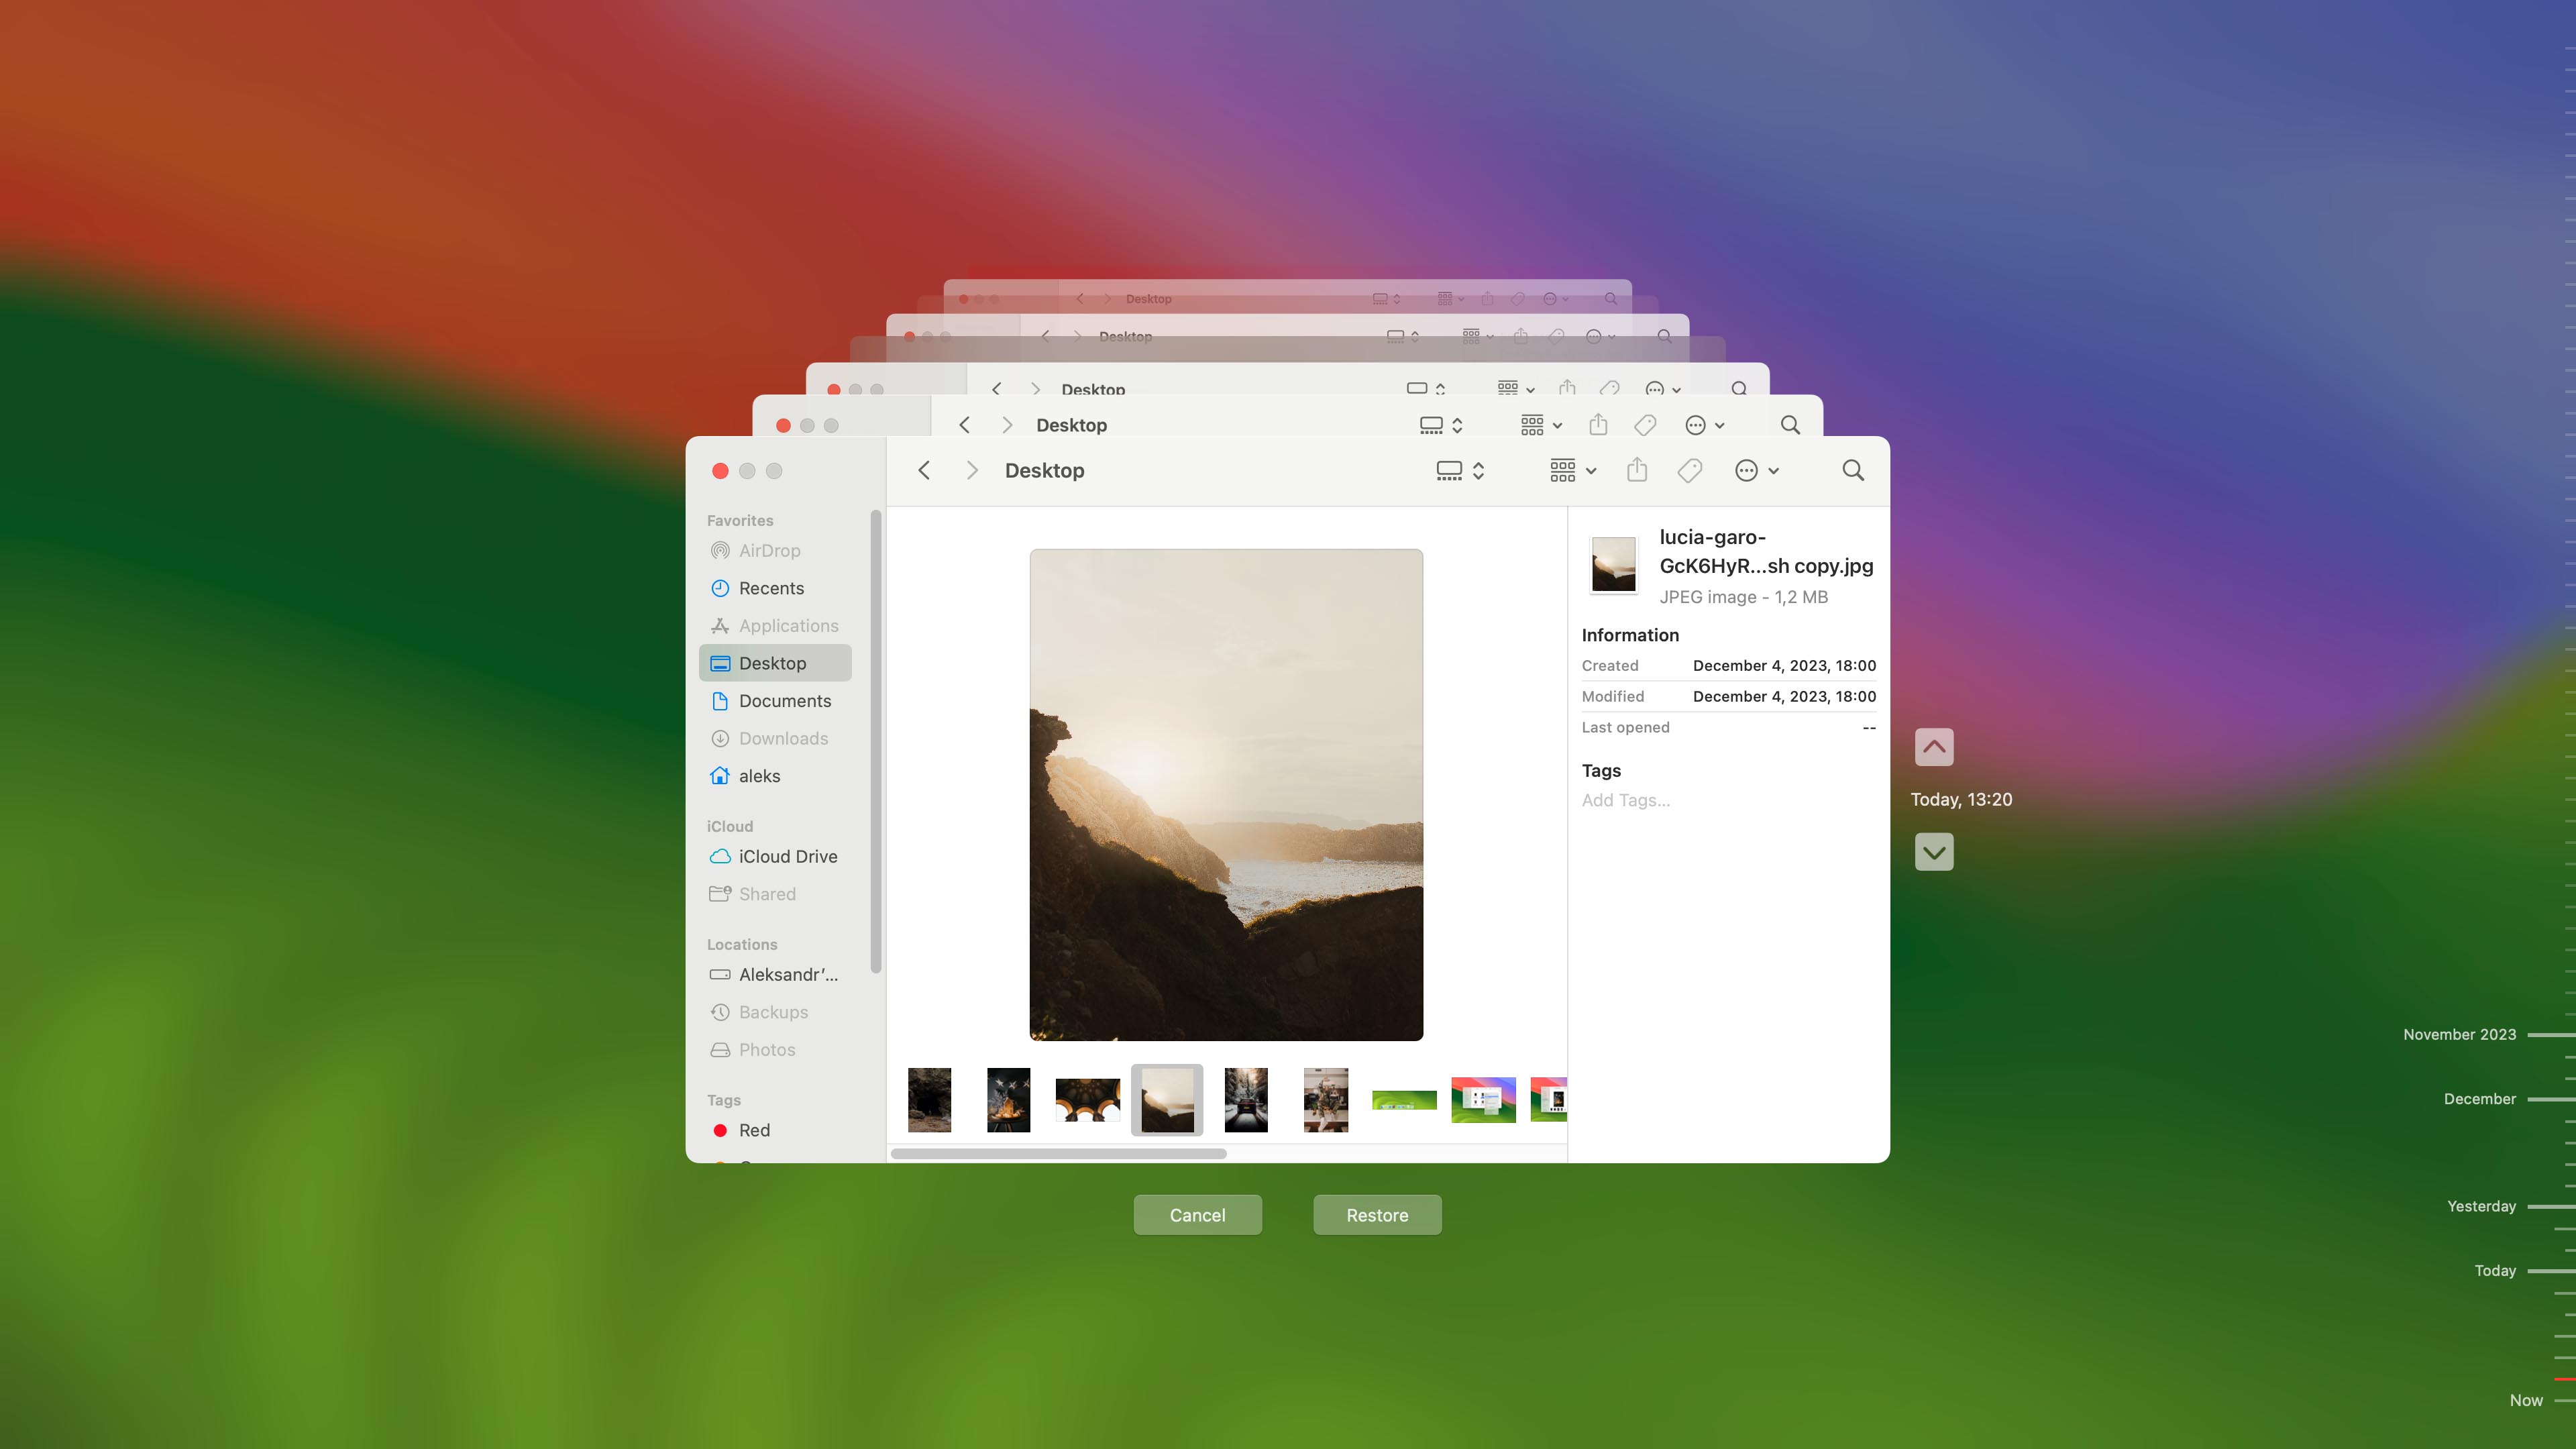
- Click Search for Lost Data. Disk Drill will now begin to search for deleted data that may be recovered.
- Select Review found items to view the recovered files individually. They should be sorted according to their file category.
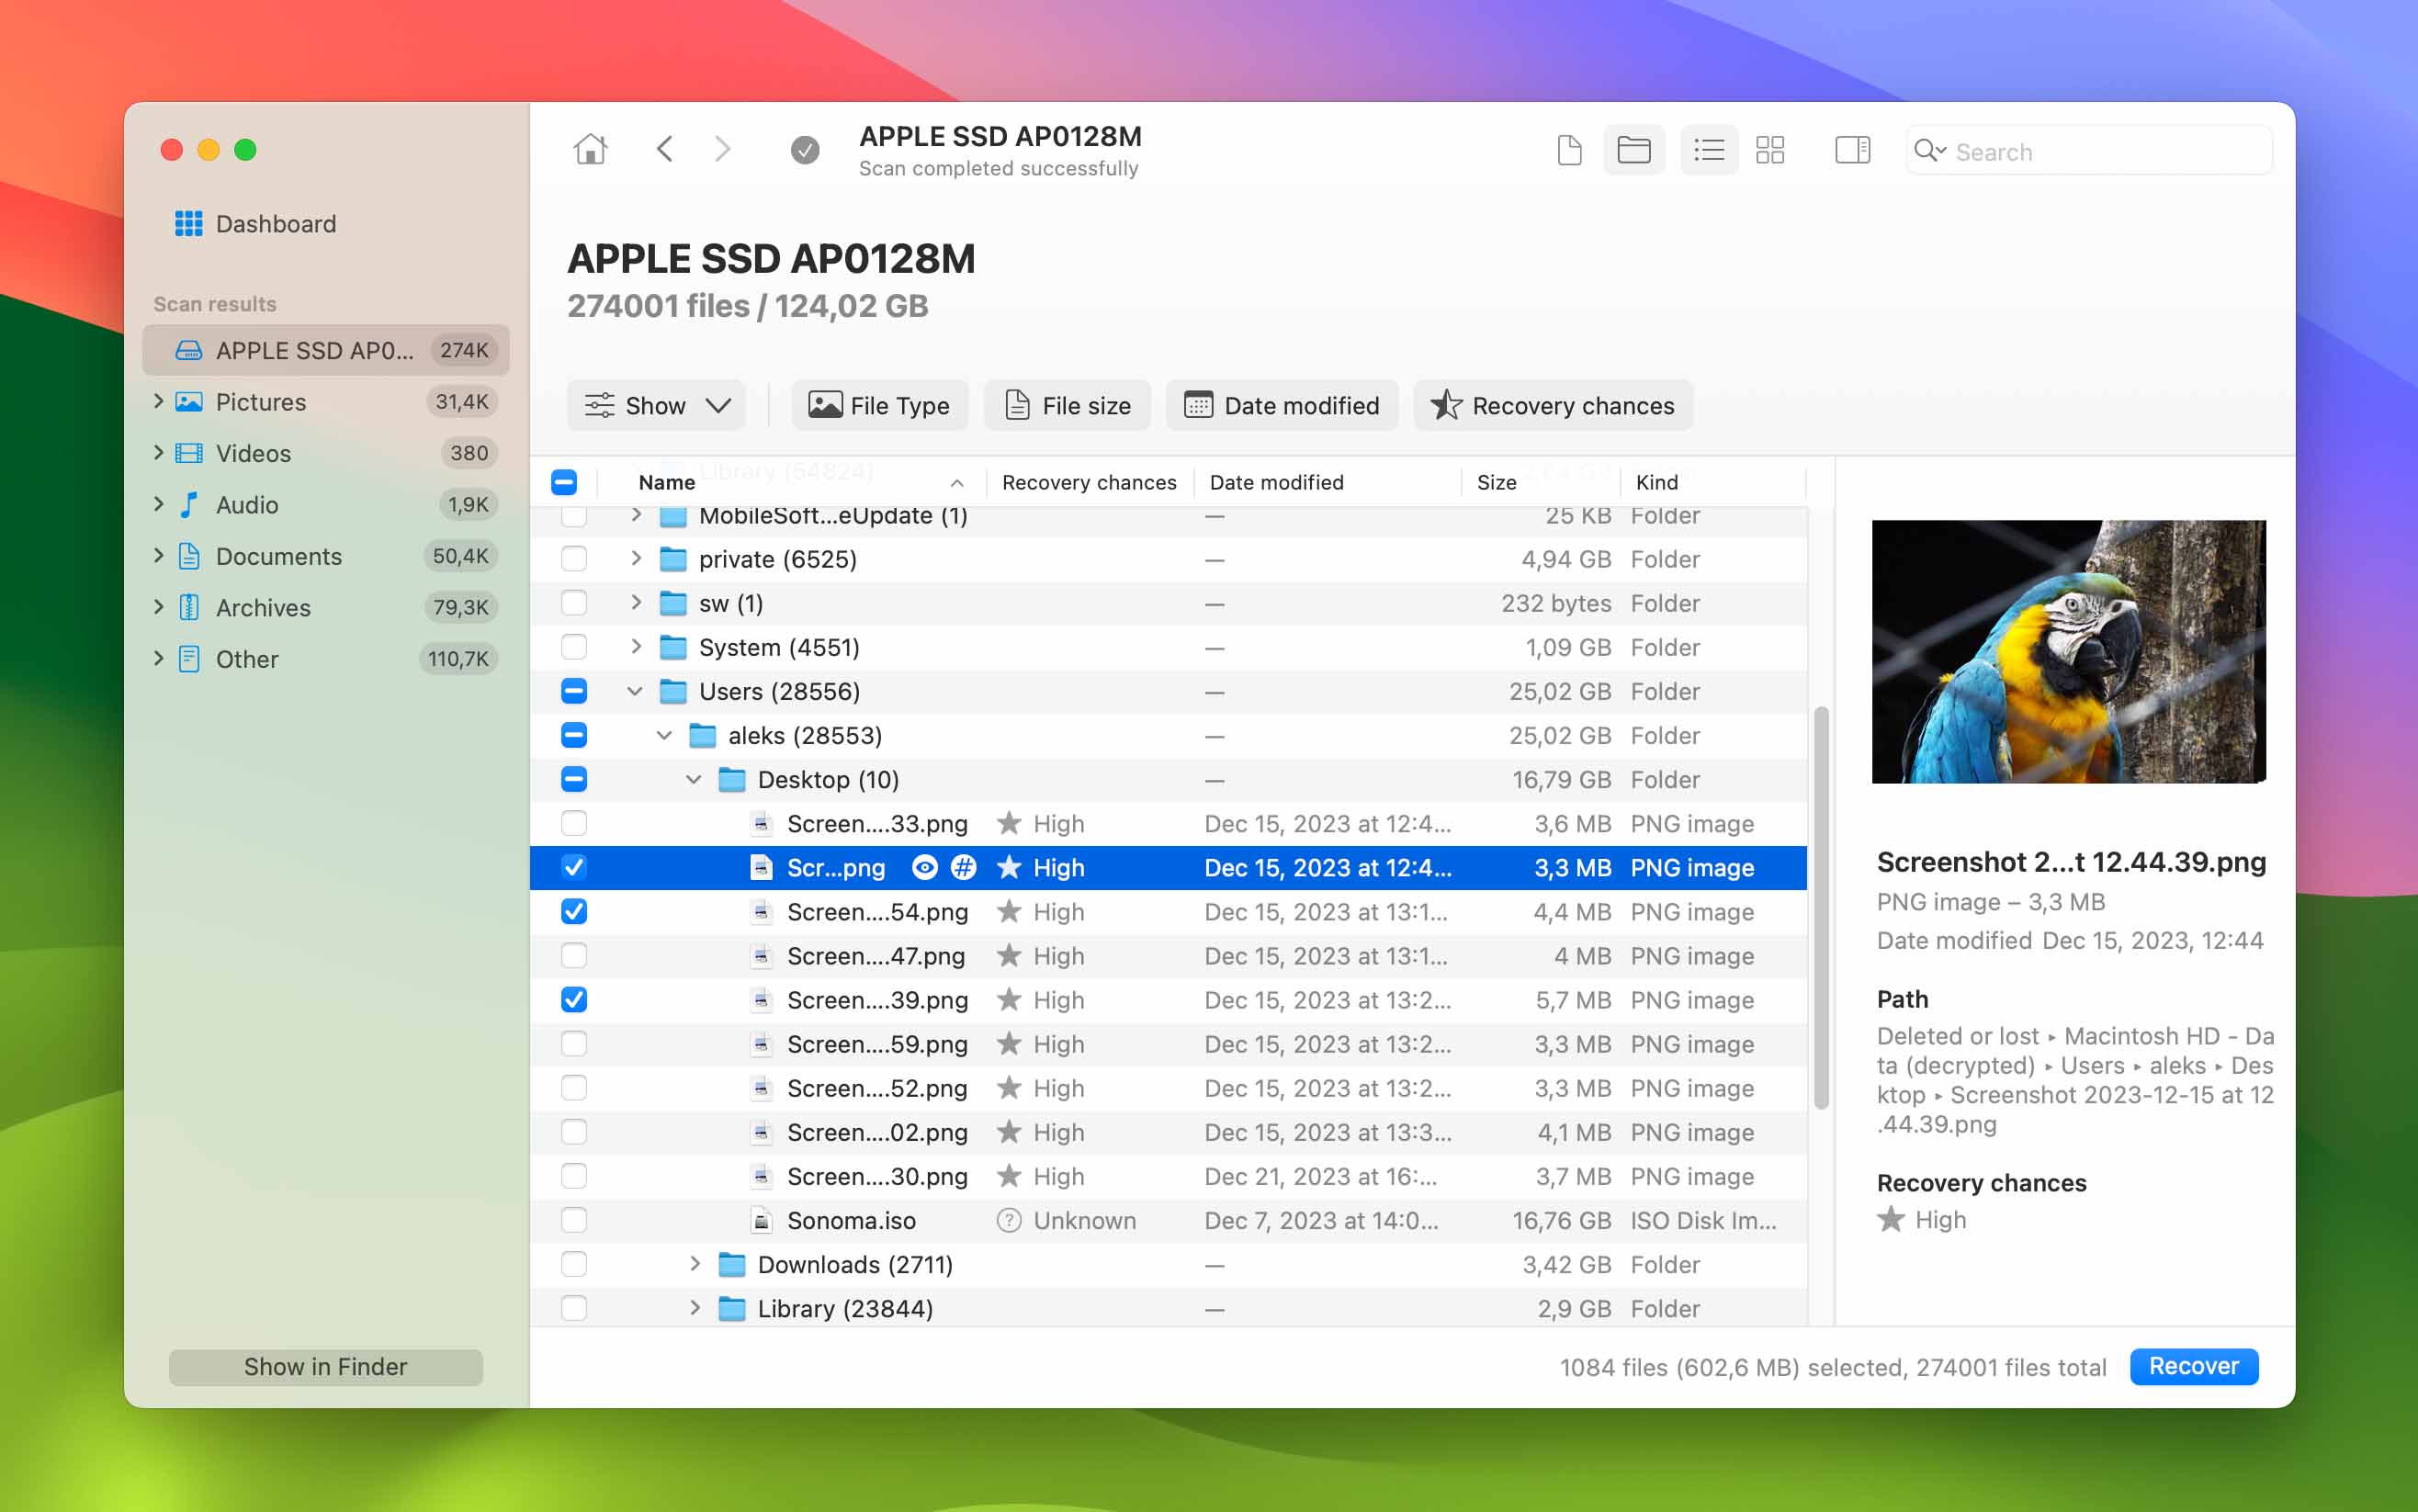
- Filter through the files by either using the file categories on the left pane, the Search feature, or the sort options below the Search bar.
- Make sure you found the right file and it has not been overwritten by using the Preview pane on the right to view your lost file.
- Select it if it’s the right one, and click Recover.
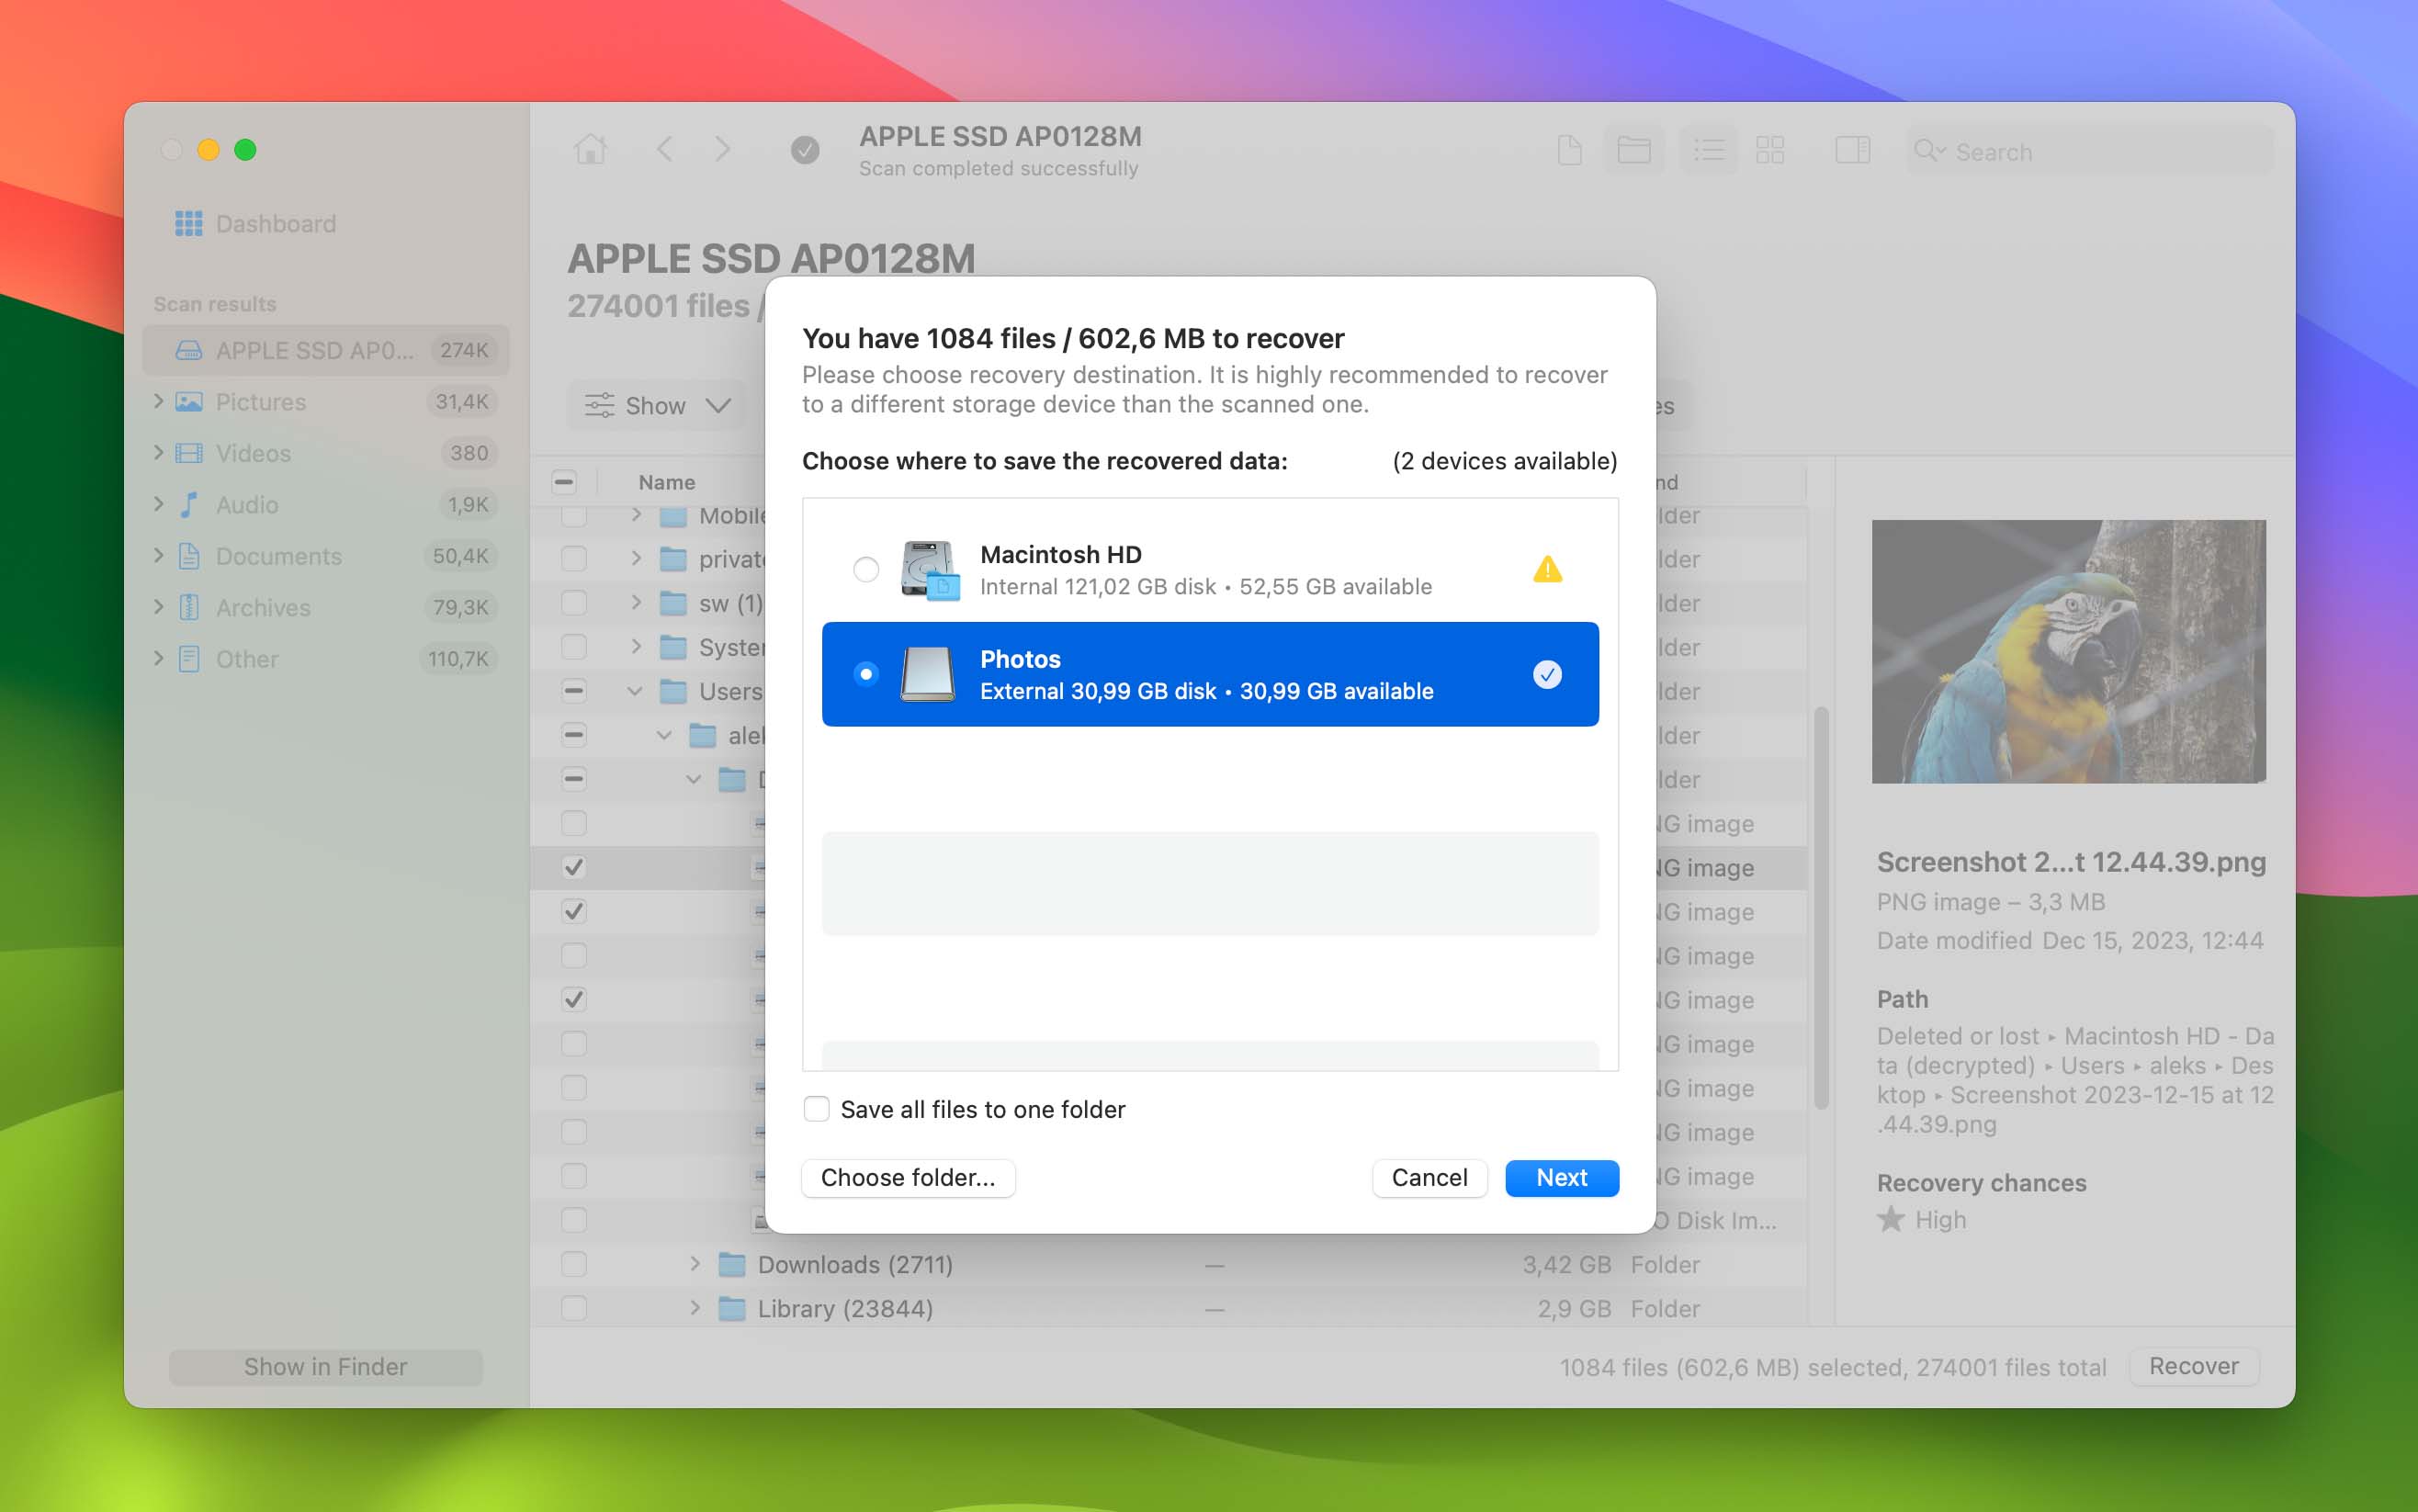
- Choose the file location that you want and select Next. Your file will now be available in your selected folder.


Note: To access all of Disk Drill’s features, you’ll need to subscribe to the PRO version. Learn more about Disk Drill pricing plan.
Option B: PhotoRec
We recommend PhotoRec if you want a cost-free option to retrieve your desktop files from your Mac. It doesn’t require much to run, so it works even on low-end computers. It can also perform deep and customizable scans to increase the chances of finding your missing files. The best part? You don’t have to install the app to use it if your Macbook runs on an Intel processor. Otherwise, you can install PhotoRec with Homebrew.
One downside to using PhotoRec is that it runs in the terminal, so you’re going to have a little difficulty using it if you’re a beginner. Moreover, it doesn’t get regular software updates despite being open-source.
Still, we consider it a good tool to have in your arsenal, especially if you don’t want to purchase any software for data recovery.
Recover your desktop files on your Mac with PhotoRec using these simple steps:
- To get started, download the TestDisk and PhotoRec bundle from CGSecurity.
- Then, extract the downloaded bz2 archive file
- Since simply opening the photorec file in the extracted folder will not give you administrator rights for PhotoRec, you need to open Terminal.
- Once the terminal window opens, install TestDisk/PhotoRec via Homebrew by executing the command “brew install testdisk”.
- After the installation is finished, execute the command “sudo photorec” to run PhotoRec in administrator privileges. Then, enter the administrator password when prompted.
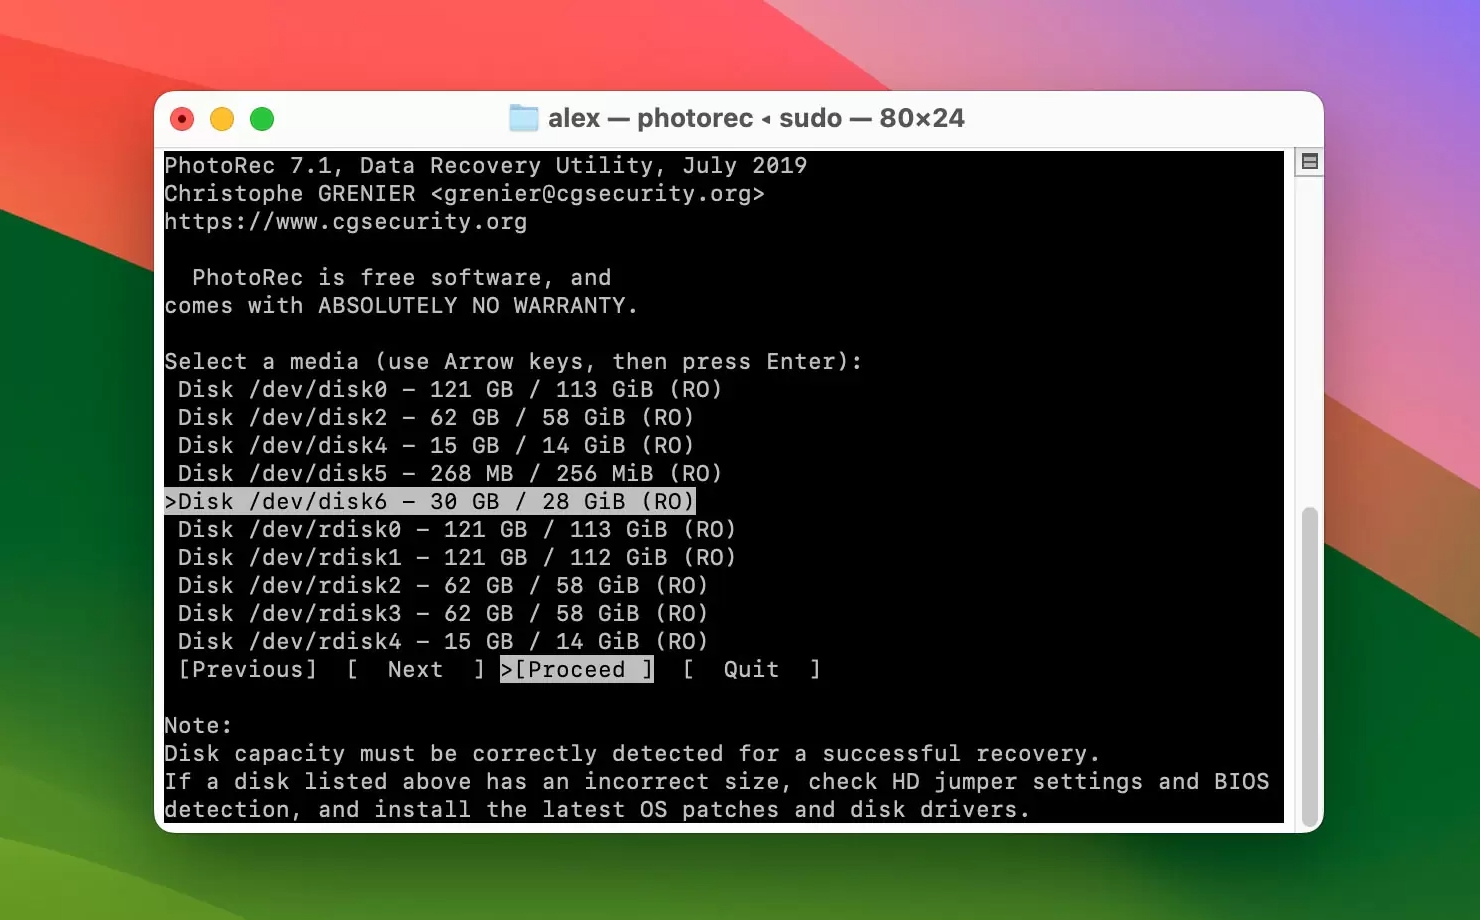
- Use the arrow keys to navigate the options and press the Enter key to proceed. In the first set of options, choose the drive where your desktop files were by matching the storage size and drive characteristics to the choices PhotoRec shows.
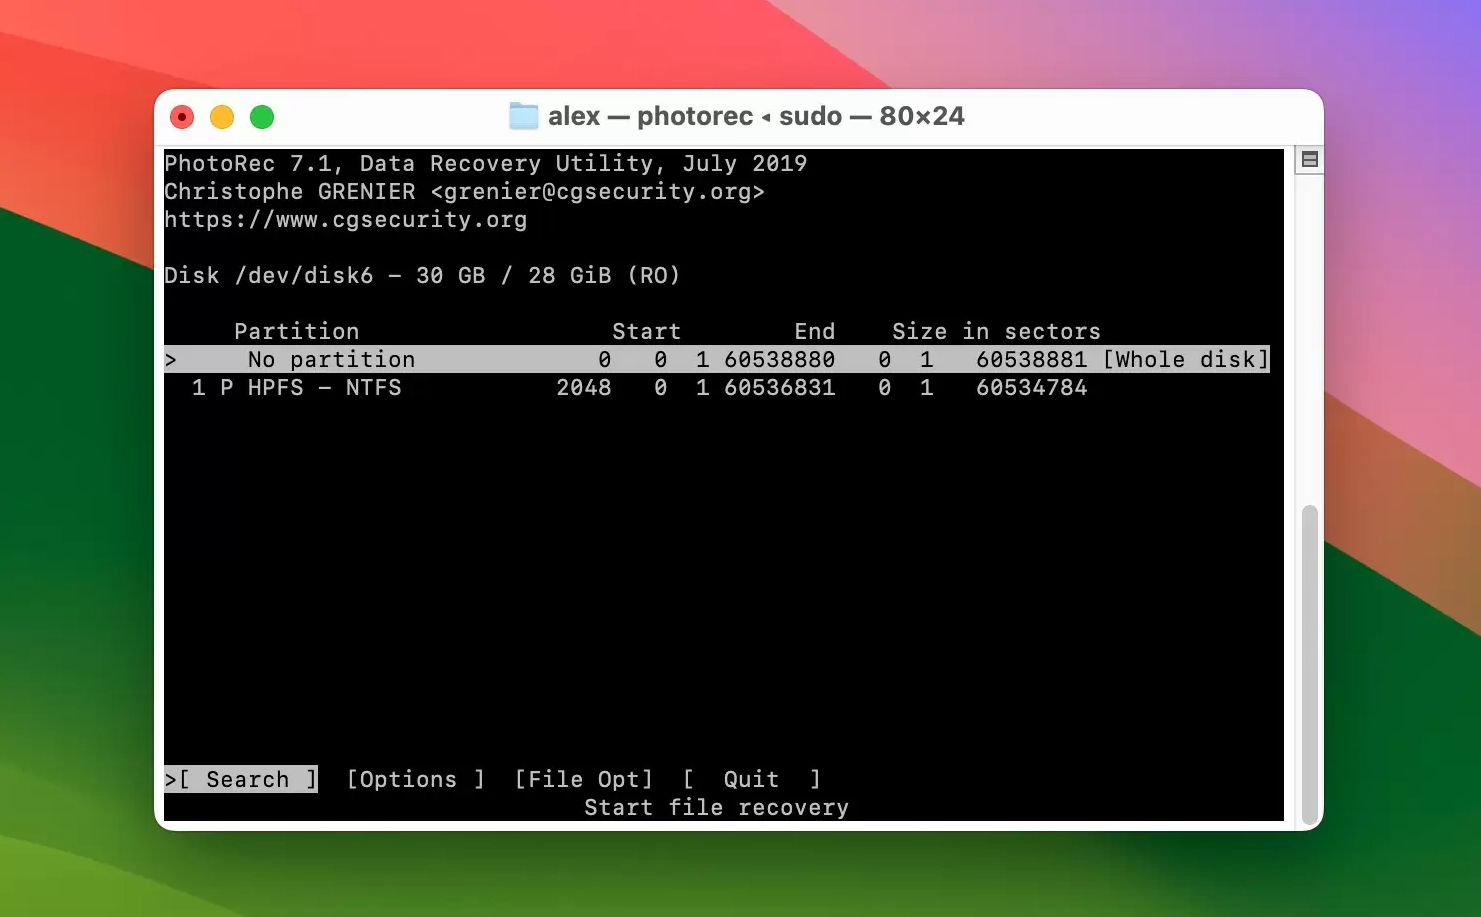
- Then, select the partition you want to scan and press Enter. If you don’t know this, you can follow TestDisk’s suggestion on the bottom part of the screen.
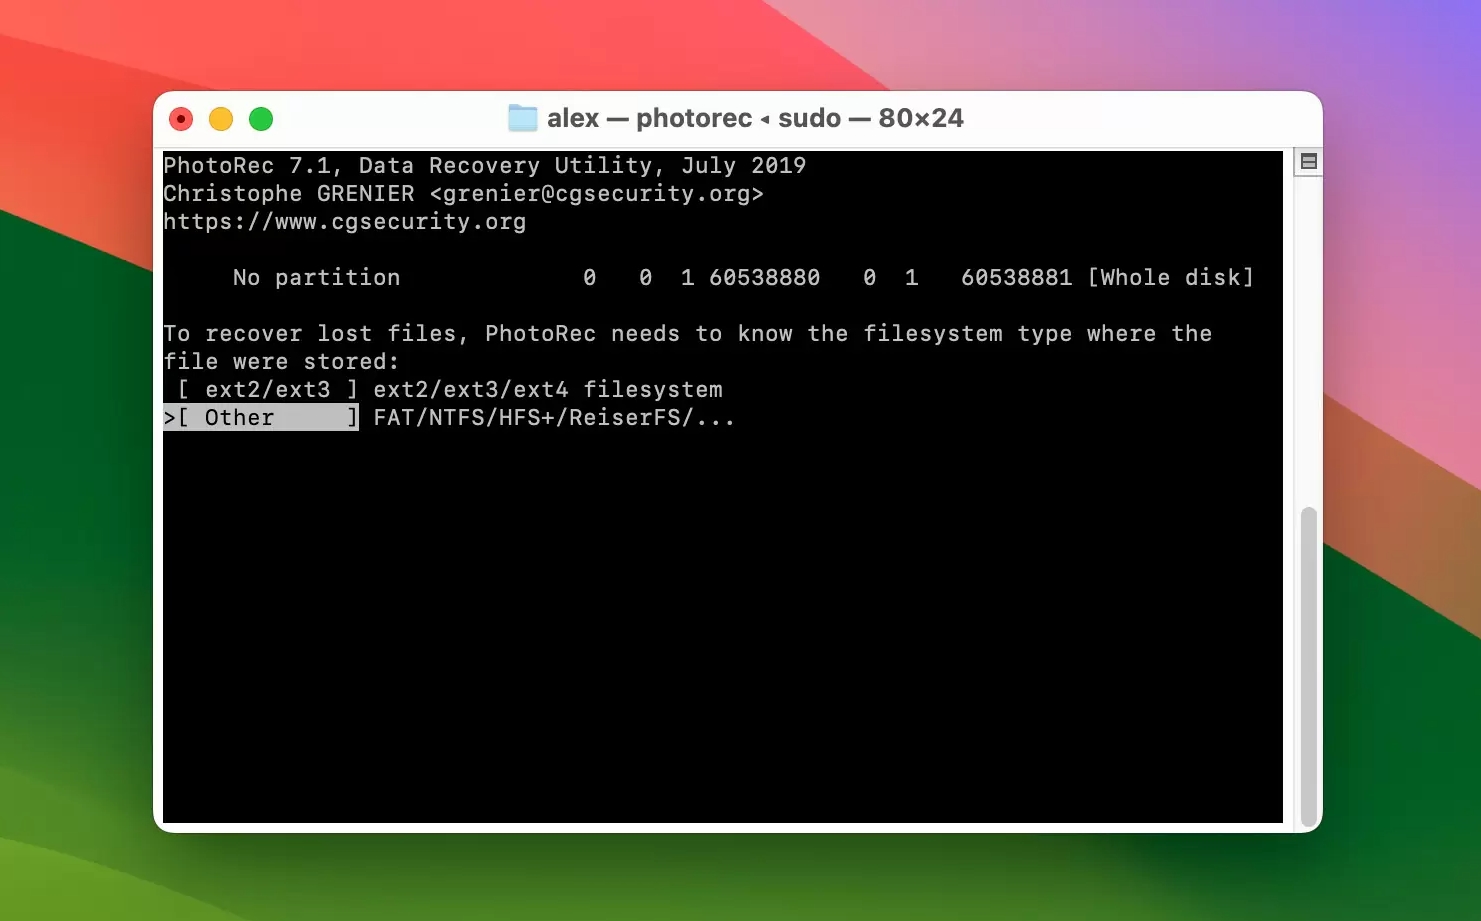
- Now, select the appropriate file system for your drive and press Enter.
- After that, choose to scan your drive’s free space or the whole device. Then, press Enter.
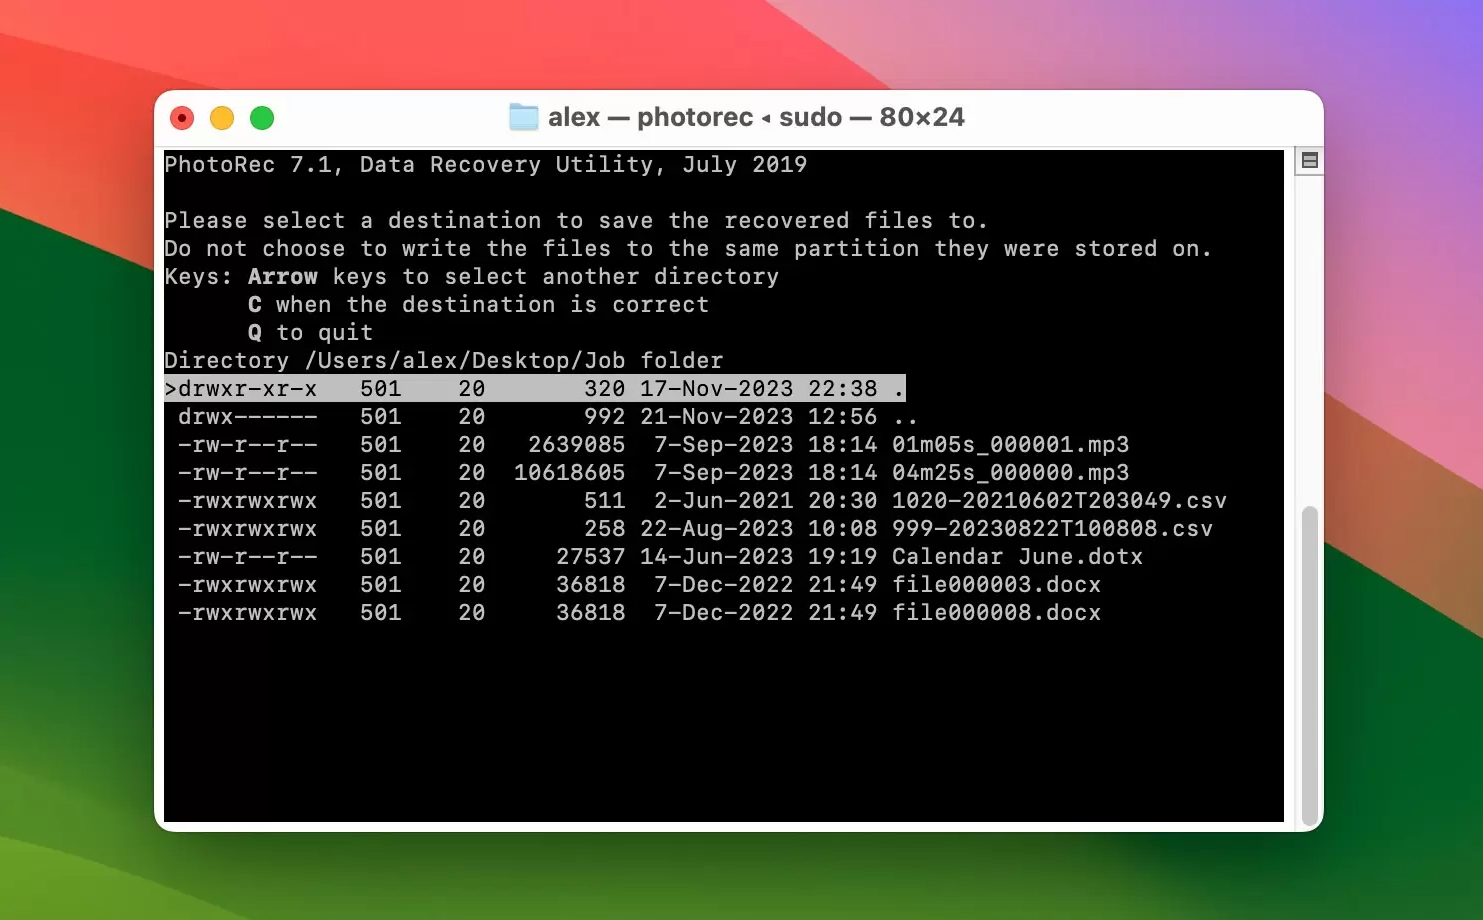
- Finally, pick the destination folder for the recovered files and press ‘C’ to start the scan.
- PhotoRec will display the number of files it has recovered so far, along with their file types. Once the scan is finished, it will display a message saying, “Recovery completed”. Choose [Quit] and press Enter to exit the application. Then, go to the destination folder to check for your desktop files.


Method 3: Recover Disappeared Files With Time Machine
Time Machine is a utility app that’s designed to create regular backups of your files. This app can take a full-fledged snapshot (a complete backup stored to a selected external disk) or a local snapshot (a temporary backup stored on your Mac) of specific files and folders at a particular time based on your configured settings.
To use Time Machine to recover disappeared files on Mac, do these steps:
- Use the Finder app to go to the Desktop folder.
- Click the Launchpad and go to Other (Utilities) > Time Machine. Alternatively, you can also click on the Time Machine icon at the menu bar and selecting Browse Time Machine Backups. If you don’t have that enabled, simply open up the Apple menu, go to System Preferences, click Time Machine, then select “Show Time Machine in menu bar.”Note: As of this writing, the latest macOS 14 Sonoma no longer allows you to hide the Time Machine icon in the menu bar.

- Use the arrow buttons to navigate through the snapshots of backups shown on the screen.
- Find the snapshot that contains the file.
- Select it and click the Restore button to confirm and recover the file.


Method 4: Check your iCloud Backup to Recover Lost Desktop Files
If your iCloud account has been set up, there’s a chance that you can find your lost file in your iCloud backup. The files may have been backed up before you deleted the file from your desktop.
Some of you may have disabled your iCloud drive sync due to full storage capacity, no internet connection, etc. If this is the case, skip this method and proceed to the fifth one.
Here’s how you can unsync your iCloud:
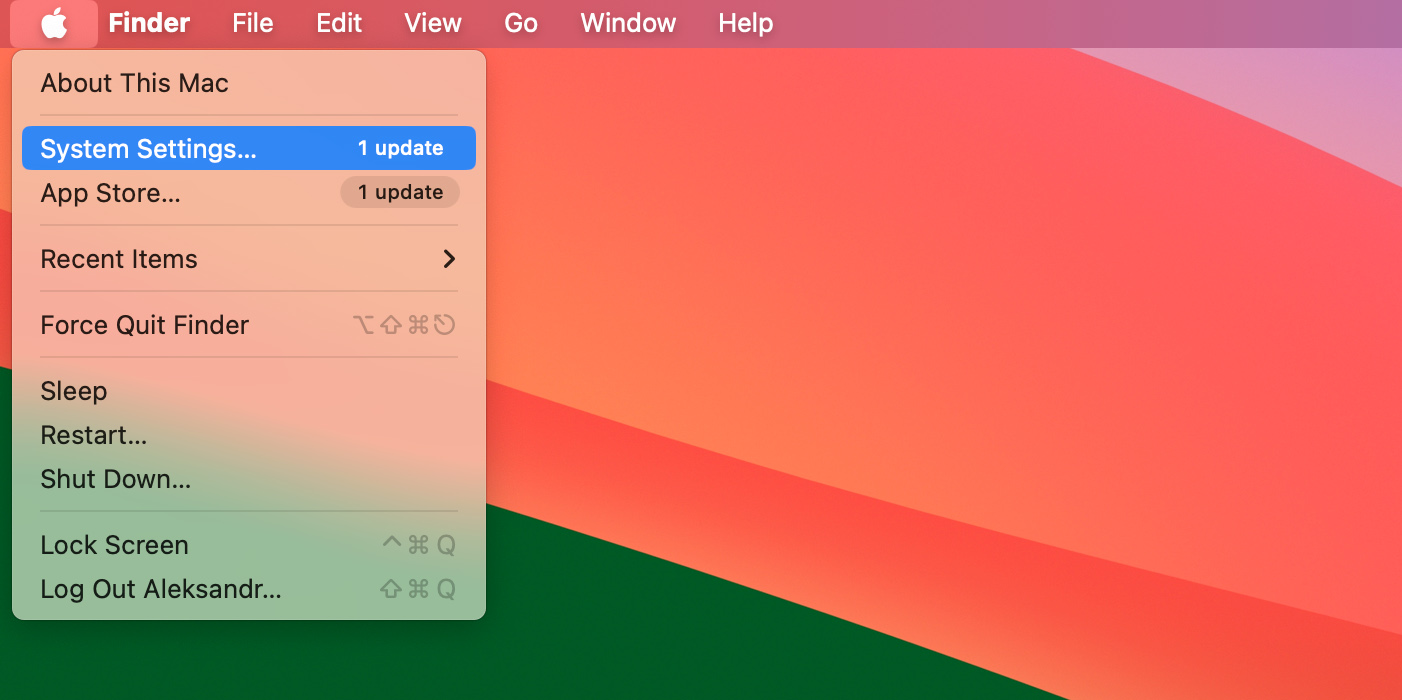
- Click on the Apple menu at the top-left corner of your screen and select System Settings…
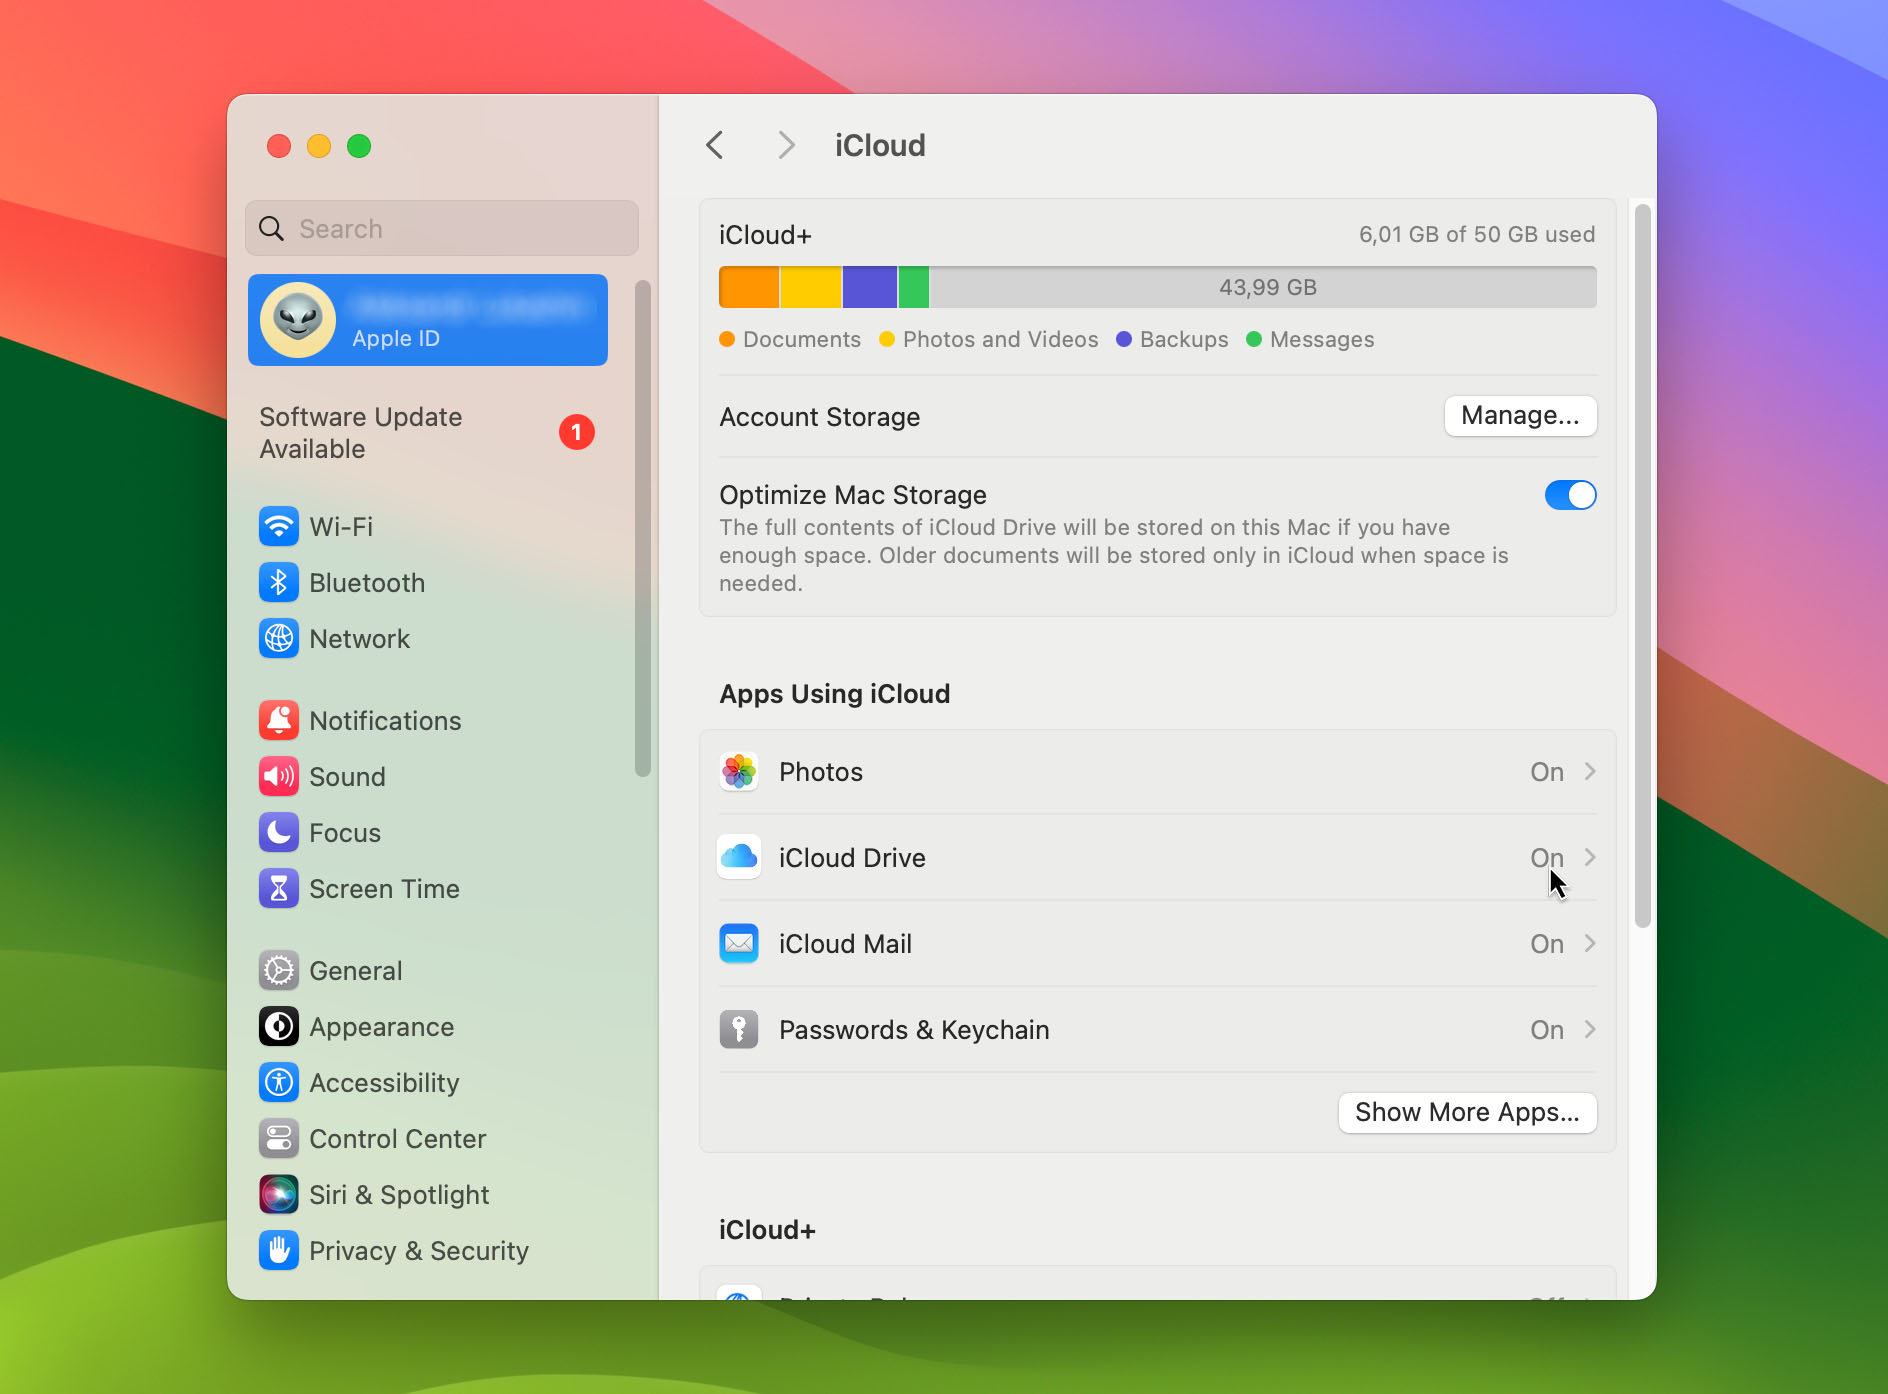
- From there, navigate to Apple ID and select iCloud.

- On your right, there is a list of apps that are using iCloud. Look for and uncheck iCloud Drive.


With your Mac unsynced from your iCloud account, here’s how you can check and possibly recover the lost files to your Desktop:
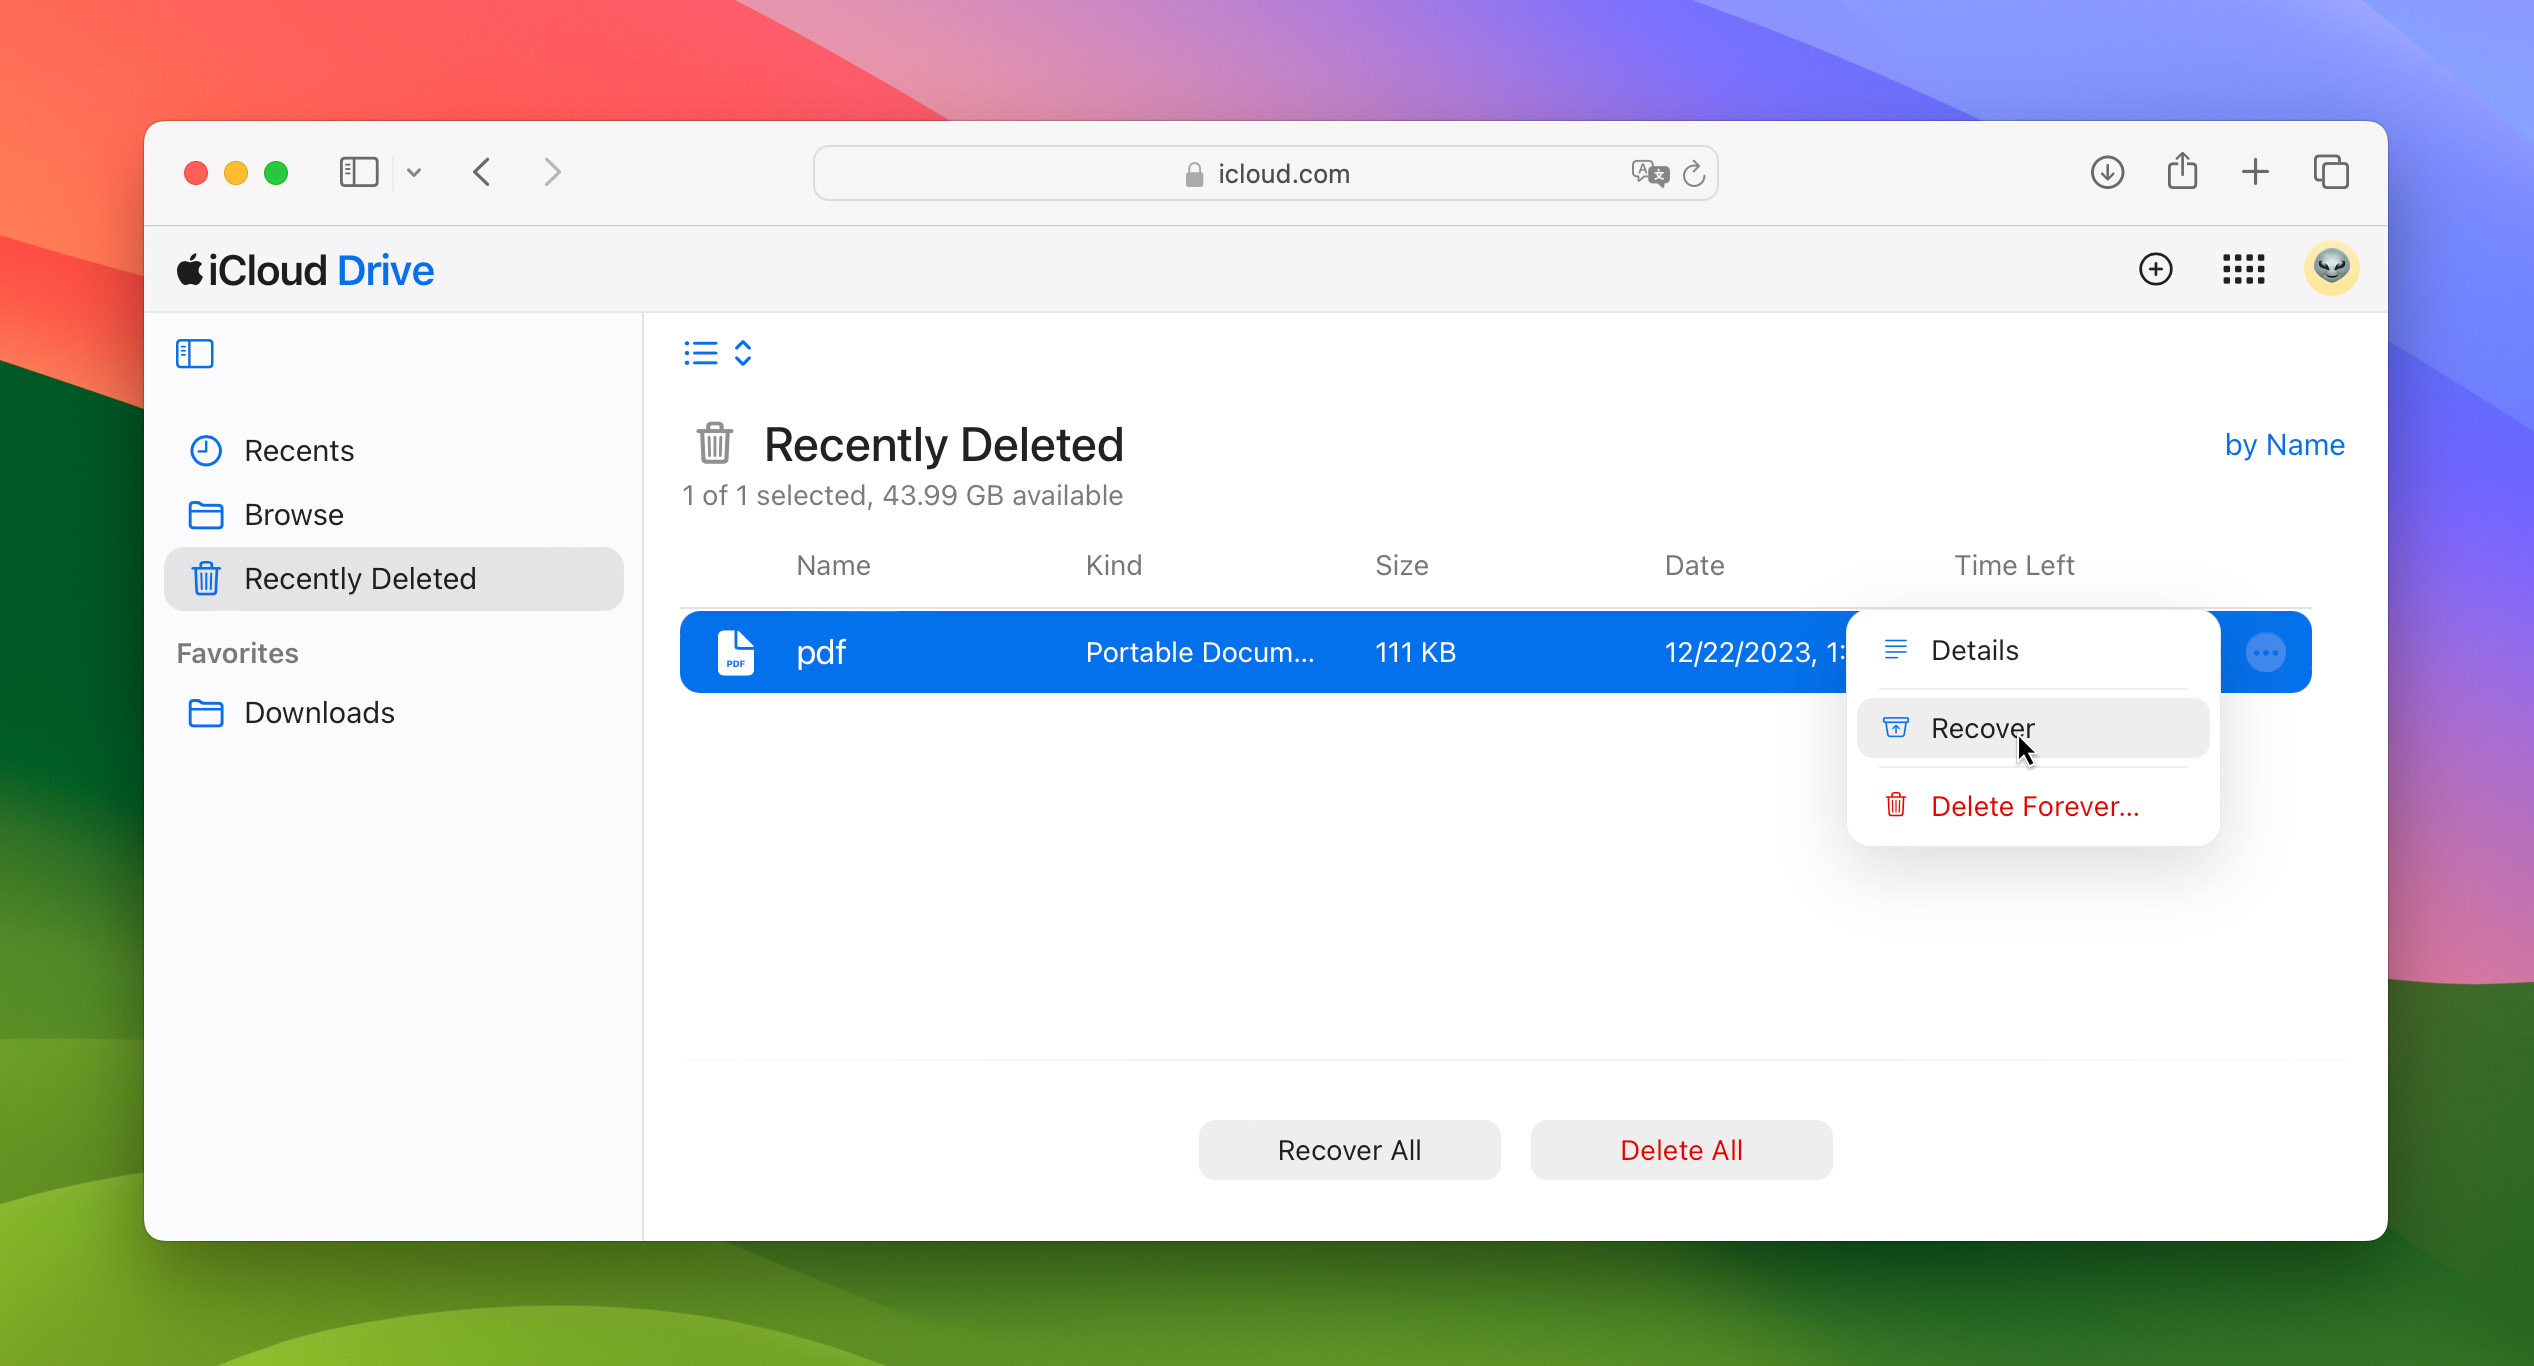
- Go to iCloud log in to your iCloud account, and select Drive.
- Choose Recently Deleted from the left-side panel of the page.
- Find the file that you want to recover. You can use the sorting options at the top-left corner of the page to help find your file faster.
- Select your lost file. Then, click the three dots button on the right and select Recover.

If you can’t find the deleted file on the Recently Deleted folder, try finding the file on the Desktop folder on your iCloud drive. iCloud may have an old copy saved on the drive. You can copy-paste this file onto your desktop immediately to restore it.
Method 5: Find Hidden & Missing Files
If you failed to find your lost file using the above options, here are some alternative ways to help search for it.
Use the Finder to Search for Disappeared Files
You can use the Finder app to view and search for your lost desktop files. It acts as a directory for all folders on your Mac. You can also search for the lost file using its Search function found at the top-right corner of the screen.
To use the finder to search for disappeared files, follow the steps below:
- Open the Finder by clicking on its icon at the Dock.
- Search through other folders on your Mac if you can’t find the right file in the Desktop folder.
- Access the Quick Search feature by pressing the Command + Space bar keys. Search for the file there.
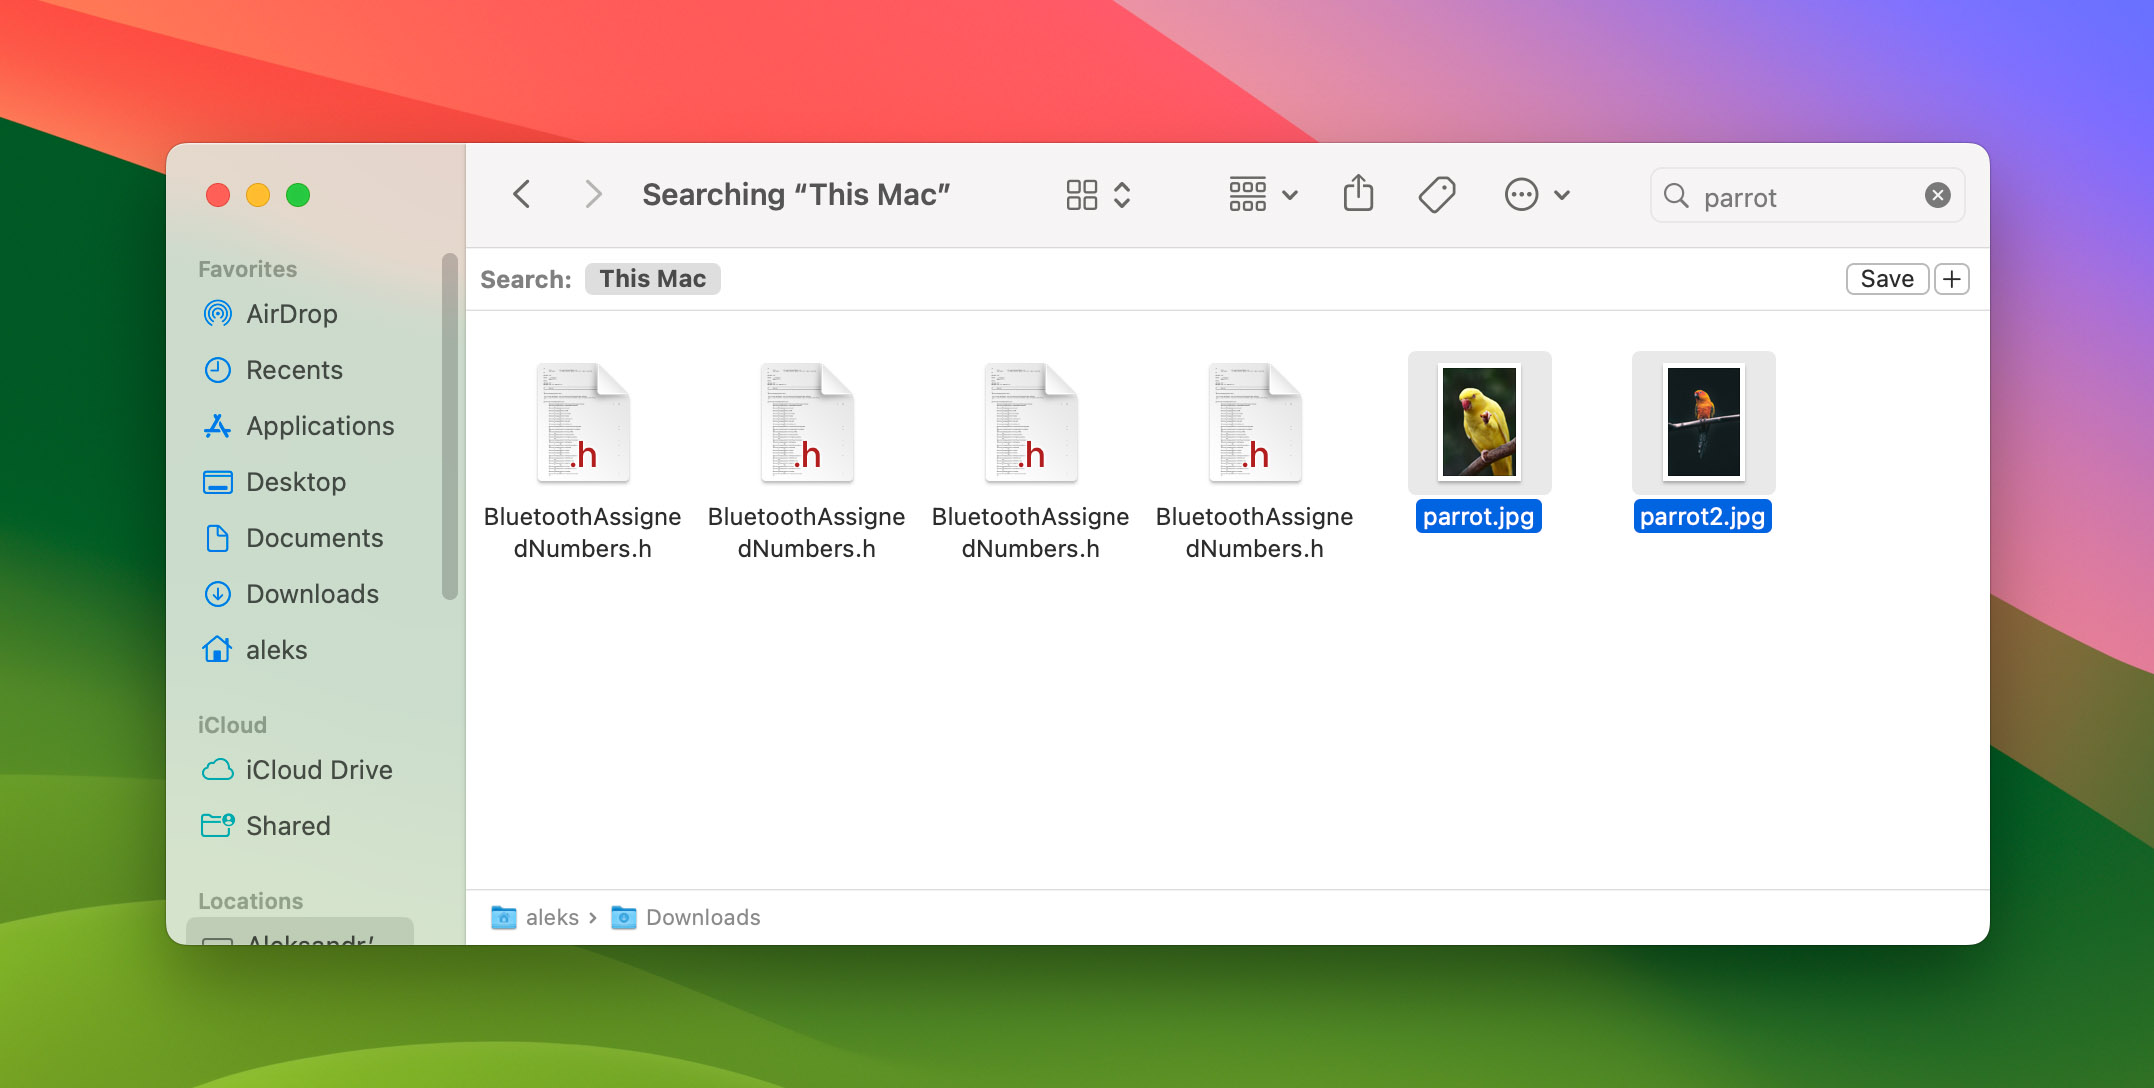

Once found, your file should be displayed on the Finder screen.
Use Spotlight to Search for Disappeared Files
Another method that you can use to search for disappeared files is through Spotlight. It acts as a search feature where you can search for files, apps, images, and much more. To learn more, check out this Spotlight Search article by Apple.
To use the Spotlight app to search for your lost desktop file, proceed to the following steps:
- Click the Spotlight icon found on the menu bar or press the Command + Space bar keys on your keyboard to open Spotlight.
- Go to the search field.
- Type in the filename of your lost desktop file. It will appear at the top of the search results if it’s still saved on your Mac.
- Press the Tab key to see a preview of the file.
- Click on it to open and see its file location.


Unhide Missing Files Using Mac Terminal
The Mac Terminal or Terminal is the command line of macOS devices. It’s a built-in app that’s utilized for repairs and to take control of the operating system. You can also use it to show all hidden files on your Mac, in case your lost file is just hidden and not deleted.
To unhide missing files using the Terminal, follow the steps below:
- Open Mac Terminal by going to Launchpad > Others (Utilities) > Terminal.
- Type in this command: “defaults write com.apple.finder AppleShowAllFiles TRUE” and press Enter.
- Type in “killall Finder” and press Enter. All hidden files on your Mac will now be visible.
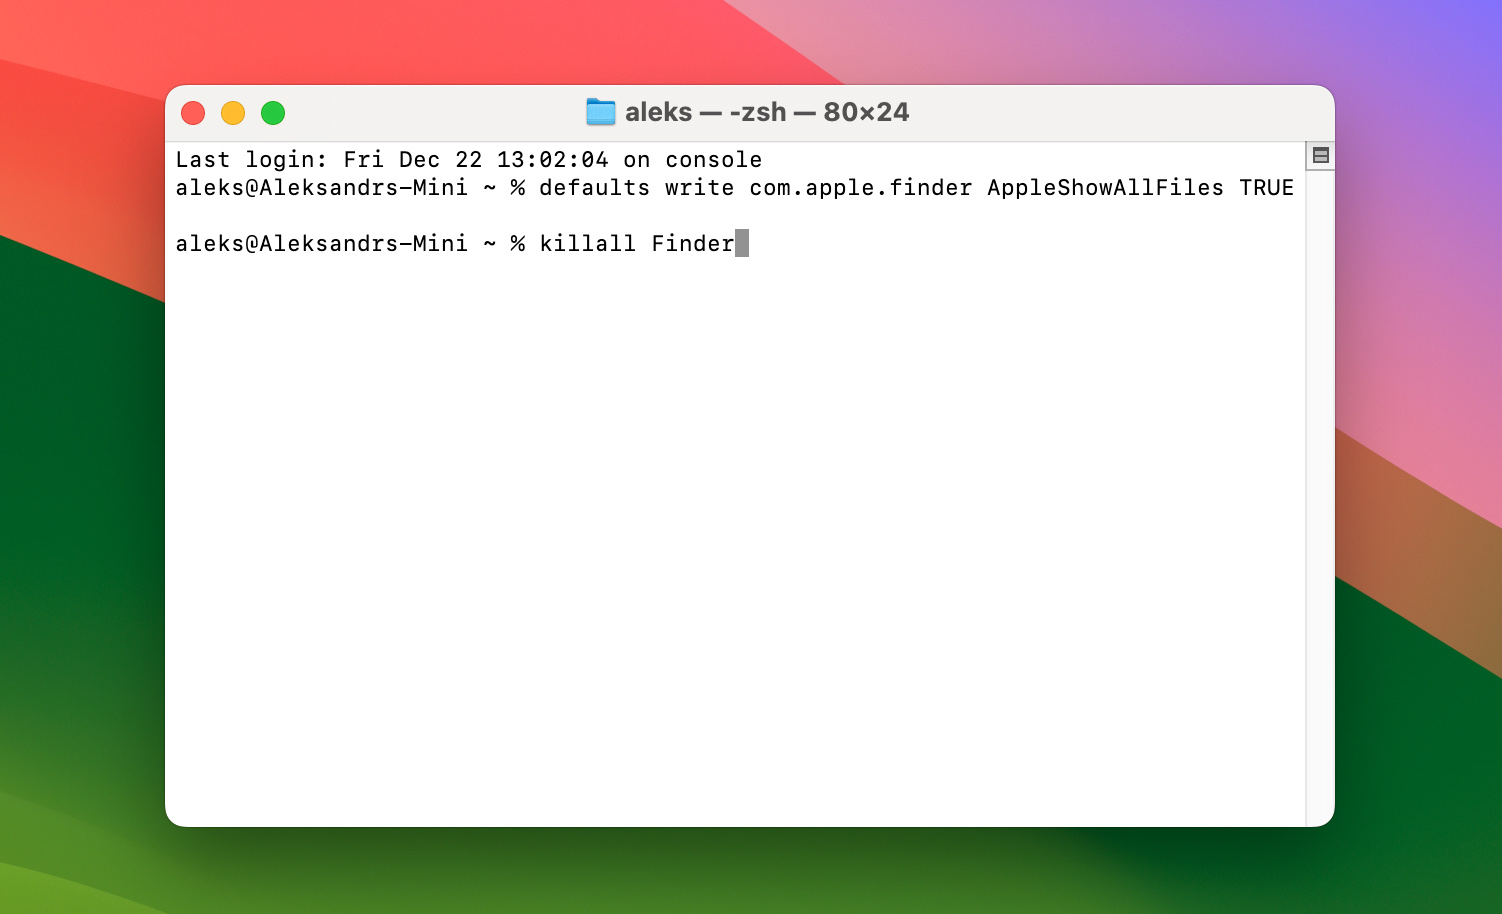
- Search for the hidden file by using either the Finder or Spotlight Search.

Recovering Disappeared Desktop Files on Mac—FAQs
Yes, you can recover your Desktop files. Given that they were lost a few weeks to a month ago, it’s still possible to recover them via a third-party data recovery software tool like Disk Drill. It’s a trusted tool that you can use to recover deleted files on your Mac.
Alternatively, you can use free, built-in, backup Mac apps like Time Machine and iCloud, but only if you were able to set them up prior to losing your Desktop files.
You can find and recover your Desktop files that disappeared using a variety of ways.
- Use a data recovery tool – Disk Drill is a secure, reliable way to recover deleted files on your Mac. Data recovery tools like this will scan your hard drive or SSD and recover most files as long as they were recently deleted and not overwritten.
- Check iCloud and Time Machine – If your Mac was configured to make automatic backups, you can use them to recover the files that disappeared.
- Search with Spotlight and Finder – Use these built-in features on your Mac to find files that you might have misplaced.
- Use Mac Terminal – For hidden files, use the Mac Terminal to unhide all files. Then, search for the one you lost by using Spotlight Search and the Finder.