

Table of Contents
Macs hide certain operating system-related files by default so that the user doesn’t delete any of them by mistake and cause any performance issues on the computer. Also, it’s possible to hide any file or folder on a Mac by yourself. If you need to access any of that data, there are ways to show the hidden files on macOS with a few easy steps.
Proven Methods to Reveal Hidden Files and Folders on Mac
Overall, there are three ways to view the hidden files and folders on your Mac: with the help of a specialized software, by using a keyboard shortcut in Finder, or by entering commands in the Terminal app. All of these methods are effective, so you can either try them one after the other or choose the one you feel most comfortable doing.
Method 1: View Hidden Folders and Files Using Finder and ShortCuts
There is a simple and quick way on your Mac to show the hidden files in Finder. To do that, all you should do is launch the Finder app and use a special keyboard combination.
Follow these steps to make your Mac show the hidden files using a shortcut:
- Launch Finder on your Mac (click the first icon on the left of your Dock).

- Navigate to the folder you want to check for hidden files or folders.
- Press the following keys together to display the hidden data: Command + Shift + . (period)


You’ll notice that new folders will appear with a slightly lighter icon shade. Those are the folders that contain the hidden files on your Mac. If you want to make those files and folders invisible again, use the Command + Shift +. (period) key combination once more. This will hide the data again.
Method 2: See Hidden Files on Mac Using Terminal
It’s possible to view the hidden files on your Mac by using a tool called Terminal. This application comes pre-installed with every Apple computer, so you won’t have to download any third-party app to your Mac for this method. But the thing is that not all users will be comfortable with navigating this tool since Terminal has a command line interface, meaning you’ll have to type in text commands to show the hidden files on your Mac with Terminal.
Follow these steps to use Terminal to show the hidden files on your Mac:
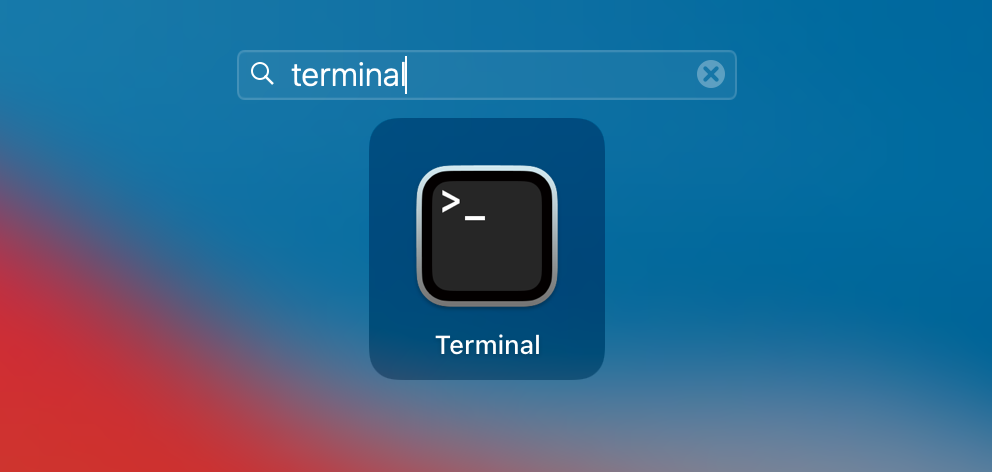
- Open the Terminal application (go to Launchpad and type Terminal in the search field at the top).
- Copy-paste the following command in the app and hit the Return key:
defaults write com.apple.finder “AppleShowAllFiles” -bool “true”
- Then type in the following command and hit Return again:
killall Finder


Now you should be able to see the hidden files and folders in Finder or on the desktop of your computer. Keep in mind that the discovered files and folders will stay visible until you decide otherwise. When you’re done looking through those files and folders, use the same steps as described above, only replace true with false in the first command line to hide them again.
Method 3: Find Hidden Files and Folders Using Disk Drill
If you want an effective solution for locating hidden files and folders on your Mac, then you should try to use a specialized data recovery tool like Disk Drill. It will not only help you display all of the hidden data on your computer but also recover the files that you think might’ve been hidden but actually were permanently removed from your computer.
Disk Drill has a free version that allows you to scan your drive and see which files can be potentially recoverable. It supports all major file systems (APFS, HFS/HFS+, exFAT, FAT, NTFS) and can restore most file types (photos, videos, presentations, documents, system files, etc.). Thanks to the features of Disk Drill, you can be sure that you’ll be covered when dealing with almost any data loss situation or when having trouble locating a hidden file.
Follow these steps to view the hidden files on your Mac and recover them using Disk Drill:
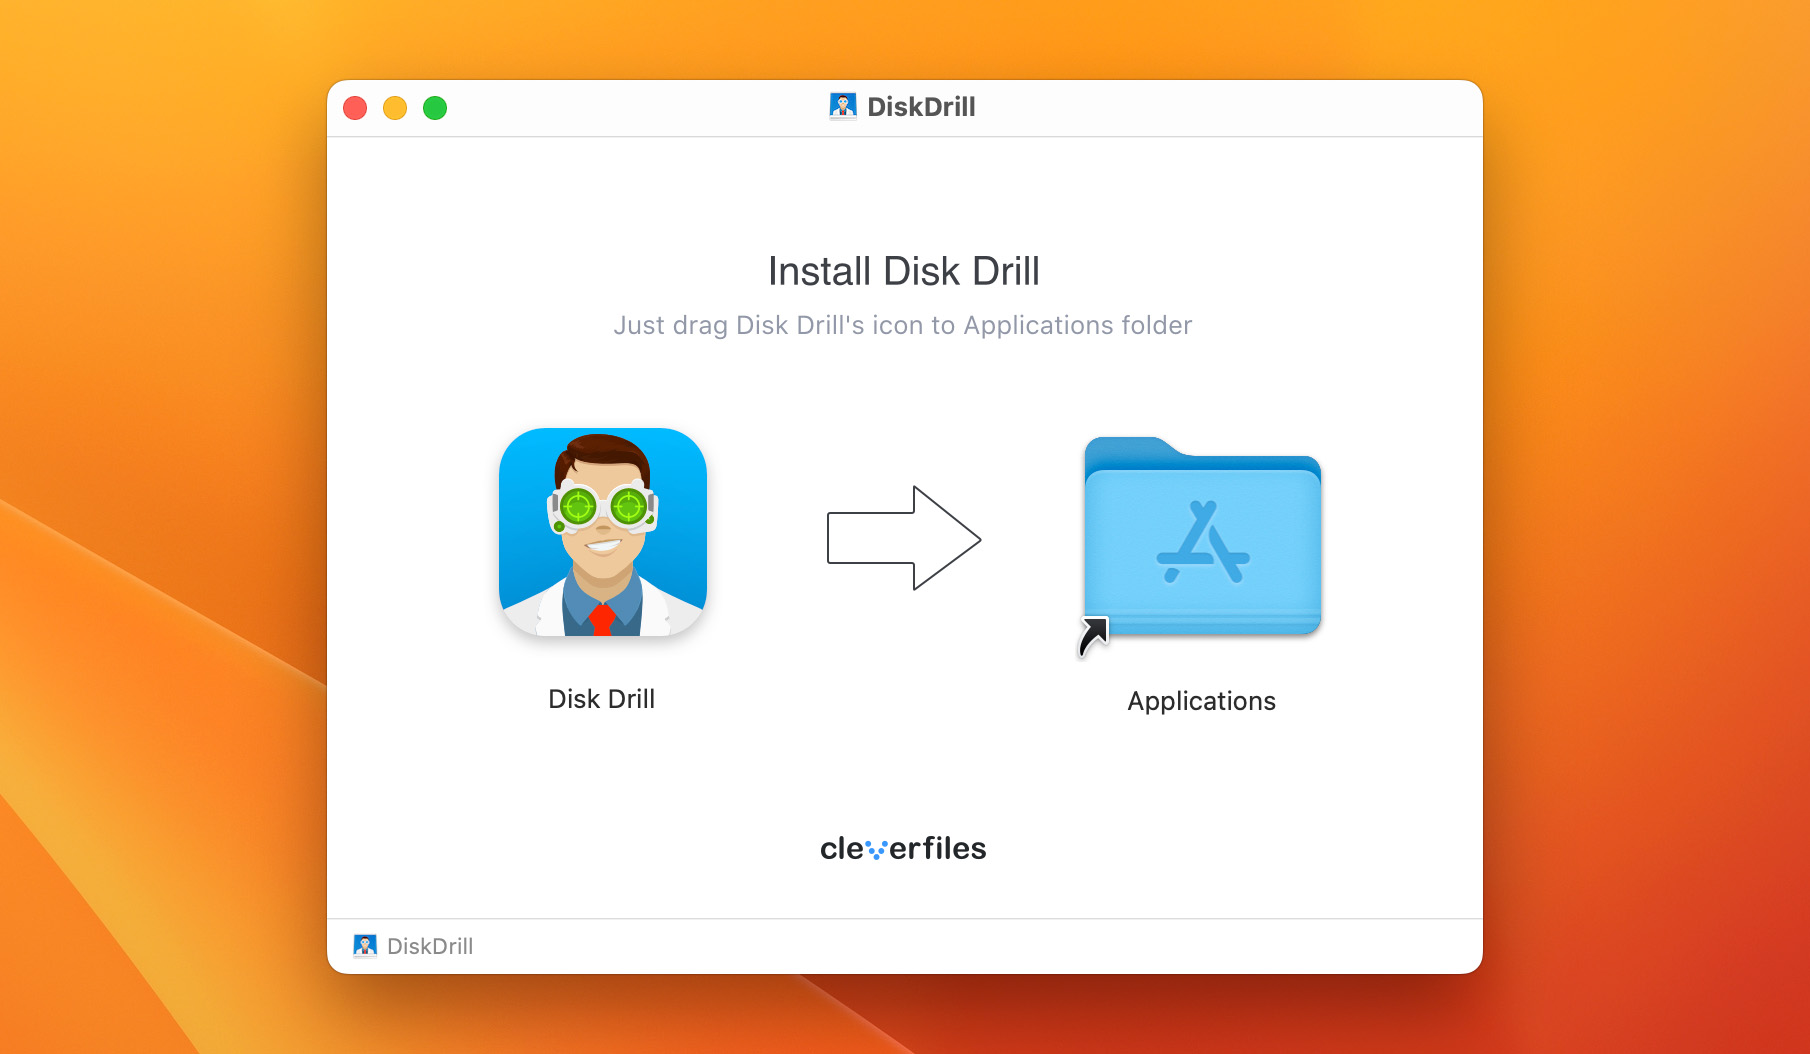
- Download Disk Drill for Mac and follow the onscreen instructions to install it.
- Open the application and make sure to choose Storage devices from the sidebar on the left.
- Choose your Mac drive and click Search for lost data.

- Wait for the scan to finish and click Review found items.

- To show the hidden files on your Mac, click the Show button located on top of the list of the discovered files and click the Show system & hidden files box.
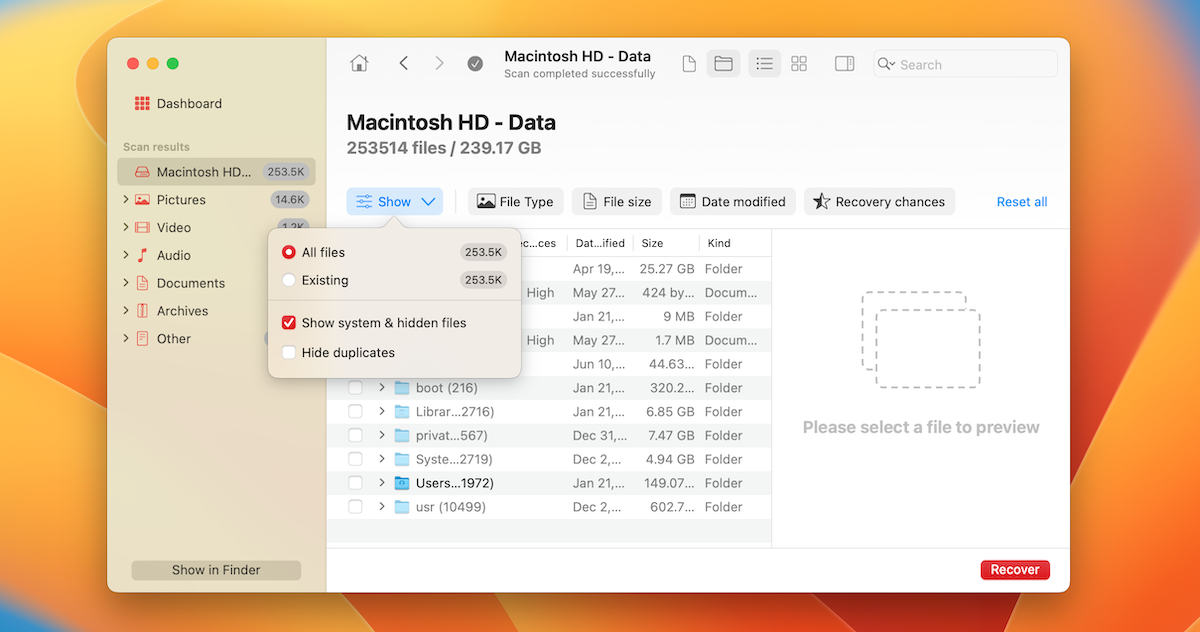
- Use the search field at the top right of the screen if you know the file extension or its name. Otherwise, use the sidebar on the left to view only specific types of files.
- Click the eye icon near a file to preview it, and then click the box near the file to select it.
- When ready, click the Recover button.

- Choose a preferred destination for the selected files (make sure it’s a location on a drive different from the one where the files were previously located) and click OK.


Now when you go to the selected location, the recovered files should be already there.
Why Are Some Files and Folders Hidden on Mac?
MacOS and most consumer-centric operating systems are hidden by default for many reasons. Primarily, the feature is used to protect the operating system from malfunctioning (and, by extension, keep user data safe). Specifically, here are the reasons why developers choose to keep certain files hidden:
MacOS and most consumer-centric operating systems are hidden by default for many reasons. Primarily, the feature is used to protect the operating system from malfunctioning (and, by extension, keep user data safe). Specifically, here are the reasons why developers choose to keep certain files hidden:
- System integrity – System files are critical for keeping the operating system functioning properly. Missing or modified system data can cause unpredictable issues, so Apple wants to keep them safe from accidental deletion and other unwanted and damaging changes.
- User experience – Even brand-new computers have thousands of existing files on disk that are either system data, OS updates, or app-generated files. If they aren’t hidden, the interface would get extremely cluttered, making it hard for users to find specific files or organize their data.
- System folders – Certain system folders are hidden by default to prevent users from accidentally modifying or deleting any of their contents (which could cause unpredictable issues on your machine).
Conclusion
The system files are hidden on your Mac for safety reasons. But if you are certain that you know what you’re doing, it’s possible to unhide them. There are two native methods you can try: through Finder or with the help of Terminal. But the most effective method that will show all hidden files on macOS is to use a data recovery software like Disk Drill.
Whichever method you’ve used, keep in mind that it’s best to hide those files or folders back again to avoid any potential issues in the future.
FAQs
The only way to make your hidden files and folders on your Mac permanently visible is to run a Terminal command. To do that, launch the Terminal app on your computer and follow these steps:
- Copy-paste this command in the Terminal field: defaults write com.apple.finder “AppleShowAllFiles” -bool “true”
- Hit the Return key.
- Type in killall Finder and hit Return again.
Follow these steps to open the hidden Library folder on your Mac:
- Click the Finder icon on the Dock to open the tool.
- Choose Go from the menu at the top.
- Click Go to Folder.
- Type ~/Library in the search field and click Go.